Zimbra Desktop Tutorial
How to configure Zimbra Desktop to connect to your email account
Zimbra Desktop is a free email client for Windows, Linux and Mac OS X users. You can download it from Zimbra's site. Like most other email clients it also has many additional features such as a calendar, task manager, etc. You can see a list of the features on the official site.
You can create email accounts with your domain name in the address from the Email section of the HostKnox control panel. If you're not sure how to do it, read the tutorial on creating an email account.
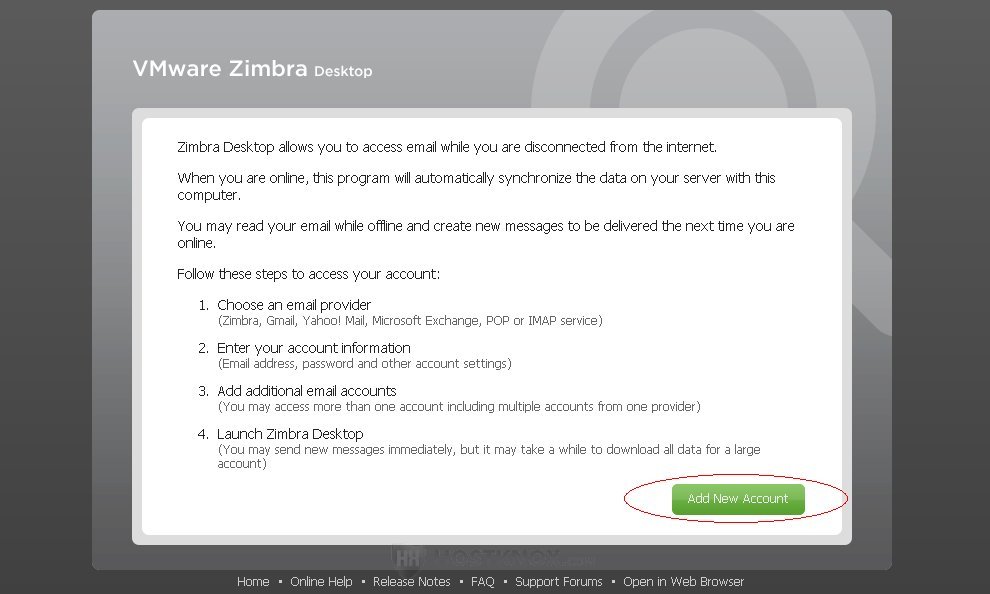
Then you can add your email account in Zimbra Desktop. When you start Zimbra, if you haven't added any accounts so far, the application will immediately prompt you to add a new account. Just click on the Add New Account button:
On the next screen you have to select an account type:
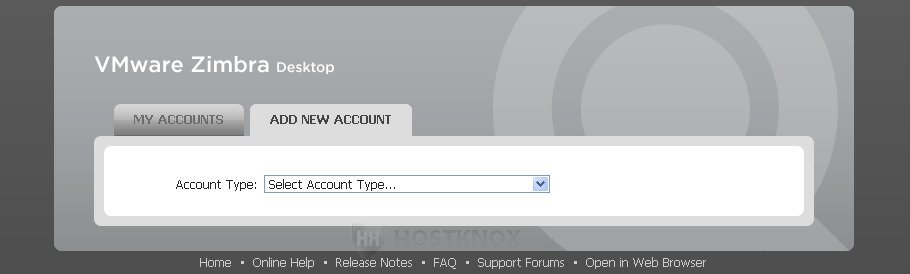
To add an email account, select either IMAP or POP. They are internet protocols for retrieving email messages. A significant difference between them is that with IMAP (Internet Message Access Protocol) you can read and manage your messages directly on the server, while with POP (Post Office Protocol) they have to be downloaded on your local computer.
After you select one of the two protocols you'll see the rest of the options that you have to configure. In our example we'll select IMAP:
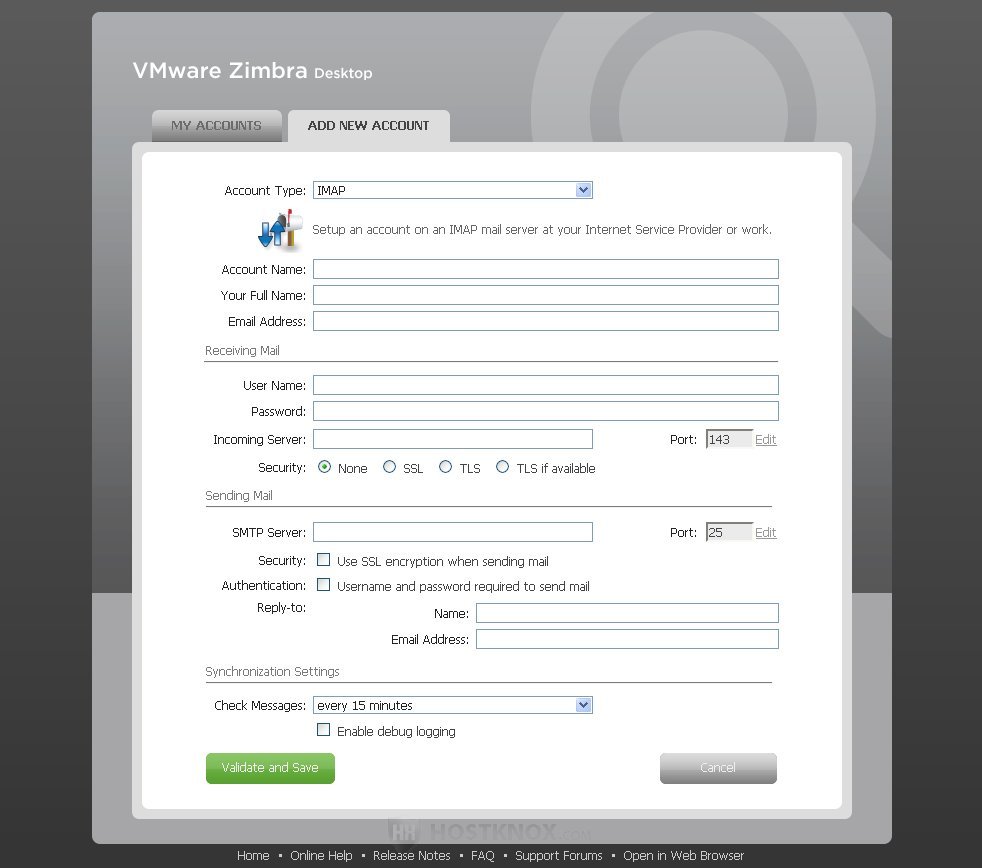
First, you have to type an account name, then your name and the full email address. The account name can be any name of your choice. That's the name that will appear in Zimbra. In the field for Your Full Name you can also type any name. That's the name that will appear in other people's mailboxes when they receive an email from your account. In the field for Email Address type the full email address of your account.
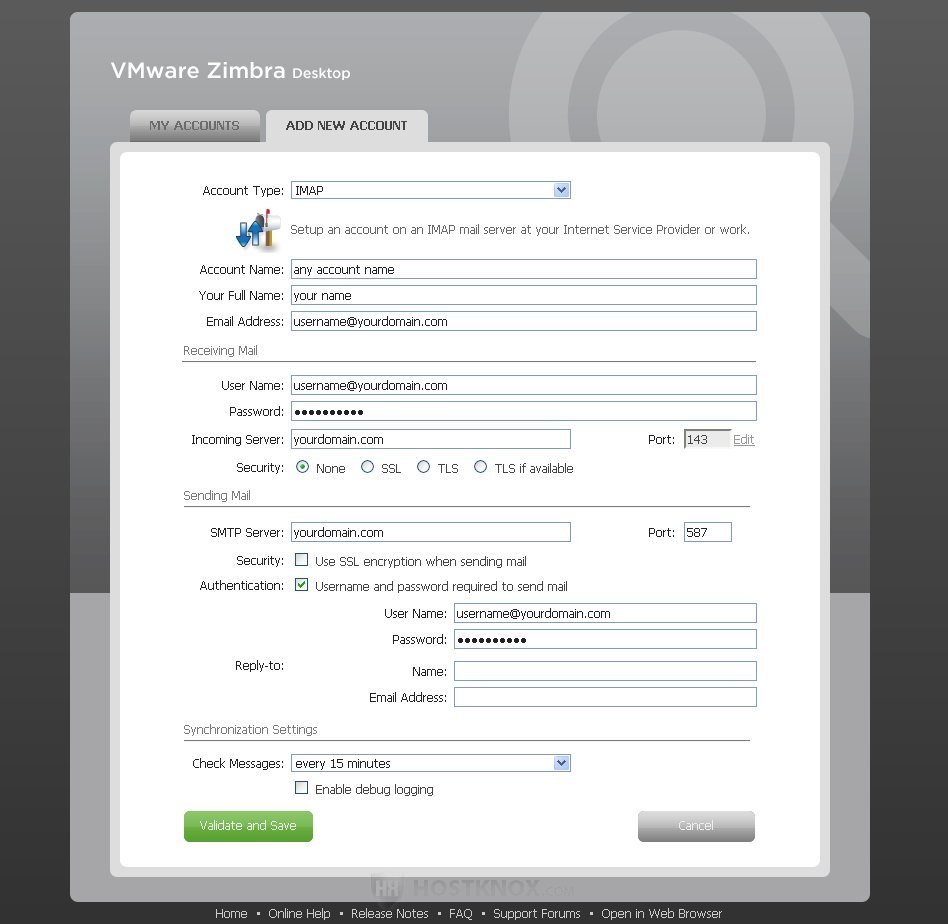
In the next section (Receiving Mail) of the options you have to type your full email address again (e.g. username@yourdomain.com) in the User Name field. Under it, in the field for Password, type the password for the email account. In the field for Incoming Server you can either type just your domain name (e.g. yourdomain.com), provided it points to our servers and you don't plan to use encryption, or you can type the name of the server hosting your account.
If you want to be on the safe side and use encryption you have to use the name of the server. In case you want to use encryption you also have to mark the button labeled SSL. The port number should change automatically but here are the correct port numbers for the incoming mail server (both for IMAP and POP): 993 for IMAP with SSL enabled; 143 for IMAP without encryption; 995 for POP with SSL; 110 for POP without encryption.
The last section on this page is entitled Sending Mail. In the field for SMTP Server, as with incoming server, you can type either your domain name (if it points to our servers) or the name or IP address of the server hosting your account. The server name and IP address are the same for both outgoing (SMTP) and incoming mail server. If you want to use encryption you have to use the name of the server, and you also have to mark the checkbox labeled Use SSL encryption when sending mail. You also have to set the correct port numbers for the SMTP (outgoing) server: 465 with SSL enabled; 587 without encryption.
Another thing you also have to do regardless of whether you use encryption or not is to mark the checkbox for Username and password required to send mail. When you mark this checkbox two new fields will appear. In the first one (User Name) type the full email address, and in the second one (Password) type the password for the email account. In our example we've configured the mail to work without encryption:
Once everything is set click on the button Validate and Save in the lower left corner. Zimbra will check all the settings, establish a connection with the server, and if everything is correct a new page will appear informing you that the account was added. Click on the button Launch Desktop to go to your account and send/receive mail, etc. You can edit your existing accounts or add new ones from the Setup button in the upper right corner of Zimbra Desktop:
You can also configure Zimbra Desktop to connect to your accounts in web-based email services such as Yahoo, Gmail, Hotmail, etc. If you want to add a Yahoo or Gmail account just select the respective option from the Account Type drop-down menu, instead of IMAP or POP. Then you only need to type the email address and its password and Zimbra Desktop will do the rest.
You can also configure the settings manually. After you select IMAP (or POP) from the Account Type drop-down menu there are only a few things that have to be configured in a different way as compared to the process of adding an account that you have created from the HostKnox control panel. To learn what you need to change read the article on configuring email clients to connect to email accounts in Yahoo, Gmail and Hotmail.