Magento Cron Jobs Tutorial
How to set up and manage cron jobs in Magento
With the help of cron jobs in Magento many things can be done automatically once the cron job is correctly set up and the corresponding options for the particular tasks are configured. For example, with the help of cron jobs currency rates can be updated, newsletters sent, logs cleaned, product alerts can be sent to customers etc.
Magento comes with a file called cron.php which when executed initiates these tasks. So the first and most important thing is to create a cron job that periodically executes the cron.php file. In addition to this there are some general settings in the admin panel of Magento related to the scheduling and performing of tasks triggered by the cron job. There are also settings related to the particular tasks. Many of the tasks that are performed with the help of cron jobs are disabled by default. So, for example, if you want the currency rates to be updated automatically, it won't be enough to execute the cron job; some currency specific settings also have to be configured.
We have divided this tutorial into three major sections corresponding to the above mentioned steps:
- adding a cron job that executes cron.php
- general cron job settings in the admin panel of Magento
- enabling and configuring tasks that are executed with the help of cron jobs
So let's start with the first and most important part.
Adding a Cron Job
Each Magento installation has a file labeled cron.php that comes with it. The execution of this file starts the whole chain of events that eventually leads to a particular task being performed (e.g. sending newsletters, updating currency rates, etc.). The purpose of adding and setting up a cron job is to run this cron.php file at certain intervals (once every hour, once a day, etc.).
A cron job can be added via SSH or this can be done from the control panel of your hosting account. HostKnox clients can use the Cron Jobs section of the HostKnox control panel to do that. Other software solutions for managing hosting accounts (like cPanel) have similar features.
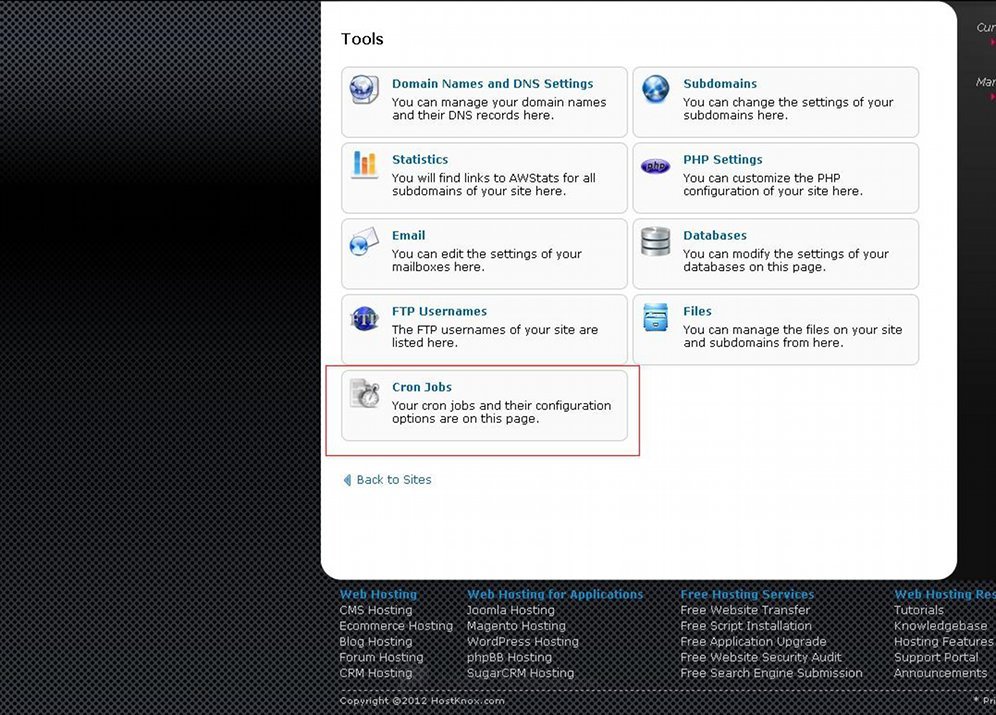
Adding a cron job from the HostKnox control panel is quite easy. After you log in just click on Cron Jobs:
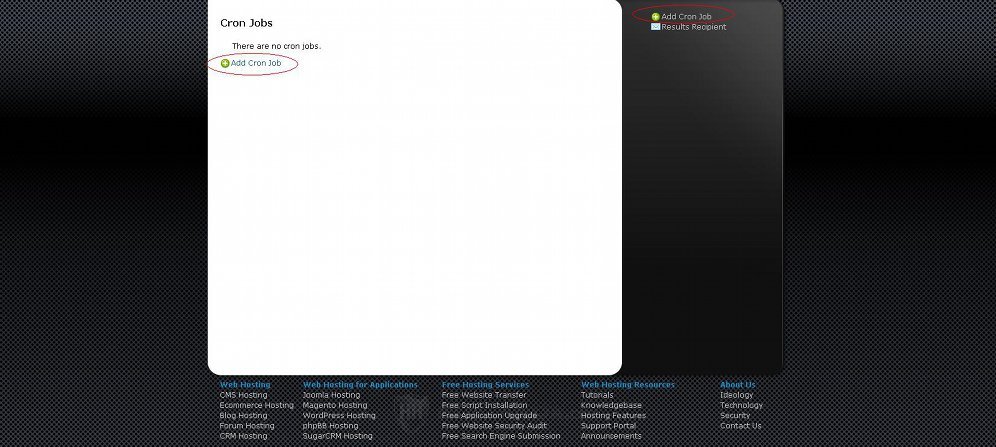
On the following page click on one of the Add Cron Job buttons:
On the next page you'll see two options; one is for the frequency of the cron job and the other for the actual command:

From the Frequency drop-down menu you can select how often the cron job should be executed. In the field for Command you have to put the actual command for executing the cron.php file. Once that is done just click on the Add Cron Job button that's under the options. The command itself is php -f followed by the full path on your hosting account to the cron.php file. So, for example, if your Magento is installed directly in the public_html folder on your Magento hosting account, the command will be:
php -f /home/username/public_html/cron.php
Of course, you have to replace username with the actual user name of your hosting account. The path will not work for non-HostKnox clients who have a different path structure on their account, but the command is the same; only the path has to be changed.
General Cron Job Settings in the Admin Panel of Magento
In the admin panel of your Magento there are some cron job settings for tweaking the scheduling of the tasks. To access and configure those settings, after you log in go to System menu>Configuration>System button in the Advanced section on the left>Cron (Scheduled Tasks) panel on the right:
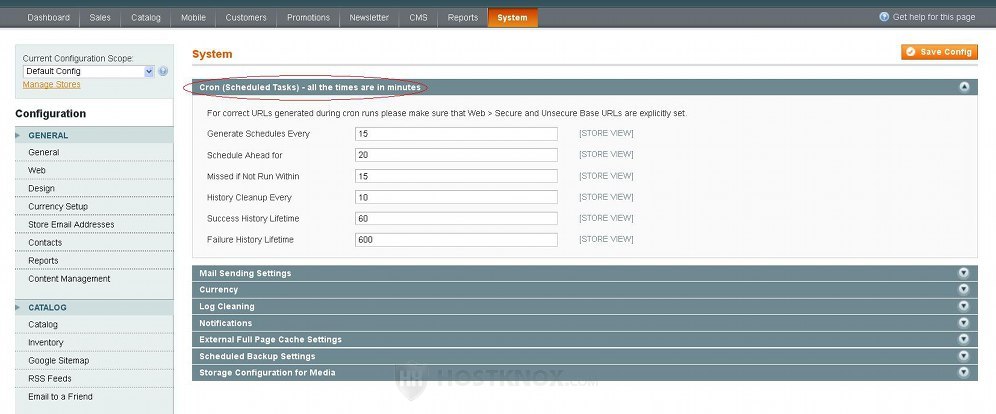
In practice you probably won't need to change these settings. It also depends on how often the cron job is executed. So, for example, if you have set the cron.php file to be executed once every hour, you'll have to increase the value for the option Missed If Not Run Within to at least 60 (it's in minutes) to make sure that scheduled tasks are not missed.
Options for Specific Tasks
As we mentioned, there are many tasks that are executed with the help of cron jobs. In addition to adding a cron job that runs the cron.php file, you also have to make sure that the settings for the particular tasks are configured correctly. Many of them are disabled by default, so if you want them to be performed, you have to enable them. Here we'll list many of these tasks and the options related to them (this is not a complete list of all the things that are performed with the help of cron jobs).
Newsletters
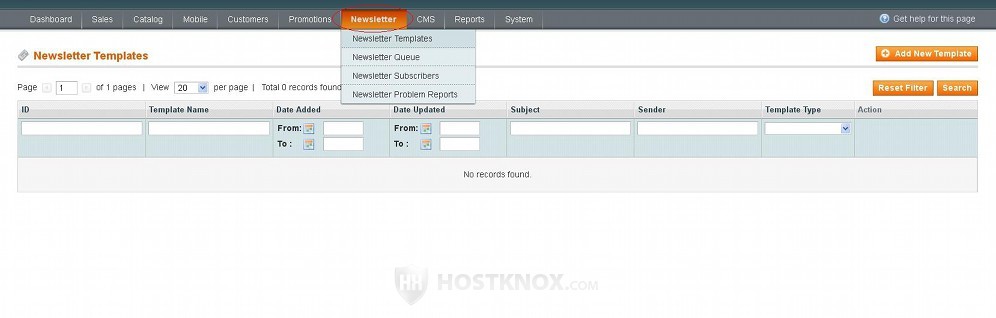
In addition to adding a cron job, to be able to send newsletters to your customers you also have to add a newsletter template, queue the newsletter and configure all the settings related to that. You can do that from the Newsletter menu in the admin panel:
For a detailed description of how to actually configure and send newsletters check out the tutorial on managing newsletters in Magento.
Log Cleaning
The database of your Magento has some tables for storing various log information. The problem with these log tables is that they grow bigger in size as more and more people visit your site. To reduce the size of your database and to optimize it, it's not a bad idea to clean these table from time to time. In the admin panel of your Magento there are some settings with which you can enable log cleaning and make the process automatic so that the tables are truncated periodically. To enable log cleaning and configure the respective options, in the admin panel go to System menu>Configuration>System button in the Advanced section on the left>Log Cleaning panel on the right:
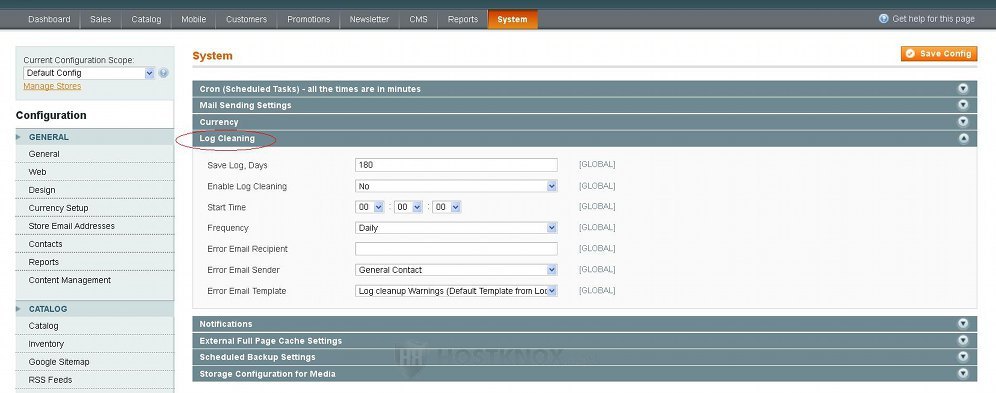
Of course, the logs will be cleaned only if you have added a cron job that executes cron.php. The log tables can also be emptied manually through phpMyAdmin.
For more information on log cleaning check out the article on cleaning up the database logs in Magento.
Currency Rates Updates
If you use more than one currency on your site, you can update those currencies automatically. This is another task that's achieved with the help of cron jobs. By default, currency updates are disabled so you also have to enable them. The settings for this in the admin panel are in System menu>Configuration>Currency Setup button in the General section on the left>Scheduled Import Settings on the right:

For detailed information on managing currencies read the tutorial on managing currencies in Magento.
Product Alerts
To enable product alerts, in the admin panel go to System>Configuration>Catalog button in the Catalog section on the left>Product Alerts panel on the right:
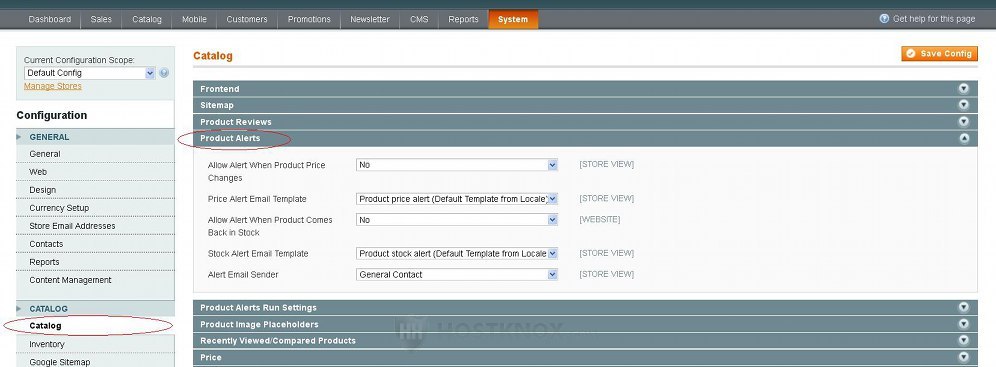
For more details on these settings check out the section on product alerts in the tutorial on system catalog settings in Magento.
Google Sitemap Regeneration
In Magento you can add/create a Google sitemap to improve the SEO of your store (note that there's another built-in sitemap for all search engines). You can do this from the admin panel from Catalog menu>Google Sitemap. For this Google sitemap to be updated automatically (in addition to adding a cron job) you need set to Yes the Enabled option in System>Configuration>Google Sitemap button in the Catalog section on the left>Generation Settings panel on the right:
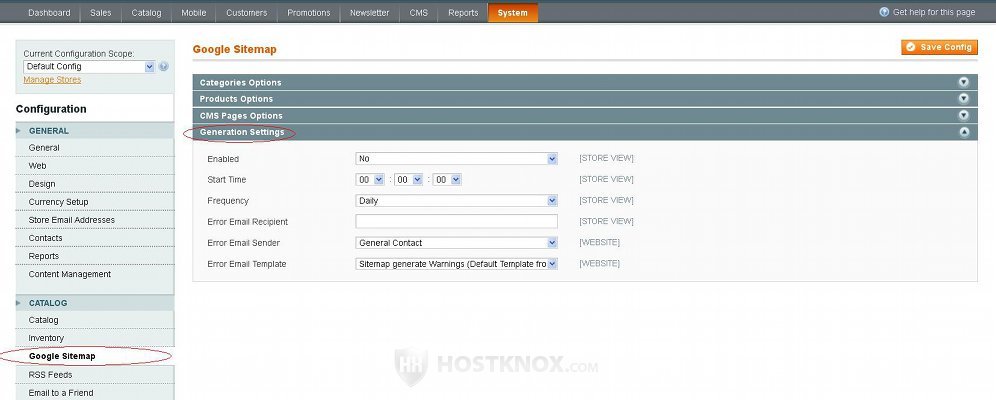
Keep in mind that you also have to submit the actual sitemap to Google. You can do that with Google Webmaster Tools (you have to create an account there first).
Scheduled Backups
Magento has a built-in tool for automatic backups. You can schedule daily, weekly or monthly backups. This is another task that depends on cron jobs. To enable scheduled backups, in the admin panel go to System menu>Configuration>System button in the Advanced section on the left>Scheduled Backup Settings panel on the right:
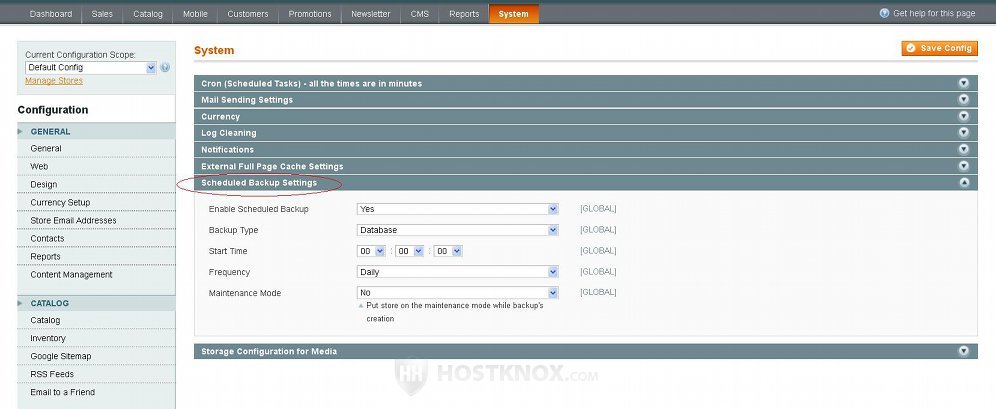
Of course, you can always back up your files and database manually. For more information on how to do that check out the tutorial on backing up your site. You can also back up your database via SSH. This is the way to do it if you have a bigger database (e.g. bigger than 50-60 MB). For more info check out the article on exporting databases via SSH.