phpMyAdmin Database Import Tutorial
How to import MySQL databases with phpMyAdmin
In this tutorial we'll show you how to import a MySQL database through phpMyAdmin. The process is quick and easy. If you want to know how to export a database, read the tutorial on backing up your site. The second part is about exporting databases.
You can access phpMyAdmin from the Databases section of the HostKnox control panel. There is a link on the right side in the black area. From the Databases section of the control panel you can also add new databases. For security reasons it's advisable to have a different username and password for each database.
After you open phpMyAdmin click on the name of the database in the left frame. If the database is empty no tables will be displayed in the right frame. If it's not empty, you'll see the database tables in the right frame. In any case, there should be several tabs at the top: e.g. Structure, SQL, Search, etc. Click on the Import tab. On the new page that opens click on the Browse button to locate on your local computer the SQL dump file of the database you want to import. This, of course, means that you should have already exported to your local computer the database that now you want to import.
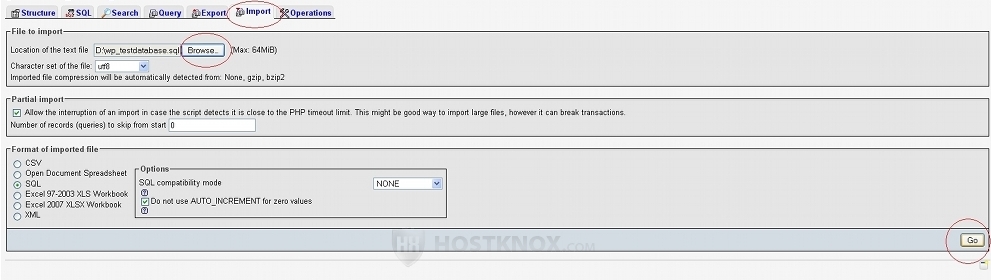
After you locate the SQL dump file click on the Go button in the lower right corner of the Import page. You don't have to configure any of the other settings. The database tables will be uploaded and imported into your new database. With phpMyAdmin you can't import very big databases, so you should keep this in mind. The maximum size of the database that you want to import through phpMyAdmin should not exceed 64 MB. You can import larger databases through SSH.
Although it's not advisable to keep several applications in one database, you can import database tables in a database that has already something installed in it. Just make sure the prefix (e.g. wp_) of the tables you're importing is not the same as the prefix of any of the installed database tables.