PrestaShop 1.5/1.6 Credit Slips Tutorial
How to manage credit slips in PrestaShop 1.5-1.6
In PrestaShop you can generate credit slips. They serve as a confirmation to customers that products returned by the customer have been received and refunded.
When you mark a product(s) as returned there's an option with which you can generate a credit slip for that product(s). In the admin panel you can download the credit slip from the order details page of the order with which the merchandise return is associated. There's also a separate section in the admin panel for credit slips from which you can view and download any of the existing credit slips and change the prefix used in the names of credit slips.
Customers can download the issued credit slips from their account settings on the frontend of your site.
In this tutorial we'll go over all these things in details. We'll show you:
- how to generate a credit slip
- how to download a credit slip for an order from the order details page
- how to view and download all credit slips, and change the credit slip prefix
- how customers can download credit slips from their settings on the frontend
- links to tutorials related to managing orders in PrestaShop
In this tutorial we've used as a basic example PrestaShop 1.6. The screenshots are also from that PrestaShop version. Although the design of the admin panel is different than that of PrestaShop 1.5 the options for credit slips are practically the same in both versions. If there are some differences we'll make notes about that in the tutorial.
Generate a Credit Slip
A credit slip is created per order from the order details page in the admin panel. This is done when you mark one or more products as returned. After you approve a merchandise return, the customer can send you back the product(s), and once you receive the product you can mark it as returned from the order details page of the order associated with the product. At this point you can also create the credit slip for the returned product(s) by marking the respective option.
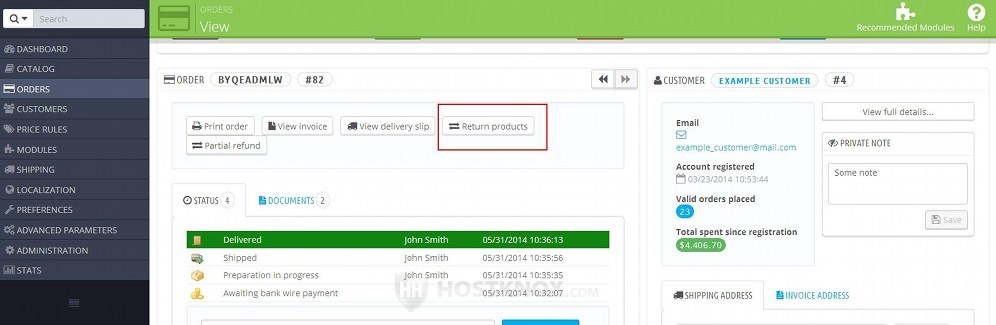
So to do this, go to Orders menu>Orders sub-menu in the admin panel and select the order from the table with the existing orders. On the order details page click on the button Return products that's at the top:
This will automatically bring you down the same page to the Products block. For each product in the block there are some options with which you can mark it as returned. Simply mark the checkbox for the particular product(s) and if necessary specify the number of returned units from that product in the field that's provided. Below the products there are a few checkboxes. If you want to put the returned products back in stock and/or generate a discount voucher, mark the respective checkboxes. To create a credit slip, mark the checkbox Generate a credit card slip:
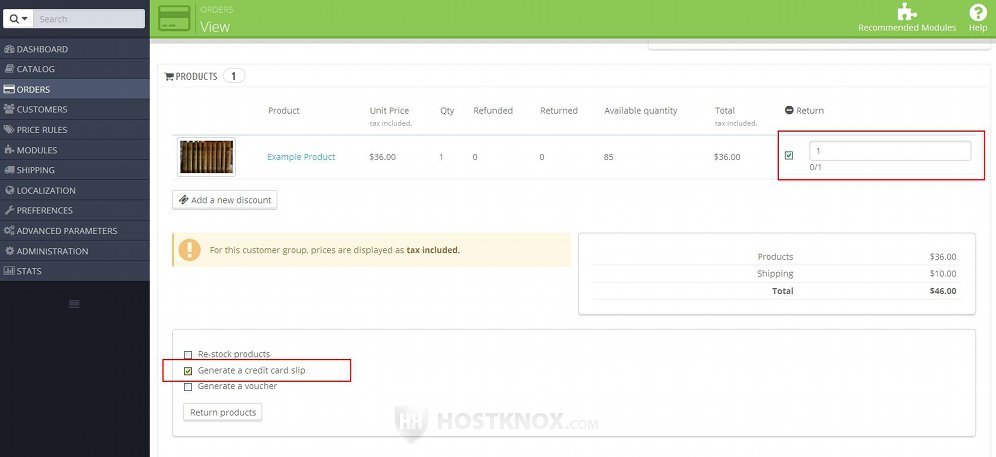
After that click on the button Return products that's below the checkboxes. The product(s) will be marked as returned and the credit slip will be created. PrestaShop will automatically send an email to the email address of the customer informing them about the credit slip. Customers can view their credit slips from their account settings on the frontend of your site.
For a detailed description of the whole process of managing merchandise returns check the tutorial on how to manage merchandise returns in PrestaShop.
Download a Credit Slip from the Order Details Page
There are a couple of ways you can download existing credit slips. You can download a single credit slip for a particular order from the order details page. To do this, go to Orders menu>Orders sub-menu, select the order, on the order details page find the block that has the tabs Status and Documents at the top and select Documents (in PrestaShop 1.5 they are two separate blocks). In the Documents block you'll see listed the credit slip associated with the order. Click on its ID number to download and view it:

Use the window that pops out to save the credit slip on your local computer. It's in PDF format.
In the admin panel there's also a section where you'll find listed all the credit slips (Orders menu>Credit Slips sub-menu). From there you can download any of the credit slips; you can also download a single PDF file that contains many credit slips, and you can change the prefix used with the ID numbers of credit slips. Check the next section of this tutorial for more information.
Download Credit Slips and Change the Credit Slip Prefix
To download any credit slip, or to generate a single PDF file with many credit slips in it go to Orders menu>Credit Slips sub-menu. Note that on the page that opens you can only download existing credit slips and change the credit slip prefix; you can't create a credit slip. You can do that only per order from the order details page as explained in the previous section of this tutorial.
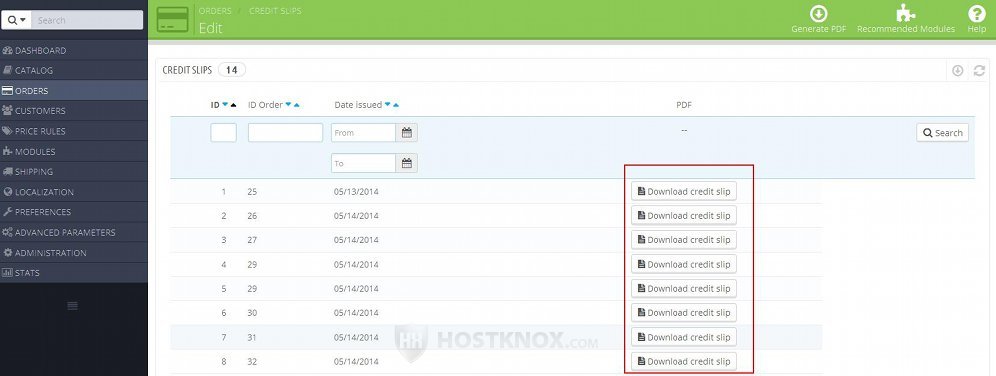
On the page that opens after you go to Orders menu>Credit Slips sub-menu there's a table that lists all the created credit slips. In the table you'll see the date each credit slip was created and the ID of the order with which it's associated. To download a credit slip, click on the button Download credit slip for the particular credit slip:
A window will pop out with which you can download the credit slip on your local computer.
From this same page you can generate a single PDF file that contains many credit slips. These are all the credit slips issued during a period that you specify. So after you go to Orders menu>Credit Slips sub-menu, scroll down the page to the block Print a PDF:
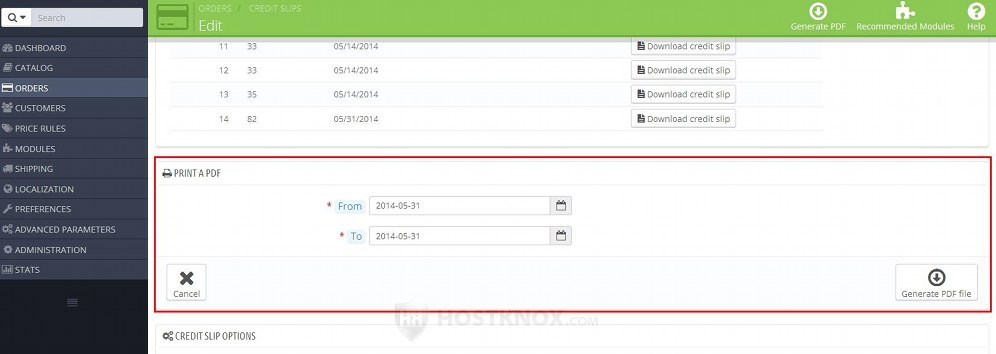
Specify the period in the fields for From and To and click on the button Generate PDF file. The file will contain all the credit slips created during that period.
On the page that opens when you go to Orders menu>Credit Slips sub-menu there's also a block labeled Credit Slip Options:
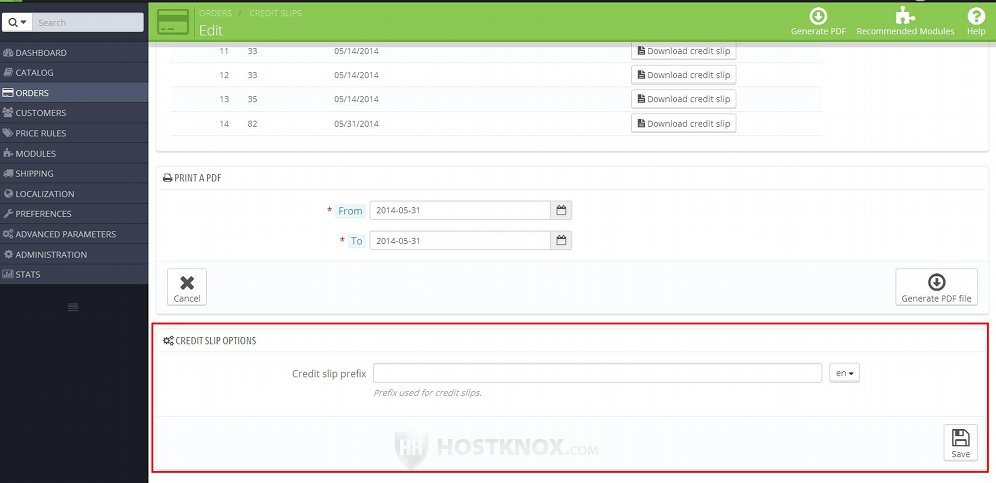
It contains the option Credit slip prefix. By default, the field is blank which means that no prefix is used. If you want to use some prefix, just type it in the field and click on the Save button. The prefix is put in front of the ID number of all credit slips. So, for example, without a prefix credit slips will be labeled like this: #000001, #000002, #000003, etc. If you put a prefix EN, then credit slips will be labeled #EN000001, #EN000002, etc. You can use a different prefix for each language version of the site. You can select to which language you want the prefix to apply from the option on the right side of the Credit slip prefix field.
Note that changing the prefix will affect not only credit slips that are issued after the change, but also existing credit slips.
Credit Slips on the Frontend
After you create a credit slip PrestaShop automatically sends an email to the email address of the customer who placed the order with which the credit slip is associated. The email contains a link to the section in the customer account settings on the frontend of your site from where the customer can download the credit slip.
In the customer account settings on the frontend there's a section that lists all credit slips issued for orders placed by the particular customer. After the customer logs in to their account, they have to go to the homepage of the account (in case they are not there) by clicking on their name. On the account's homepage they have to click on My Credit Slips:
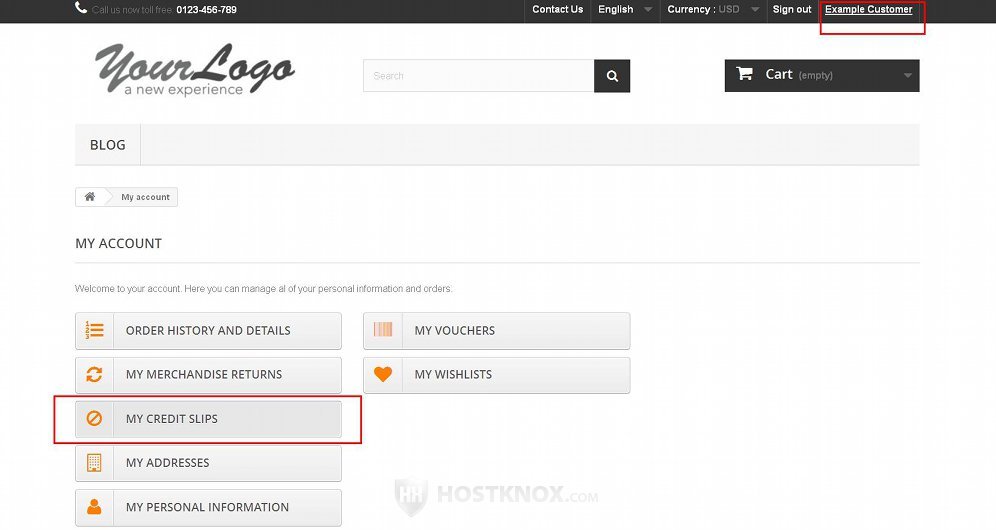
The layout depends on the theme. As an example we have used the default theme that comes prepackaged with PrestaShop 1.6.
After the customer accesses the section My Credit Slips they'll see a table listing their credit slips. In that table there's a column View Credit Slip that contains a link for each credit slip:
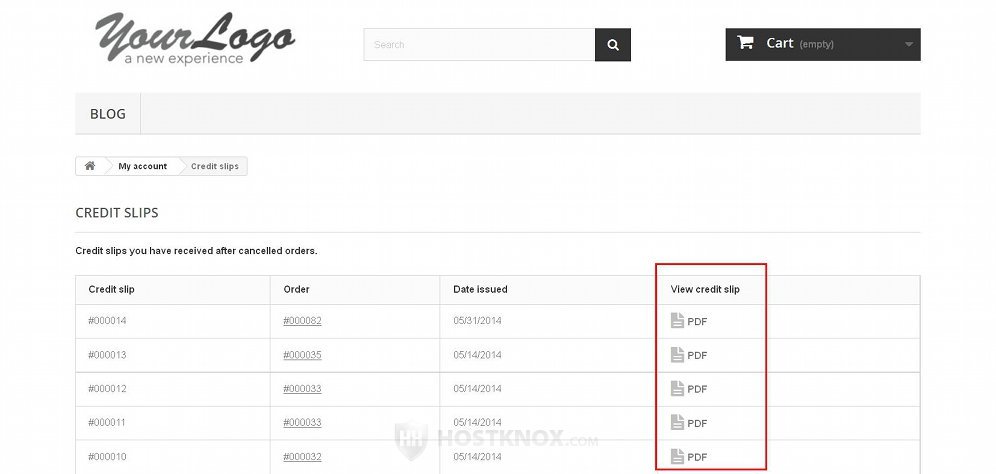
A window will pop out with which the customer can download the credit slip on their local computer.
Links to Tutorials on Managing Orders
We have detailed tutorials on everything related to managing orders:
- how to manage orders in PrestaShop
- how to add orders manually from the admin panel in PrestaShop
- how to manage invoices in PrestaShop
- how to manage delivery slips in PrestaShop
- how to manage merchandise returns in PrestaShop
- how to manage order statuses in PrestaShop
- how to manage preconfigured order messages in PrestaShop