PrestaShop 1.5/1.6 Product Tags Tutorial
How to add and manage product tags in PrestaShop 1.5-1.6
Tags are keywords or phrases that can be used to make it easier for customers to find the products that they want. A tag can be added to one or more products, and a product can be associated with many tags. On the frontend there's a Tags block that displays the tags that you've added. When a customer clicks on a tag this shows all the products associated with the tag.
In the back office of your PrestaShop there's a section for managing tags. You can use it to add tags to any of the products and to manage the existing tags. You can also add tags to a product when adding or editing that product; on the form for adding/editing products there's an option with which tags can be added to the product.
In this tutorial we'll show you:
- how to add product tags
- how to edit and delete existing tags
- how to add and delete tags when adding or editing a product
- how tags can be used on the frontend
- links to other tutorials and articles on managing products
In this tutorial we've used as a basic example PrestaShop 1.6. The screenshots are also from that PrestaShop version. Although the design of the admin panel is different than that of PrestaShop 1.5 the options related to product tags are practically the same in both versions. If there are some differences we'll make notes about that in the tutorial.
Add Product Tags
There are a couple of ways to add tags to a product. One is by using the respective option when adding or editing the product. For more information on this check the section on adding tags from the product form in this tutorial.
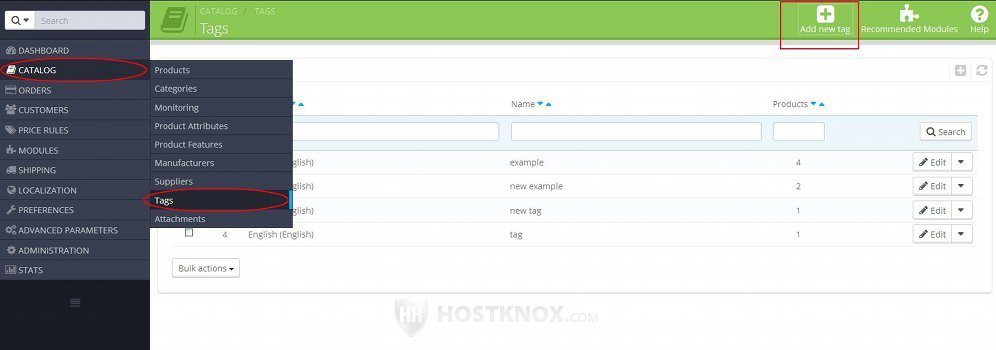
The other way is to do it from the section for managing tags in the admin panel. From there you can add tags to any product. In the admin panel go to Catalog menu>Tags sub-menu. On the page that opens you'll see a table with the existing tags. To add a new tag click on the button Add new tag (in PrestaShop 1.5 it's labeled Add new):
This will open the form for adding tags:
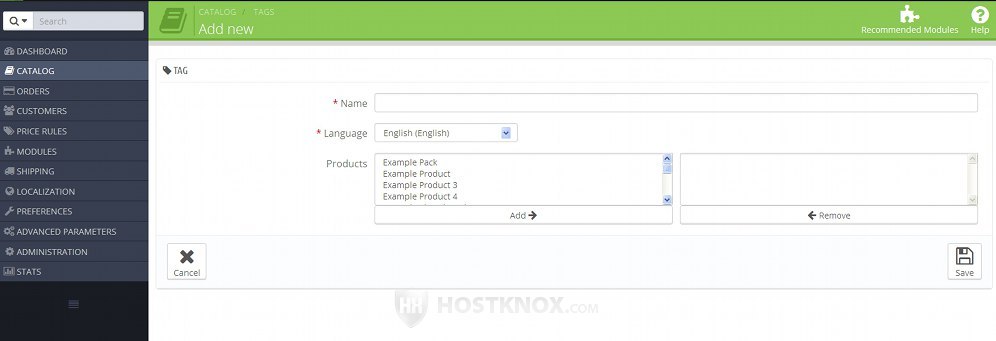
It contains the following settings:
- Name - in this field type the tag as you want it top appear on the frontend. It can be a single word or a phrase.
- Language - from this drop-down menu you can select the language with which you want the tag to be associated. The tag will be used only with the selected language version of the shop. For example, if you have English and French installed on your site and you select English from this drop-down menu, then the tag will be only available for the English version of your site. If you want the tag to be used with other languages as well, you have to add it again and select the respective language.
- Products - this option consists of two text areas. The left one lists all the enabled products. To assign the tag to a product you have to move the product to the right area. To do this click on the name of the product with the left mouse button and then click on the Add button that's under the product list. The selected product will be moved to the right. In case you don't want it to be associated with the tag any more, select it in the right text area and click on the Remove button. To mark more than one product press and hold the Ctrl button on your keyboard and then click on each product with the left mouse button.
After you're ready with the options click on the Save button.
Edit and Delete Tags
To edit the settings of a tag and change the products with which it's associated, go to Catalog menu>Tags sub-menu and in the table with the existing tags either click on the row that corresponds to the tag or on its Edit button:

The settings that you can edit are the same as the settings on the form for adding tags. For a description of these settings check the section on adding tags in this tutorial.
In PrestaShop 1.5 the edit button is not labeled. It's an icon that looks like a pencil.
To delete a tag, in the table that lists the existing tags click on the arrow next to the Edit button for the particular tag and from the drop-down menu that expands select Delete:
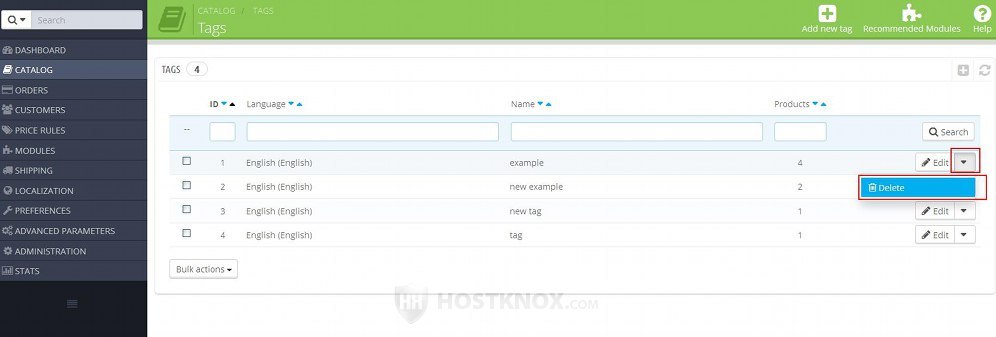
In PrestaShop 1.5 there's no such drop-down menu. The button for deleting is in the last table column and it's an icon that looks like a magnifying glass.
You can delete more than one tag at the same time. To do this, in the table with the tags mark the checkbox of each tag (in the first table column) and from the Bulk actions menu below the table choose Delete selected:
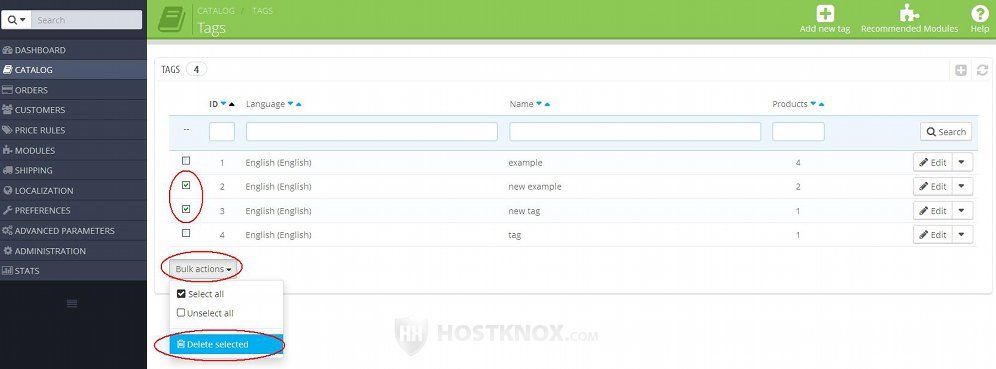
A window will pop out asking you for a confirmation that you want to delete the tags.
Add and Delete Tags When Adding and Editing Products
You can also add tags to a product when you add or edit that product. Go to Catalog menu>Products sub-menu and you open the form for adding/editing products. Make sure that the Information tab on the left is selected. Then scroll down the page and under the options for the description of the product you'll see the Tags setting:
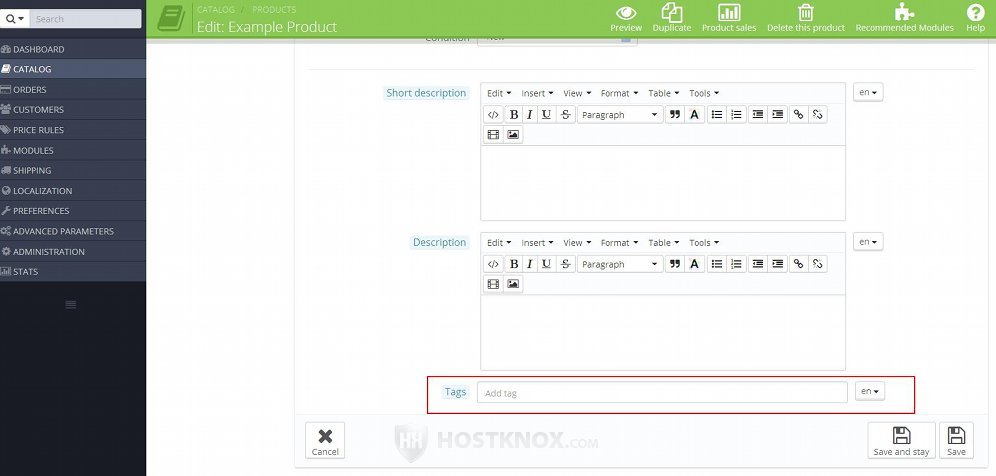
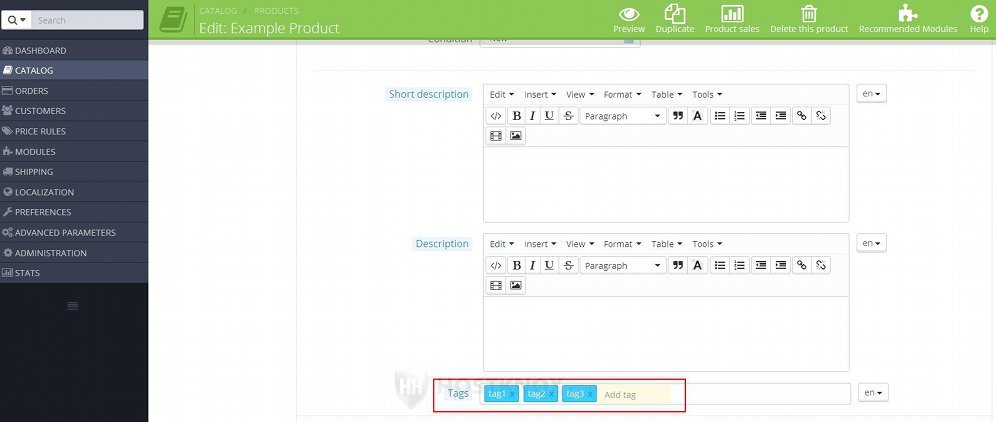
In that field you can type one or more tags. When you type a tag put either a comma or press the Enter button on your keyboard and the tag will be listed in the field. You can remove a tag by clicking on the X symbol that's right after the tag:
If you have installed more than one language, from the option on the right side of the field you can select the language to which you want the tags to apply.
After you're done click on the Save and stay or on the Save button.
Tags on the Frontend
The tags that you add are listed in a block on the frontend labeled Tags. When a customer clicks on a tag all products associated with the tag are listed:
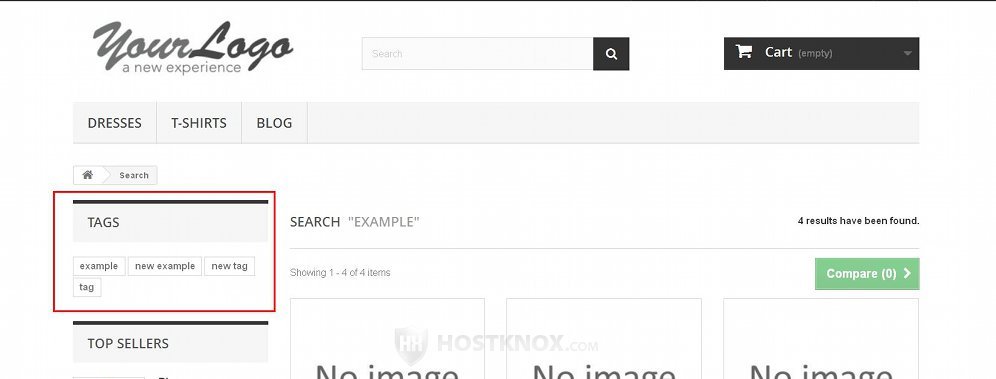
The tags in the block are listed according to the number of products with which they are associated. The tag that's added to the greatest number of products is listed first in the Tags block. The module responsible for the block is also called Tags block. It's enabled by default which means the the block is visible on the frontend. From the options of the module you can configure the maximum number of tags that are displayed by the block. To do this, go to Modules menu>Modules sub-menu in the admin panel, find the module Tags block and click on its Configure button. For the block to be shown on the frontend the module also has to be hooked to a frontend position. Module positions are managed from Modules menu>Positions sub-menu in the admin panel. By default, the Tags block is in the left column.
Links to Tutorials and Articles on Managing Products
We have a whole bunch of detailed tutorials on managing products. These include:
- how to add and edit products in PrestaShop
- how to add and manage product combinations in PrestaShop
- how to add and manage product features in PrestaShop
- how to add and manage product customizations in PrestaShop
- how to add and manage product attachments in PrestaShop
- how to create product packs in PrestaShop
- how to add virtual products in PrestaShop
- how to add and manage product attributes in PrestaShop
- how to add and manage product manufacturers in PrestaShop
- how to add and manage product suppliers in PrestaShop
- how to configure and manage the options for the general product preferences in PrestaShop
In our knowledgebase there are separate articles on various issues related to products:
- how to change the number of products shown on category pages in PrestaShop
- how to disable the product comparison function in PrestaShop
- how to hide stock quantities from being displayed on the frontend in PrestaShop
- how to increase the allowed length of product names in PrestaShop
- how to remove the "Add to cart" button from category pages for products with attributes in PrestaShop
- how to remove the "New" text indicating newly added products in PrestaShop
- how to remove the "Sort by" menu from product category pages in PrestaShop
- how to use phpMyAdmin to move products from one category to another in PrestaShop