SugarCRM Modules Tutorial
How to install and manage modules in SugarCRM
In SugarCRM administrators can install modules (extensions) to add new features and functionalities to the application. SugarCRM has a built-in automatic installer which you can use to add new modules and manage them.
You can search for and download new modules from SugarForge and SugarExchange. SugarForge is the place where developers can cooperate and it has a greater number of modules, but some might be incomplete or still in development. SugarExchange is more user-oriented. Many of the modules can be found both on SugarForge and SugarExchange, but some can be found only on SugarForge. So you can search both places. Some modules are free and others are paid.
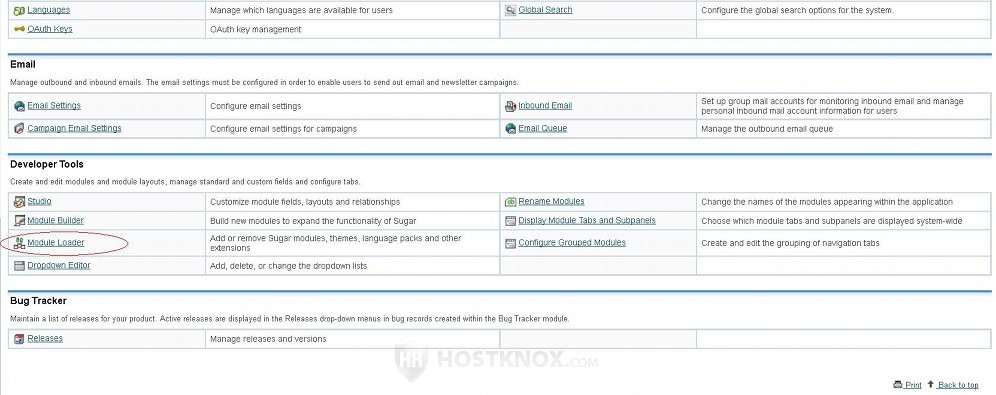
After you find a module that you want to install, download the zipped archive to your local computer. Make sure that the module is compatible with the version and edition of your SugarCRM (Community Edition). Then log in to your account in SugarCRM and click on the Admin link in the upper right corner to go to the admin panel. Once there scroll to the section Developer Tools and click on the button Module Loader:
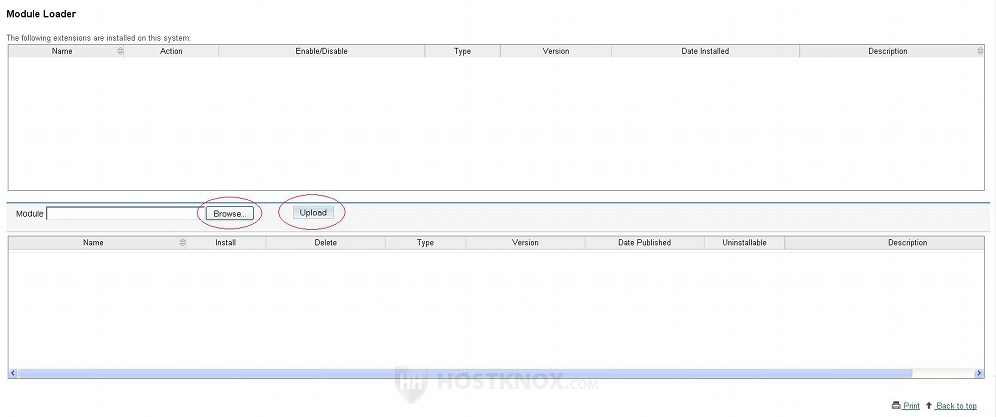
On the home page of the Module Loader there are two tables. The top one is for the installed extensions. There you'll see listed not only all the modules that you have installed, but also all the language packs and themes. The second table is for the uploaded archives that are on your hosting account. Before you can install the module that you downloaded to your local computer you have to upload it to your SugarCRM hosting account. To do this click on the Browse button that's between the two tables to locate the archive, and then click on the Upload button:
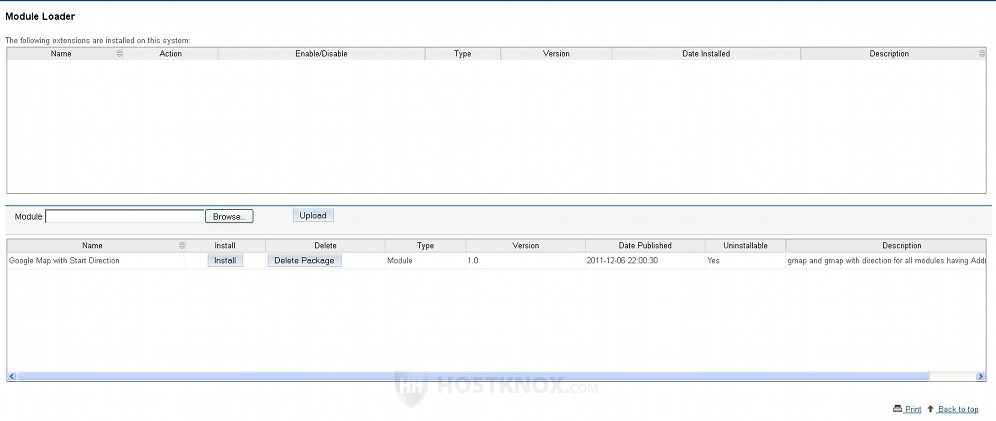
After you click on the Upload button the archive will be uploaded to your account. If your SugarCRM version is compatible with the module, the archive will be listed in the second table of the module loader. In our example, we've uploaded a module called Google Map (it provides a map for addresses of contacts, leads, etc.):
If the module is not compatible with the version of your SugarCRM, you'll receive a message: The uploaded file is not compatible with this version of Sugar. The archive will still be uploaded but it won't be listed in the table of the Module Loader. If your SugarCRM is installed in a folder called sugarcrm in the root public_html directory on your account, you can find the archive in public_html/sugarcrm/upload. If you want to, you can delete that archive from the Files section of the HostKnox control panel or you can use an FTP client.
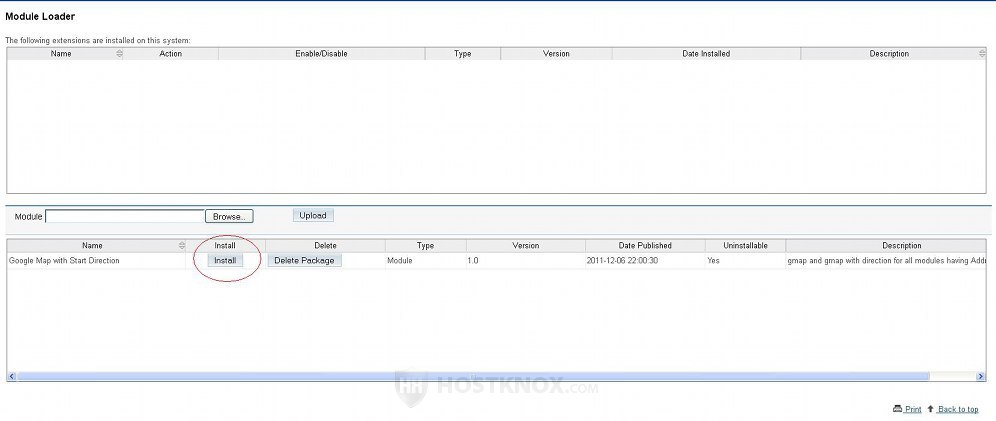
Once you upload a compatible module and it's listed in the second table on the home page of the module loader, you can install it by clicking on the Install button:
You'll be asked to confirm that you wish to install the module and that you accept the license agreement. In our example, the module is free; it's published under the General Public License:
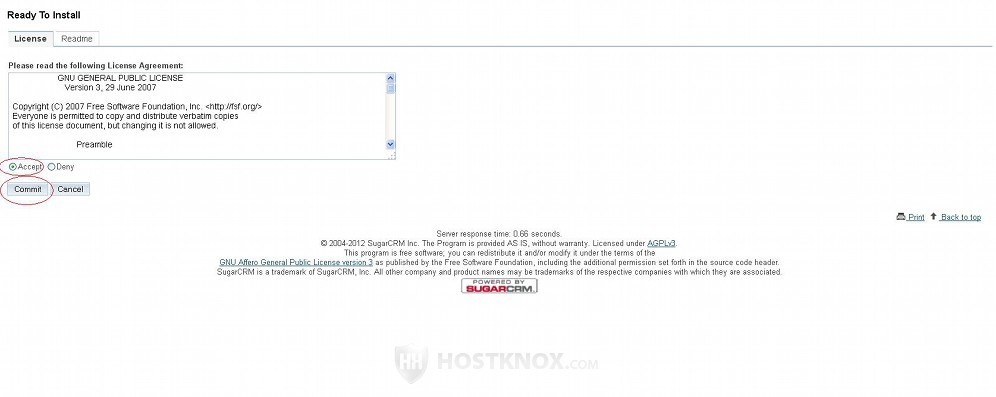
Mark the button for Accept to accept the license agreement and click on the Commit button to proceed.
After you do it the module will be installed and on the next page you'll see a confirmation that the module was installed successfully:
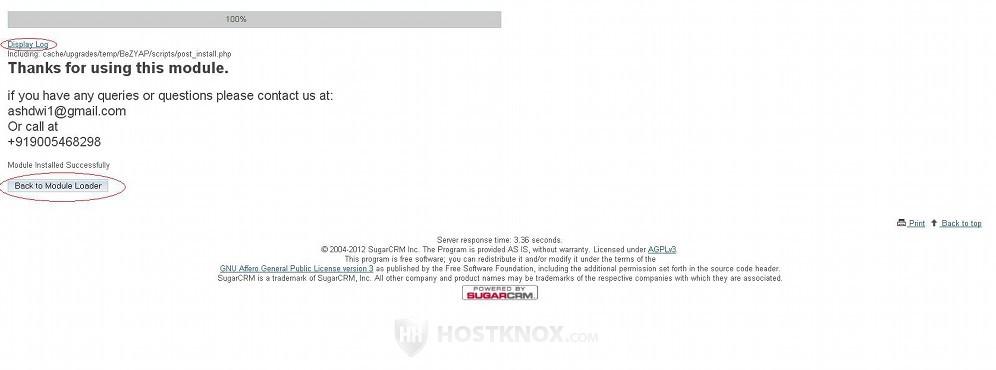
Click on the Back to Module Loader button to go to the home page of the module loader. Before that you can also click on the Display Log button to see a log of the actions that were performed during the installation process.
The module should be enabled by default. When you go to the home page of the module loader it will be listed in the first table. You can disable it or uninstall it by clicking on the corresponding button:
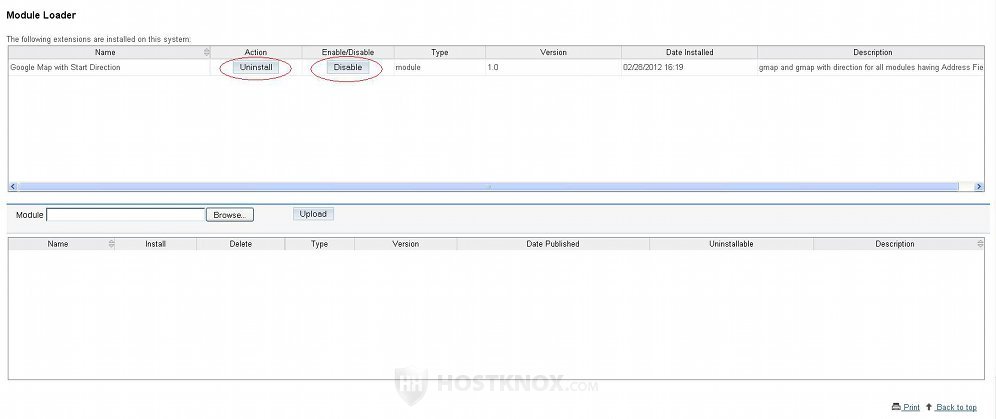
From the same place you can manage all the modules that you install.