Go FTP Tutorial
How to set Go FTP to connect to your hosting account
Go FTP is an FTP (FTPS, SFTP) client for Windows users. It has a free and a paid version.
You can learn more about Go FTP and download it from the official site.
After you download and install Go FTP on your local computer, before setting it to connect to your account, make sure you have an FTP user so that you can connect to your account through FTP. HostKnox clients can create an FTP user from the FTP Usernames section of the HostKnox control panel. Click on the link Add FTP Username, then type a user name and password. You can also restrict the access to a particular directory.
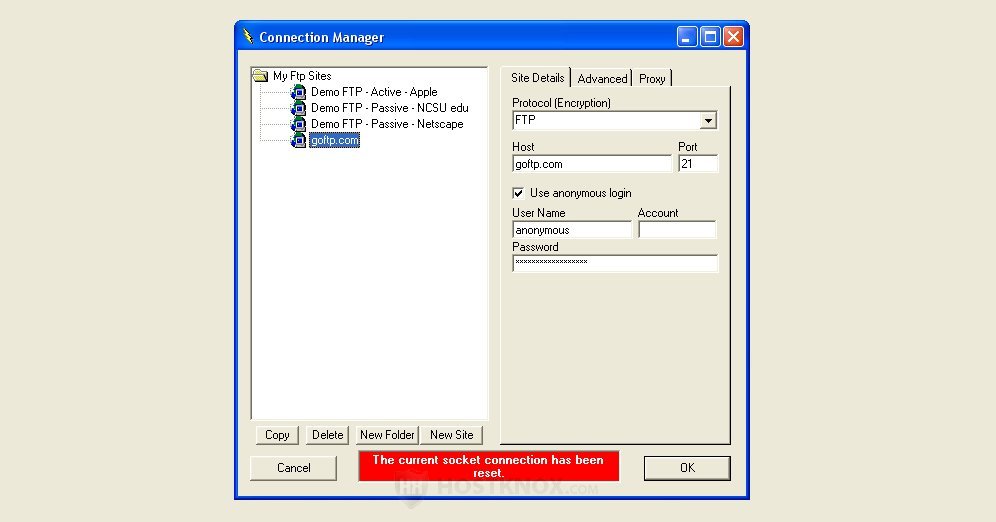
Once you have installed Go FTP and created an FTP user, you're ready to set the application to connect to your account. When you start Go FTP, the Connection Manager opens automatically (it's also accessible at File>Connect) and there's some sample information already filled in:
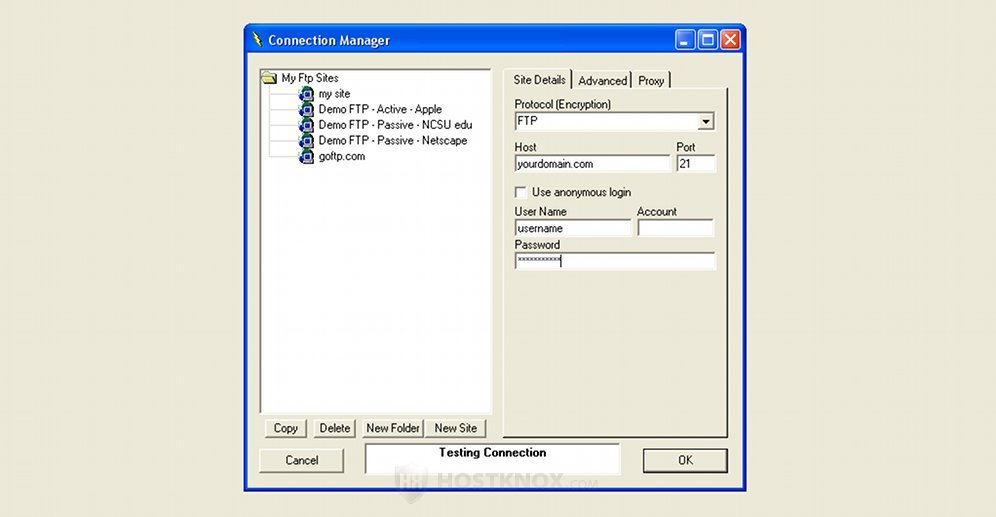
Click on the button New Site to create your account. Then type the name for your site (in this example it's my site), in the Host field enter your domain name (e.g. yourdomain.com) and in the fields for User name and Password type the name and password of the FTP user you created earlier from the control panel. Once you've typed all the information, at the bottom of the window you will see that the Connection Manager is checking it (Testing Connection message in the white area between Cancel and OK):
If the information is valid after a while you'll see a message on green background Data Transfer Test Passed. Then just click on OK to connect to your account and you will see its folders in the right panel of Go FTP; the files on your local computer will be displayed in the left panel:
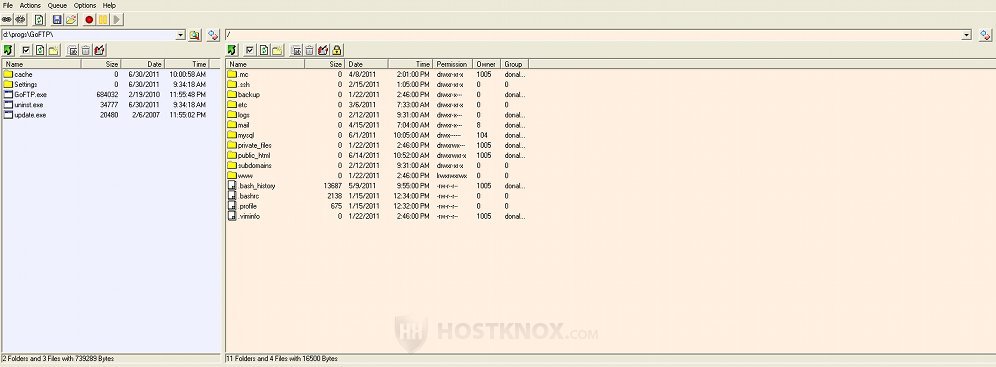
You can download/upload files and folders by dragging them from one panel to the other. Simply click on a file/folder with the left mouse button, keep pressing it, then drag the file/folder and drop it in the desired folder. You can also mark a file/folder with the left mouse button then click the right one and choose from a number of actions: rename, delete, transfer, etc. The buttons over each panel are also useful and can be used for the same purposes.