SugarCRM Languages Tutorial
How to install and manage languages in SugarCRM
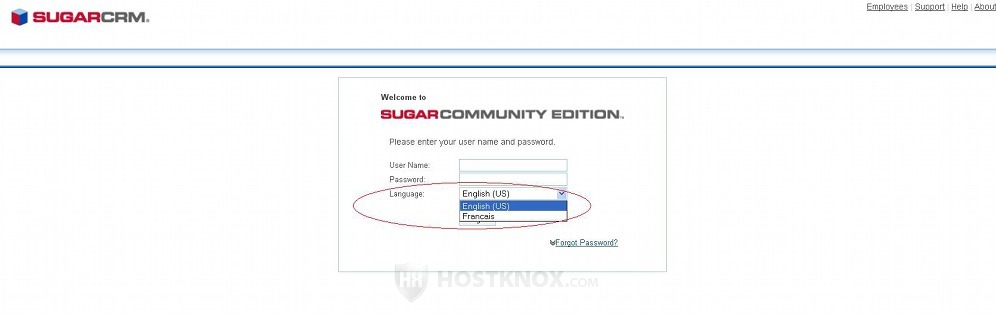
SugarCRM comes prepackaged with one language: American English. Administrators can install additional language packs and make them available to users. When more than one language pack is enabled users can choose which language to use. They can do this by selecting the language from a drop-down menu on the login page (just below the fields for the user name and password).
First, you need to download the language pack from the SugarCRM site. You can find many language packs in the forge section of the official SugarCRM site. For some languages there are several packs. For example, there are a few French language packs; each is provided by a different person or company. So for some languages you can choose from different language packs. Make sure the pack you download is compatible with the version of your SugarCRM.
After you download the language archive, log in to your account in the SugarCRM application and go to the admin panel by clicking on the Admin link in the upper right corner. Then scroll down to the section Developer Tools and click on the Module Loader button:
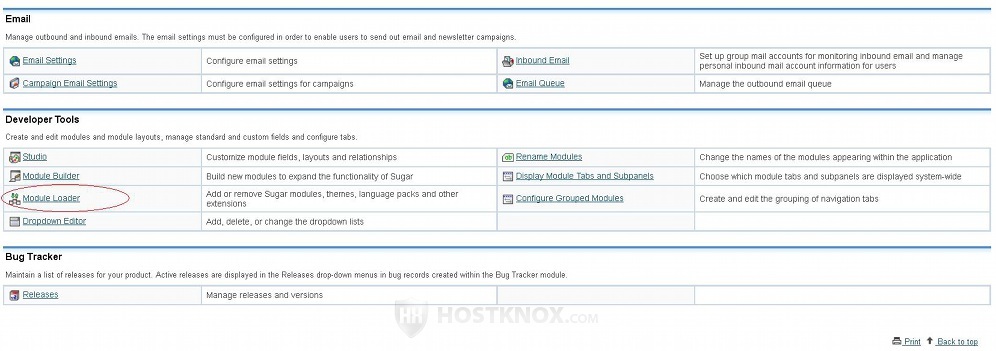
The same loader is actually also used to install SugarCRM modules and themes.
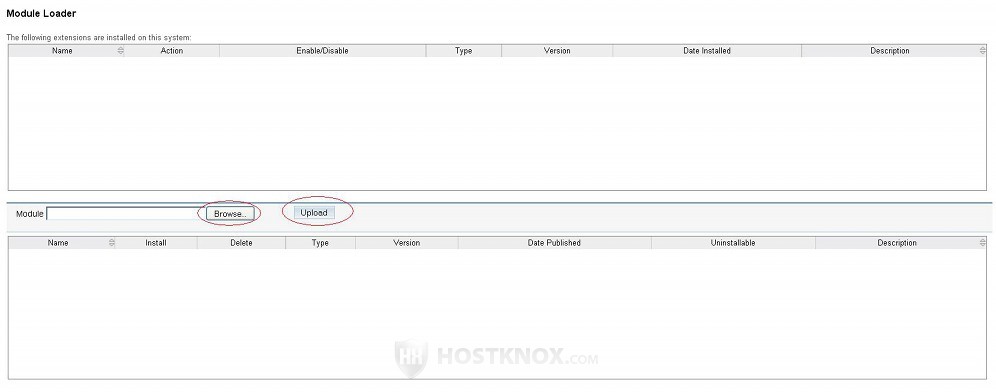
After you click on this button you'll open the built-in automatic installer. On the page that opens you'll see two tables. The first one is for all the modules, languages, etc. that you have installed. If this is the first time you use the loader, the table should be empty. Under the table there's a Browse button. Click on it and find the language archive on your local computer. Then click on the Upload button that's next to the Browse button:
After you click on the Upload button, if the language pack is compatible with your SugarCRM version, it will be uploaded to your SugarCRM hosting account and it will be listed in the second table on the Module Loader page. In our example we have uploaded one of the French language packs:
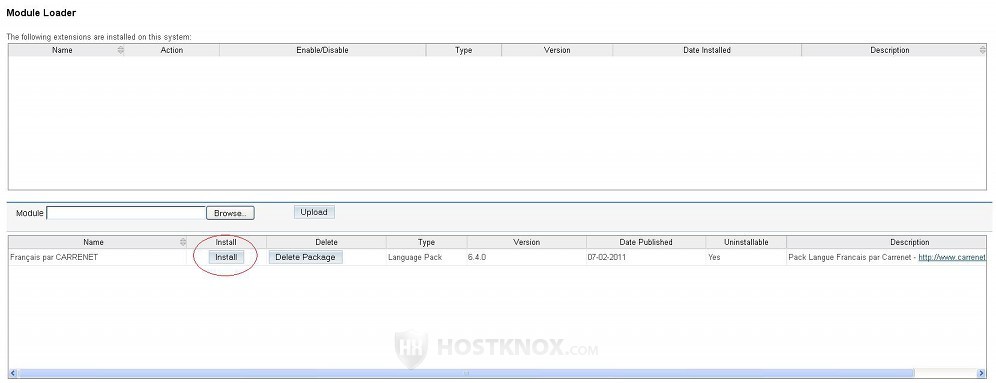
Click on the Install button to install the uploaded language.
If the language pack is not compatible with the version of your SugarCRM application, it won't be listed in the second table but you'll see the following error message instead: The uploaded file is not compatible with this version of Sugar. The zipped archive will be uploaded to your hosting account, but the module loader won't give you the chance to install it. If your SugarCRM is installed in a folder called sugarcrm in the root public_html directory on your account, you can find the language archive in public_html/sugarcrm/upload.
Back to installing the uploaded and compatible language pack. After you click on the Install button you'll be asked by the module loader to confirm that you want to install the package:
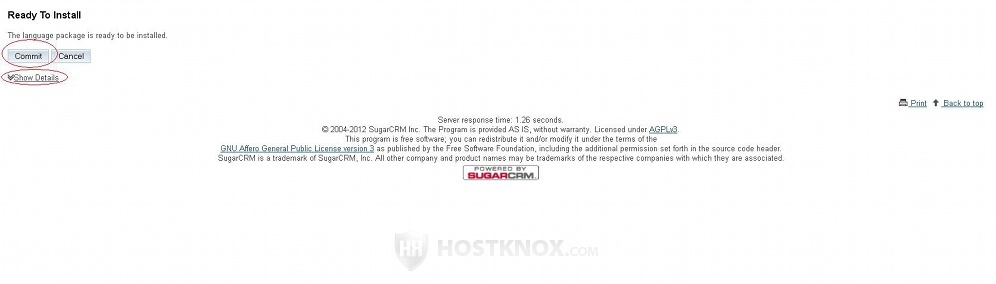
Click on the Commit button to confirm and proceed with the installation process. Under the Commit button there's one labeled Show Details. You can click on it to see a list of the files that are about to be copied from the uploaded language archive to the appropriate SugarCRM folders.
Once you click on the Commit button the language pack will be installed and you'll see a message informing you about the successful completion of the installation:

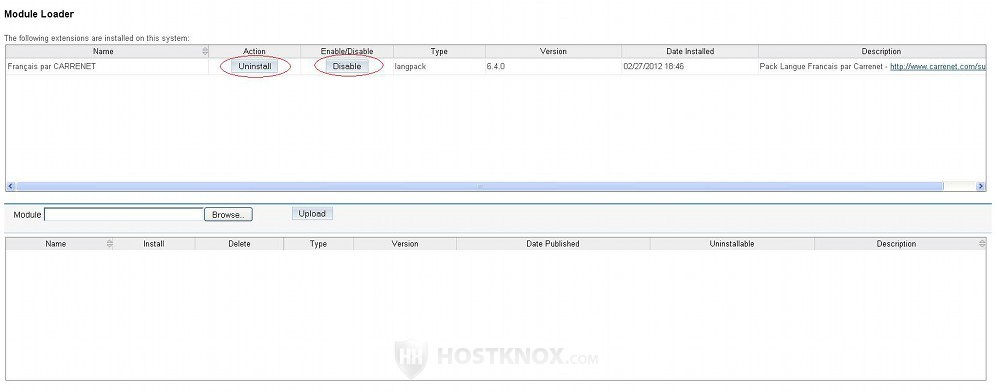
Click on the button Back to Module Loader to return to the home page of the Module Loader. There the language pack will be listed in the first table (the one for the installed extensions). There are two buttons which you can use to disable or to uninstall the language:
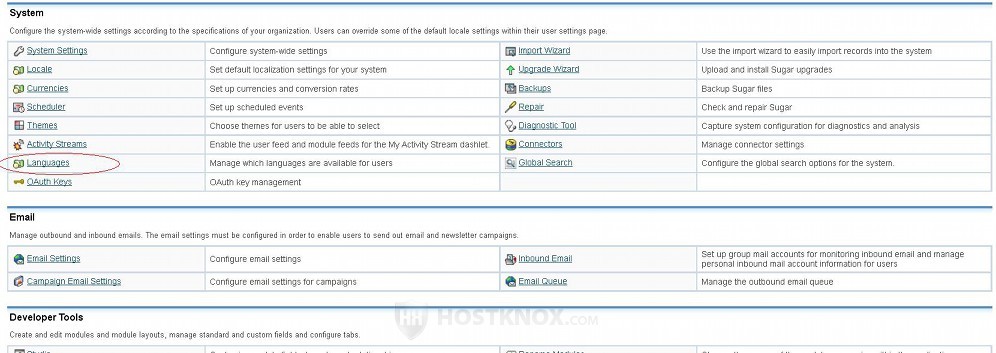
When it comes to disabling and enabling languages, there's also another way to do it. The admin panel has a section from which you can enable and disable all languages. Go back to the admin home page, scroll down to the section System and click on the Languages button:
You'll see two columns. One is for the enabled languages and the other is for the disabled languages. When you install a new language it should be enabled by default:
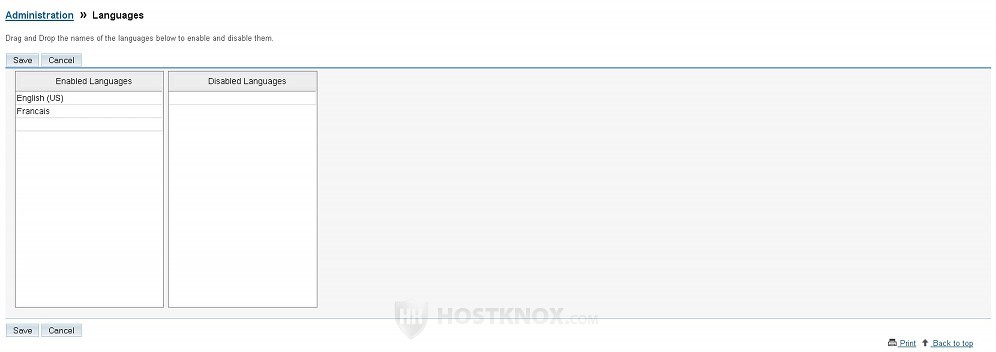
To enable or disable a language just move it from one of the columns to the other. To do this hover the mouse pointer over the name of the language, press and hold the left mouse button, and drag the language to the column. Then click on the Save button to apply the change.
As we mentioned, when there are at least a couple of languages enabled, the user can choose which one they want to use. They can do this before they log in: