SugarCRM Installation Tutorial
How to install SugarCRM
In this tutorial we'll show you how to install SugarCRM Community Edition on your SugarCRM hosting account.
First you have to add a new MySQL database in which to install the application. You need a separate database. HostKnox clients can create databases from the Databases section of the HostKnox control panel. Just click on the Add Database link on the right. On the page that opens type a name for the database (e.g. masteruser_sugarcrm) and a username and password for the database user. If you have other databases, for security reasons it's a good idea to add a username and password different than those for the other databases.
After that you have to download the last stable version of SugarCRM. You can do this from the download section of the official SugarCRM site (the community edition is free). Then unzip the downloaded archive. It should contain a parent directory with the name of the version (e.g. SugarCE-6.4.0). Inside this parent directory are all the folders and files that you need.
You have to upload those files and folders to your hosting account. If you upload them directly to the root public_html directory on your account the application will be accessible at yourdomain.com. If you upload them in a subfolder on your account, for example public_html/sugarcrm, the application will be accessible at the URL address corresponding to the particular location (e.g. yourdomain.com/sugarcrm). You can use an FTP client (e.g. FileZilla) to upload the files and folders.
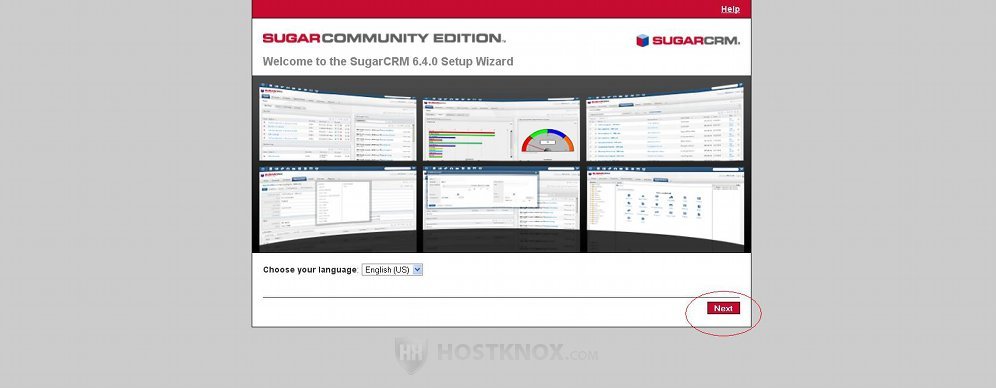
Then you have to access the application with your browser using the URL address corresponding to the location of SugarCRM on your hosting account. For example, if you uploaded the SugarCRM files and folders in a folder called sugarcrm in the root public_html directory on your account, you have to use the URL address yourdomain.com/sugarcrm in the browser. Once you do this the installation process will begin. On the first page of the setup just click on the Next button in the lower right corner of the window:
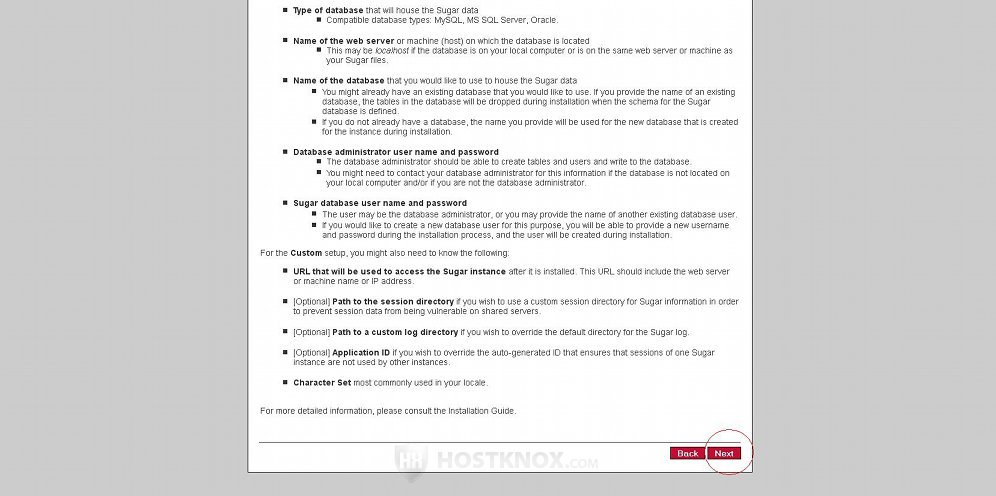
On the next page you'll see listed some system requirements, as well as the information that you need to be able to complete the installation (e.g. database information, etc.). All HostKnox servers provide a suitable environment for SugarCRM to function properly. To continue with the installation process just click on the Next button:
On the next screen is the license agreement:
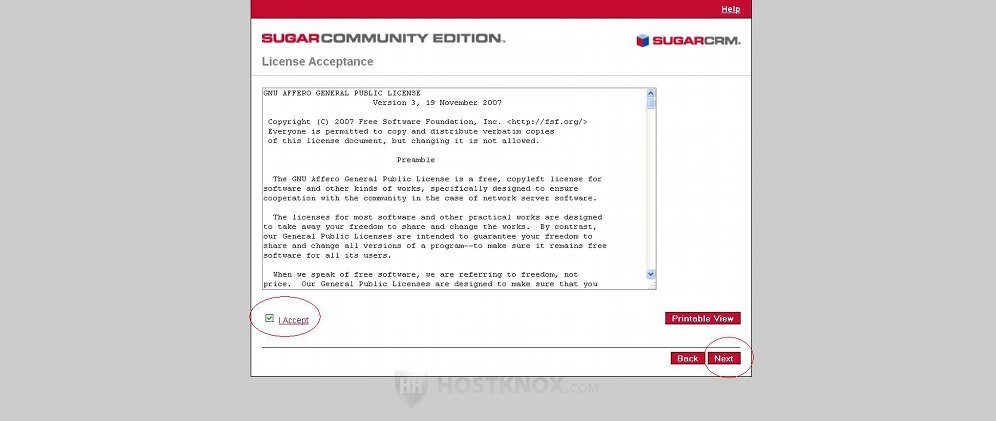
Mark the checkbox in front of I Accept and then click on the Next button.
On the next page you can choose the install type: Typical Install and Custom Install. The only difference between the two is that the custom install type gives you a few additional settings that are optional. The button for Typical Install is marked by default:
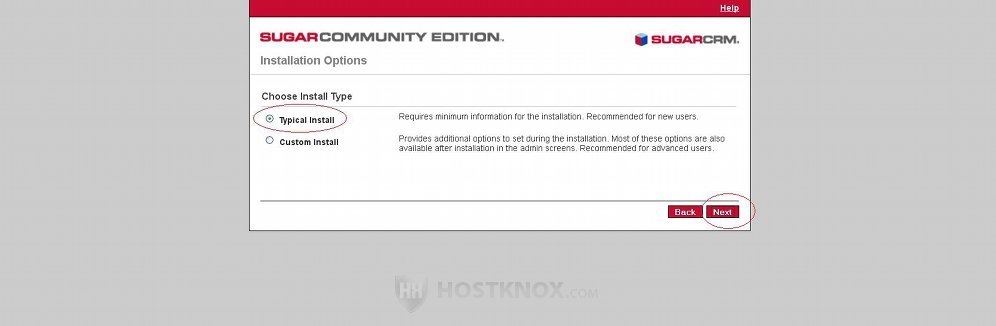
Leave it like this and click on the Next button to continue.
The next page is for the database type. HostKnox uses MySQL:
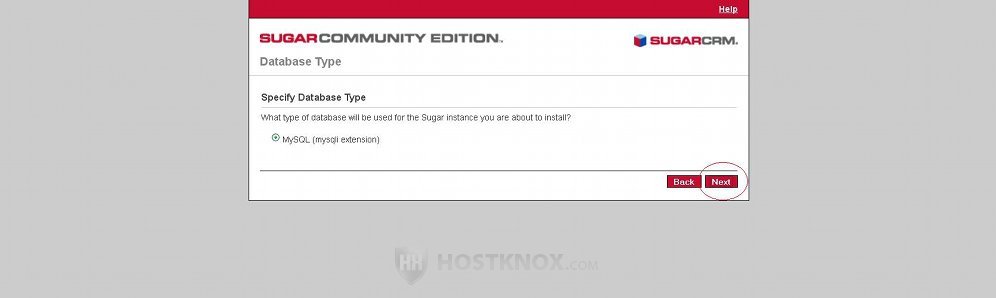
Click on Next to proceed.
On the following screen you have to provide the database details:
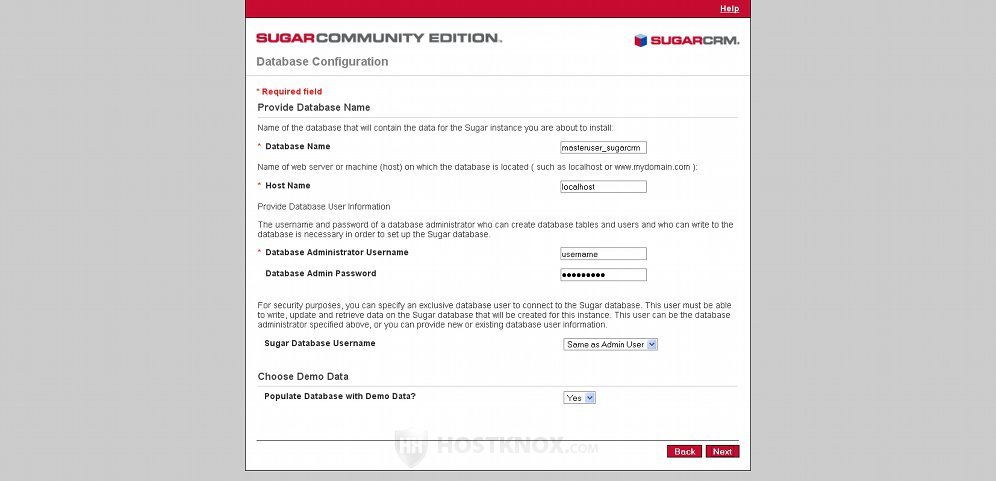
Let's go over the options:
- Database Name - type the full name of the database that you created for the SugarCRM installation (e.g. masteruser_sugarcrm).
- Host Name - in the field for this option simply type localhost.
- Database Administrator Username - type the username for the user that you added to the database.
- Database Admin Password - type the password you specified for that user.
- Sugar Database Username - just leave the drop-down menu to the default Same as Admin User.
- Populate Database with Demo Data - from this option you can choose whether you want the sample data to be installed or not. By default, it's set to No. If you want to install the sample data, just set the drop-down menu to Yes. If you haven't used SugarCRM it's a good idea to install the sample data. It will make it easier for you to find your way around.
After you're done with the settings click on the Next button in the lower right corner. Once you do it you'll be notified that the database exists, and that if you accept to use it, all its content will be deleted and replaced with the tables for the SugarCRM application:
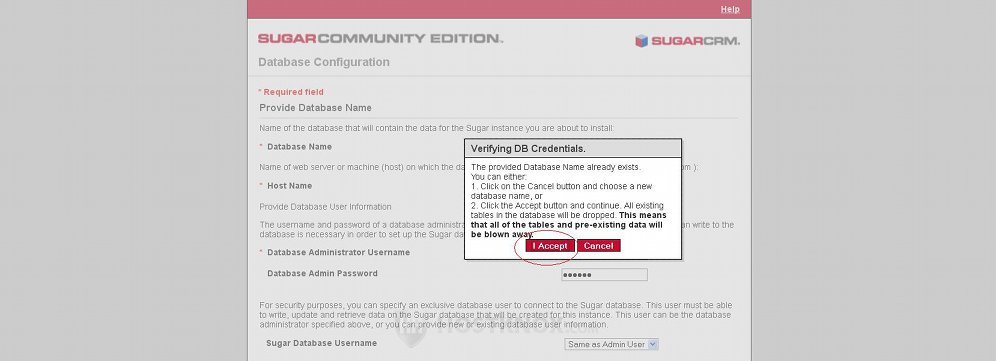
Since your database is a newly created one and there's nothing in it, you don't have to worry about anything. Click on I Accept.
On the next page you have to specify the credentials for the administrator that's about to be created during the installation:
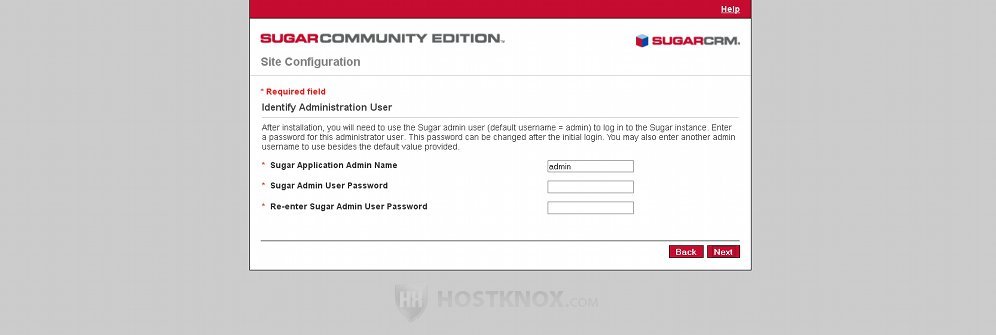
You'll use these credentials to log in to your SugarCRM application. By default, the admin name is set to just admin. For security reasons it's recommended to change it to something less obvious. Then type the password that you want to use for the admin account in the respective fields. Make the password at least 8-10 characters long. Use a random combination of upper and lower case letters, numbers and symbols. After you're done click on the Next button.
The next page shows a summary of all the settings (including PHP settings):
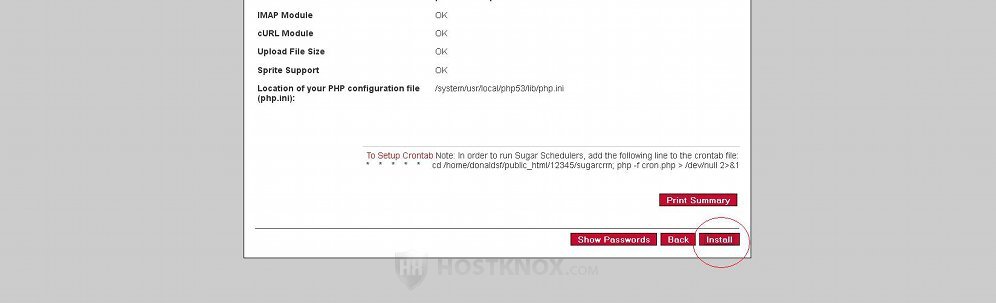
You don't have to change anything on this page. You only have to start the installation process by clicking on the Install button in the lower right corner.
After you click on the Install button SugarCRM will perform the necessary operations for the completion of the installation process. You will see them listed on the next page, as well as a message informing you that the setup process is complete:
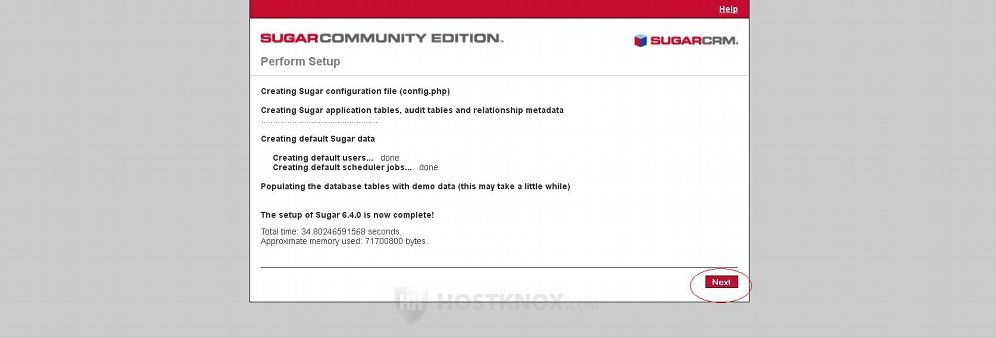
Click on the Next button to continue.
On the next page you can register to receive the SugarCRM newsletter and other information:
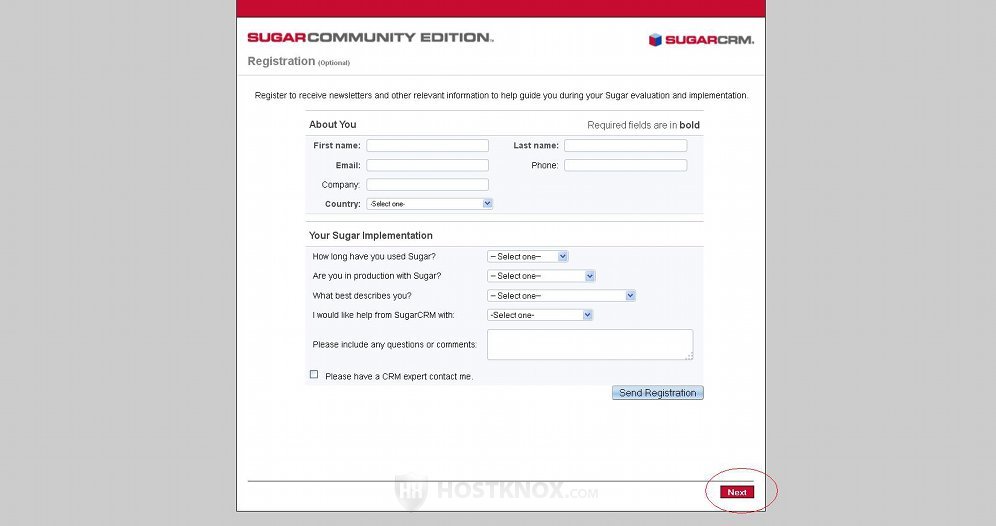
This, of course, is optional. If you want to register, fill out the necessary information. If you don't want to do it, just skip it. In any case click on the Next button. When you do it you'll be taken to the login page of your SugarCRM. You can log in using the admin credentials that you provided earlier.
After you login the page layout will be a bit scrambled and without style sheets:
To fix this you have to change the permissions of some files and folders of your SugarCRM installation. You have to change the permissions of the files config.php and sugarcrm.log, as well as of the folders cache, custom, data, modules, including their subdirectories. They are all in the root SugarCRM directory on your hosting account.
For example, if you installed your SugarCRM in a folder called sugarcrm in the root public_html directory on your account, the path to config.php would be public_html/sugarcrm/config.php. You have to change the permissions of the two files (config.php, sugarcrm.log) to 664 (rw-rw-r--), and the permissions of the folders (together with their subfolders) to 755 (rwxr-xr-x). You can do this with an FTP client. For more information on permissions and how to change them read the tutorial on file and folder permissions.
After you use your application a bit, some subdirectories will probably be added to the cache folder, and they will have the wrong permissions. So it's a good idea to check the subfolders once you've used your SugarCRM for a while, and if there are any that are not with 755 permissions, change them to 755.
Now your SugarCRM should be good to go.