SugarCRM Roles Tutorial
How to create roles and assign them to users in SugarCRM
In SugarCRM administrators can create roles and assign these roles to regular users. The roles can be used to control which modules the user can access and what actions the user is allowed to perform. If the regular user is not restricted by any roles, they can access all modules and perform all actions. They can't do only the things that are allowed to administrators. Roles can be used only to limit what regular users can do. You cannot give them more rights using roles.
You can assign one role to many users and one user can be assigned to several roles. When a user is assigned to more than one role the more restrictive is taken into account if, for example, one role allows an action and another forbids it.
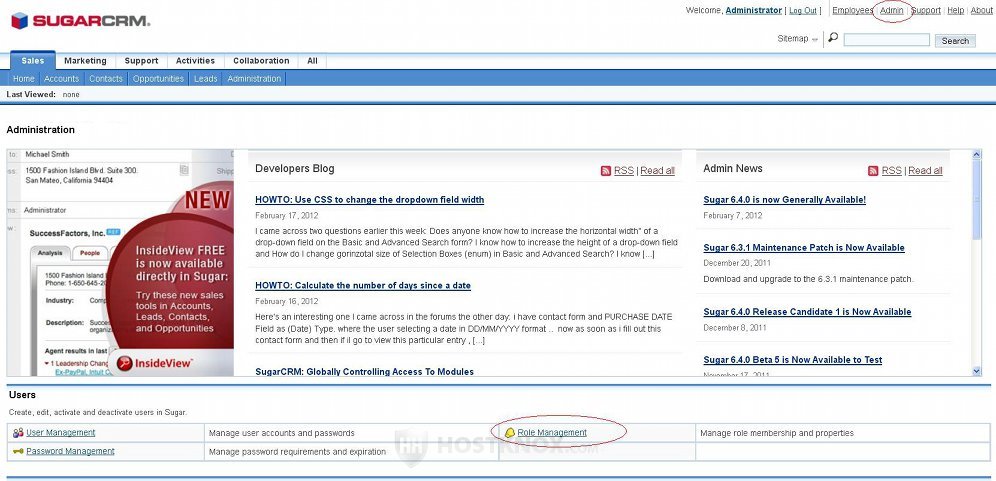
Before you can assign a role to a user you have to create that role. To do this, after you log in to your account in the SugarCRM application click on the Admin link in the upper right corner to open the admin panel. Then click on the Role Management button:
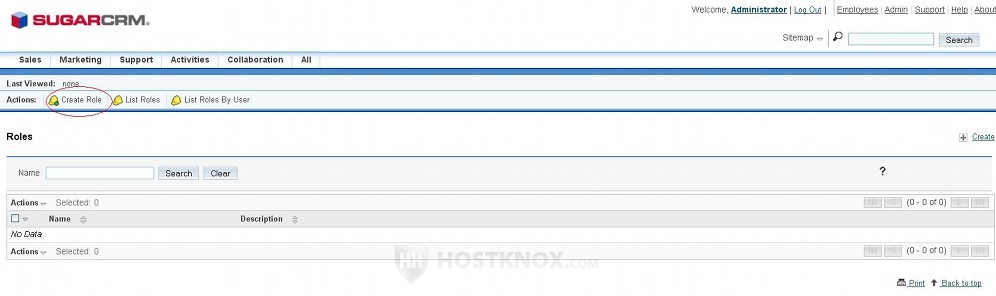
On the page that opens there's a table that displays the existing roles, if any. You can edit these roles, if necessary. To create a role click on the Create Role button that's in the navigation bar:
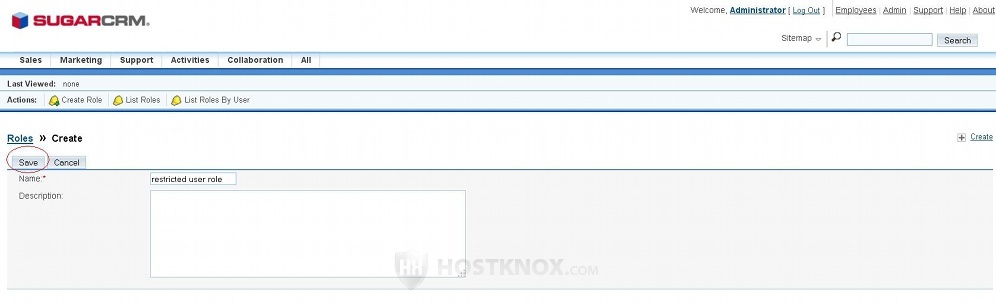
On the Create screen you have to type a name for the role in the field for Name; in our example it's restricted user role. Optionally, you can also add a short description of the role in the corresponding text area:
Then click on the Save button. After you do it a table will be displayed. In the first column of the table are listed all the modules. The second column is for the access permissions for each module, and the rest of the columns are for the permissions for the different actions:
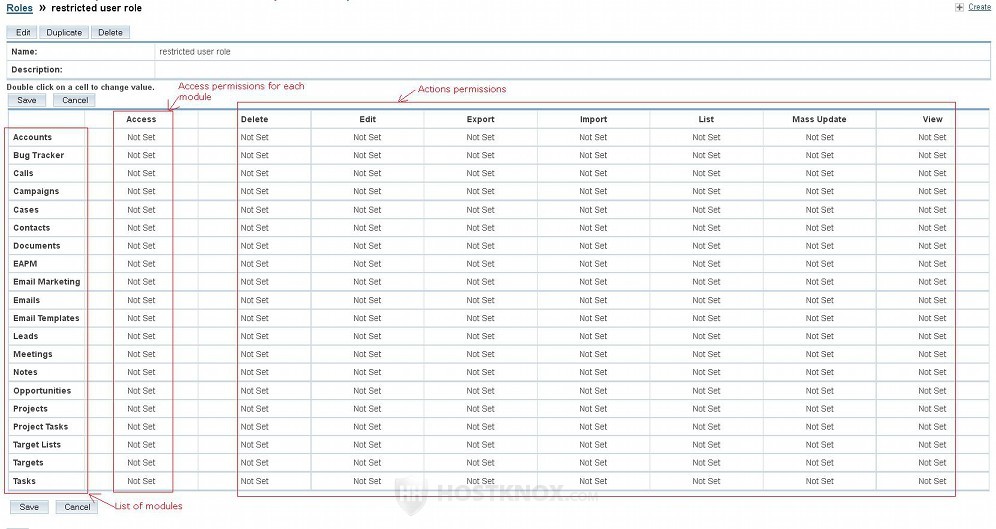
By default all the permissions are set to Not Set. When you click with the left mouse button on a permission it turns into a drop-down menu from which you can choose the different permissions. The Access permissions can be set to Not Set, Enabled or Disabled:
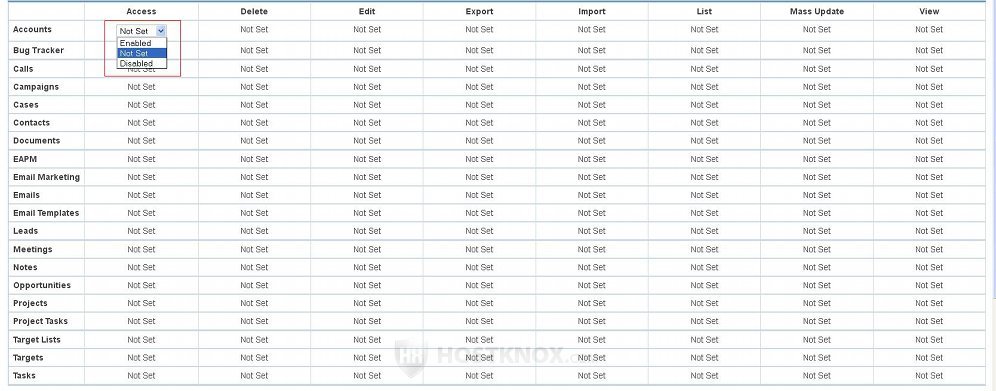
The Enabled permission allows the user to view and access the module; when the access permission is set to Disabled the module will be hidden from the user. When the access permission is set to Not Set the user will also have access to the module. So if you want the role to give access to all modules you don't have to set each to Enabled, you can just leave the default Not Set value.
The other columns in the table are for the actions that the user can or can't perform with records in the particular module. The permissions for the actions are changed in the same way. Just click with the left mouse button in the box for the desired action and corresponding to the module for which you want the action to apply, and a drop-down menu will appear from which you can select a value. The available values are All, Owner, None, Not Set:

When the permission for an action is set to All this means that all the users who are assigned to this role can perform the action. When the permission is set to Owner, only the person who created the record can perform the action. For example, the same role is assigned to two users. In that role the Delete action for the module Documents is set to Owner. This means that when a document is created by one of the two users only the same user will be able to delete that document. If the permission is set to All, however, in the same scenario both users will be able to delete the document.
The None permission for actions means that users who are assigned to this role won't be able to perform the action. The Not Set permission is equal to All. This means that if you don't change the action permissions for that role, all users who are assigned to it will be able to perform all actions.
After you're done with the permissions click on the Save button to keep the changes. There's one button at the top of the table with the permissions and another one just below the table.
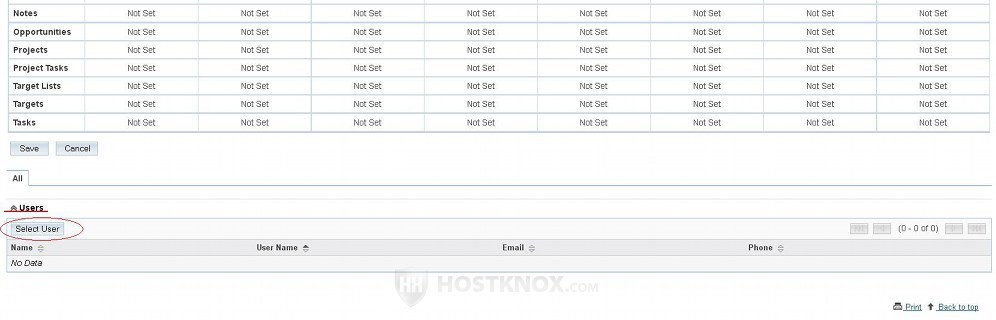
Now that you have created the role you can assign it to users. To do this scroll to the bottom of the same page. Under the table with the permissions there's a section labeled Users. Click on the button Select User:
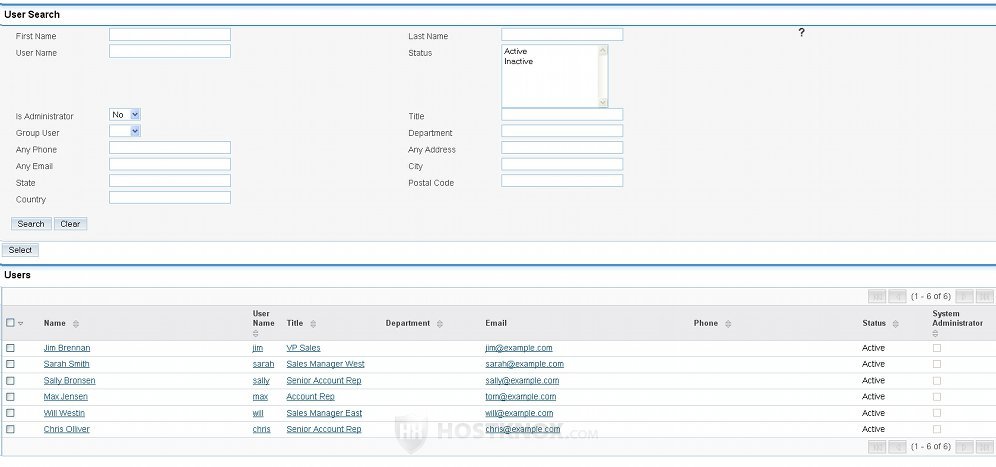
On the new screen that opens you can perform a search to find a particular user, or you can select that user directly by clicking on their name in the table listing all the users (you can select more than one user at the same time):
After you click on the user's name they will be added to the role:
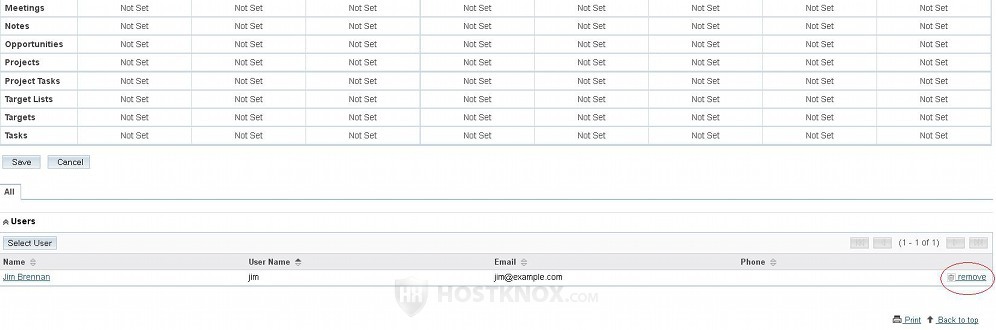
You can remove the user by clicking on the remove button corresponding to the user. When you do it the user will no longer be assigned to the role.
There's also another way to assign users to roles. You can do this from the options for the user. Go to the admin panel by clicking on the Admin button in the upper right corner of SugarCRM. On the admin panel click on the button User Management. This will display a table with the users that you have created. Click on the name of the user that you want to assign to a role. This will show the settings for that user. There are three tabs with user settings: User Profile, Advanced, Access. Click on the Access tab:
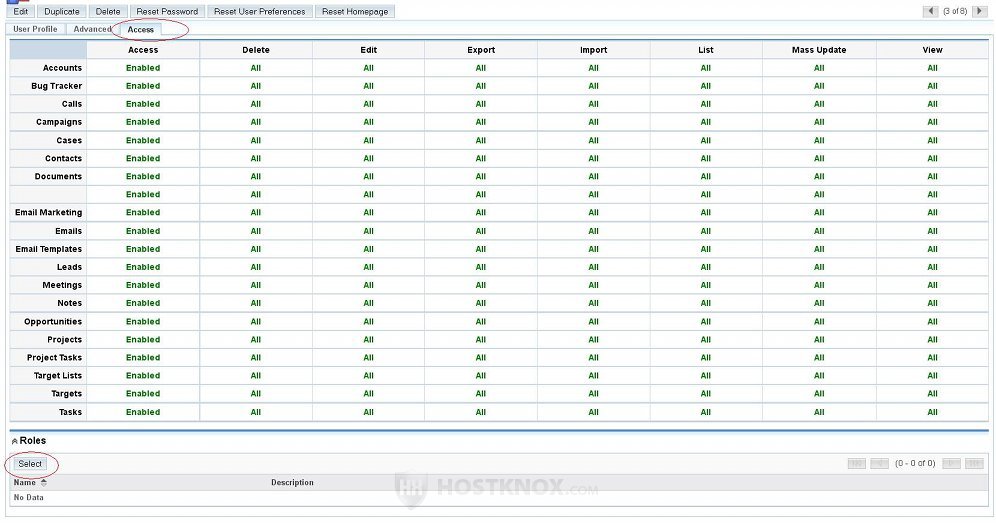
This will show a table with the current permissions for that user. Under the table there's a section Roles. Click on the Select button. This will open a new screen with a table containing the roles that you have created. Click on the role that you want to be assigned to the user.
It's worth mentioning that while you're creating a user there are only two tabs with settings: User Profile and Advanced. Once you add the user the third tab (Access) will appear.
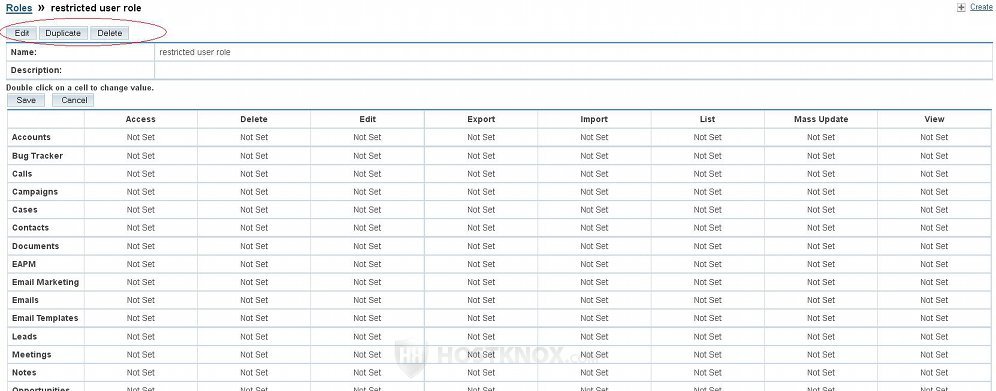
You can edit any of the roles that you have created. To do this go to the admin panel and click on the Role Management button. Then click on the role that you want to edit or delete. This will display the table with the permissions for that role. You can change them if needed. This will affect all the users who are assigned to this role. To edit the name of the role or the description click on the Edit button that's above the table. You can also delete or duplicate the role by using the respective buttons:
As we mentioned earlier, below the table with the permissions is the Users section which you can use to assign users to that role, or to remove ones that are already assigned.