SugarCRM Initial Settings Tutorial
How to configure the initial SugarCRM settings
After you install SugarCRM and you log in to the application for the first time, you'll be prompted to configure some initial basic settings. In this tutorial we'll go over these settings. Of course, you can skip them and configure them later or at any time. In this tutorial we assume that you're logging in as the administrator, but the second part of the tutorial, after the general settings for the application, describes settings that also apply to a regular user logging in for the first time.
The first page that appears right after you log in for the first time is just an introduction informing you that you'll be given the chance to configure some basic settings:
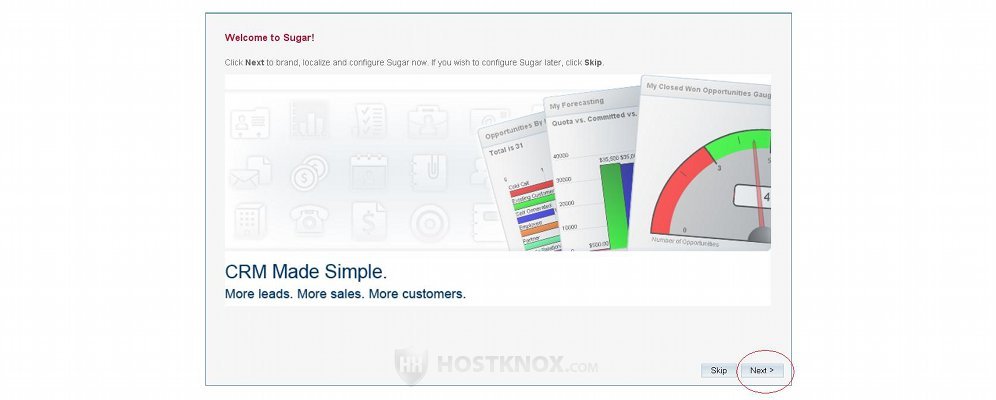
Click on Next to continue to the next page.
On the next screen you can type the organization's name that will be displayed in the title bar of the browser. You can also upload a new logo to replace the default SugarCRM logo. To do this just click on the Browse button to find the image on your local computer. The default logo dimensions are 212 x 40 pixels, so it's advisable to resize/crop the image to those dimensions before uploading it:
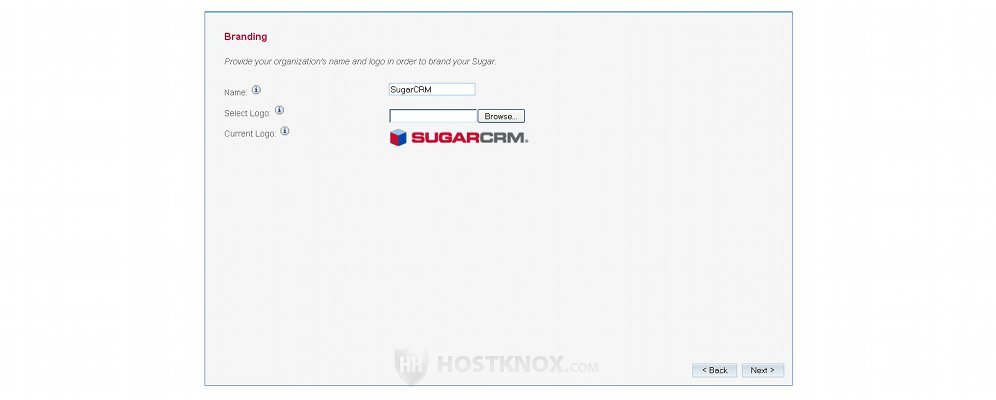
After you're done with the settings click on Next.
On the next page are the system locale settings:
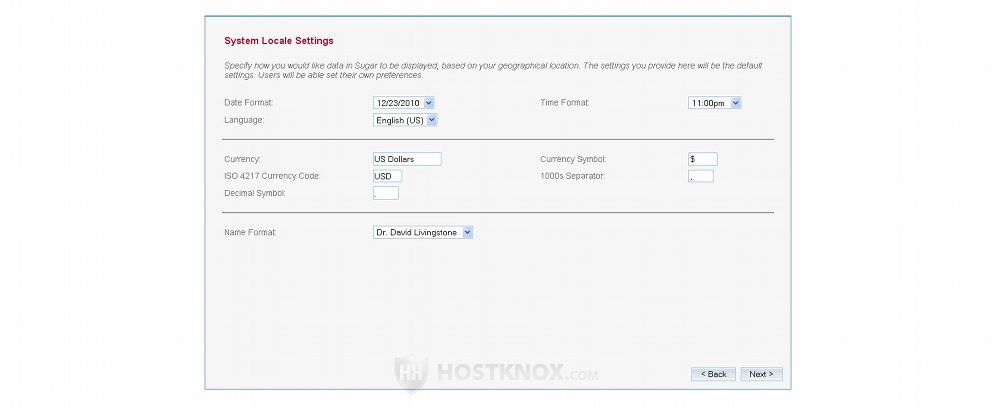
You can select the date and time format. The default language is set to English but later you can install other language packs, and users will be able to choose from the languages that you have provided. You can also select the name display format.
There are some currency options too. You can select the currency, the currency symbol, the decimal symbol and the thousands separator (a comma by default). By default, SugarCRM is set to work with US dollars, but you can change the currency. If you do, you'll also have to provide the ISO 4217 currency code. After you're done with the settings click on the Next button.
On the following page you can provide the email account's details. This email will be used to send notifications, alerts, etc. to users (employees). At the top of the page there are four big buttons: Gmail, Yahoo! Mail, Microsoft Exchange, Other. By default, the Other button is selected. It allows you to configure the settings for any SMTP server:
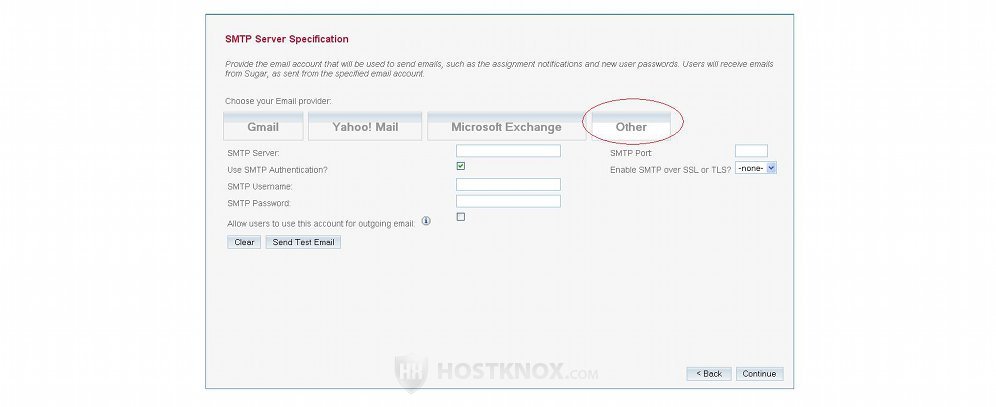
For example, you can use the settings displayed by this button to configure SugarCRM to use a mail account that you have created from the Email section of the HostKnox control panel (an email having your domain name in it). For more information on how to do it read the tutorial on creating a mail account.
In the field for SMTP Server type the name of the server hosting your account (e.g. servername.hostknox.com), or the domain name if you don't plan to use encryption. Leave the checkbox for Use SMTP Authentication marked. In the field for SMTP Username provide the full email address (e.g. name@yourdomain.com) as you have created it from the control panel. In the field for SMTP Password type the password for that account. If you want to use encryption, set the drop-down menu Enable SMTP over SSL or TLS to SSL. The port number should change automatically to 465, so make sure that the number in the field for SMTP Port is 465. If you don't want to use encryption, leave the drop-down menu to none, and set the port number to 587.
If you want to allow other users to use the same account for outgoing mail, just mark the checkbox for the corresponding option. If you don't do it, users will still be able to use the outgoing server provided you create a mailbox for the particular user, and you give the login credentials to that user. We'll come to this again a bit further down in this tutorial.
Then you can test to see if everything works properly. Click on the button Send Test Email. You'll be prompted to provide an email address to which the test mail will be sent; the test mail will be sent from the outgoing server that you specified earlier. Check whether you've received the test mail to make sure that the settings for the outgoing server are the correct ones.
You can also use an account in Gmail or Yahoo, for example, as the system email. Just click on the corresponding button and provide the full email address and the password:

After you're done with the email settings click on the Continue button in the lower right corner.
After these general settings that concern the whole system there are some personal settings which will apply to you as a user (and an administrator). The same settings are shown to all regular users who log in to their account for the first time.
On the next page you can provide some personal information such as your name, phone number, city, etc.:
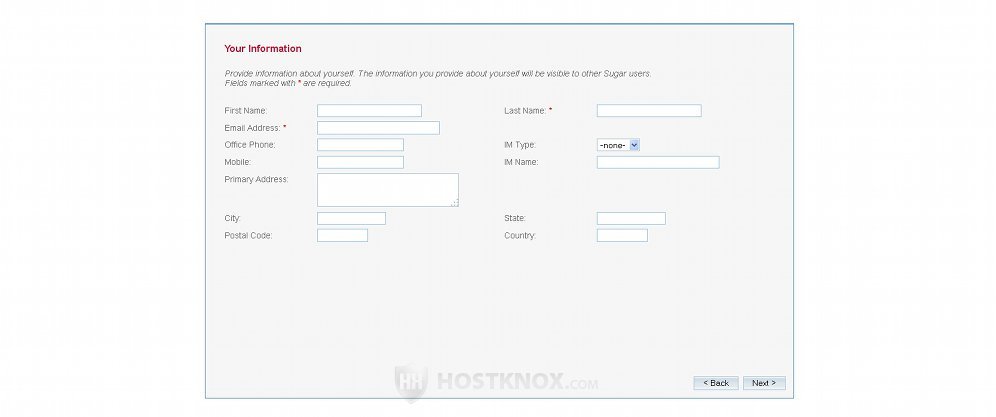
The information will be available to other users. The required fields are marked with a red asterisk; in this case the fields for Email Address and Last Name. The email address is for incoming mail.
When a regular user (logging in for the first time) comes to this page it will be filled out with the information that the administrator has provided while adding the user account. The user can change that information. By default, the administrator only has to provide the username, last name and email address of the user when creating an account. Click on the Next button to continue.
On the following screen you can configure your locale settings. The options are similar to the ones for the system locale:
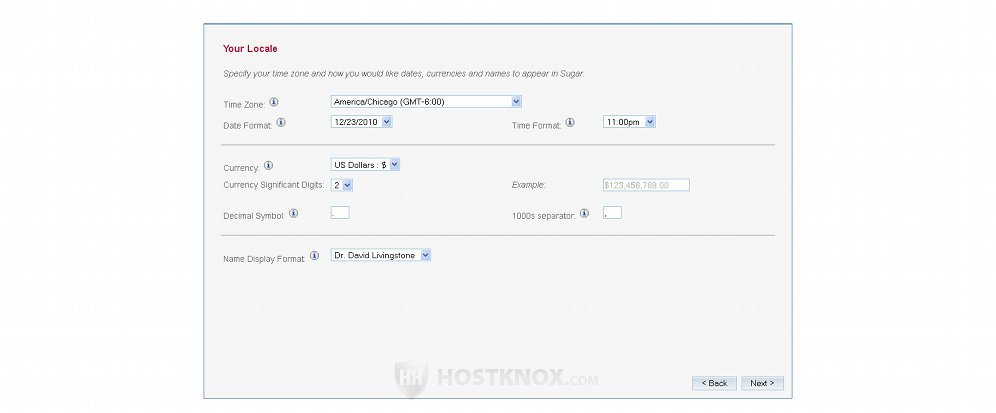
You can configure the time zone, date and time format, currency settings, etc. When you're done click on the Next button.
On the next screen are the settings for the email account:
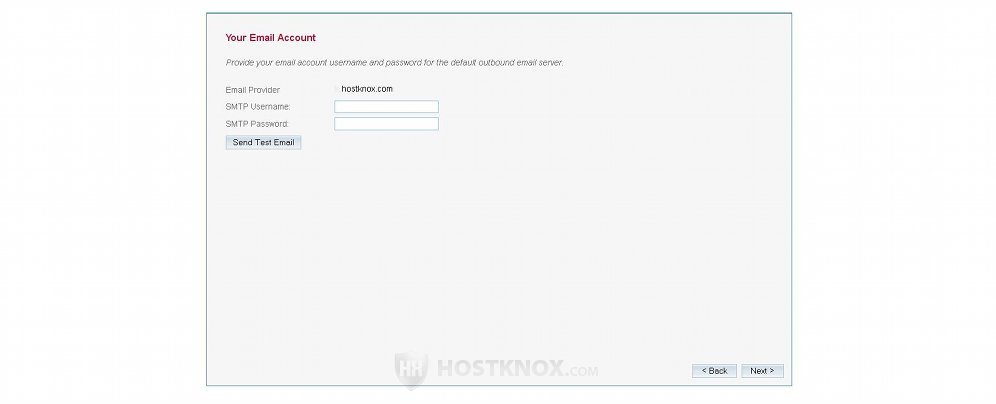
These settings concern the email account that uses the outgoing SMTP server that you configured earlier.
The settings for the outgoing server are already configured, so you only have to provide the full email address and the password in the fields respectively for SMTP Username and SMTP Password. As an administrator you can decide to use the system email address that's used for notifications and alerts, or you can use another personal email address.
As we mentioned earlier, regular users can also use the same outgoing server. If you enabled the option that allows them to use the system email account, they won't be shown this page. If you haven't enabled that option, they can use the same outgoing server but you have to provide them with their own email address and password by adding an email account (HostKnox clients can do this from the Email section of the HostKnox control panel.
Both administrators and users can have many other email accounts including ones in web-based mail systems such as Yahoo, Gmail, Hotmail, etc. Once they log in their SugarCRM account they can add these mailboxes from the settings for their SugarCRM account. They can choose which one to use as the primary email account. These accounts will be used for receiving email messages. If the messages are sent through SugarCRM, the email account for the outgoing server will be used. Of course, the same email account can be used for both sending and receiving. In the case of regular users, however, this can only be done if they have their own credentials for the outgoing mail server.
After you're done on this page click on Next. What follows is the final page:
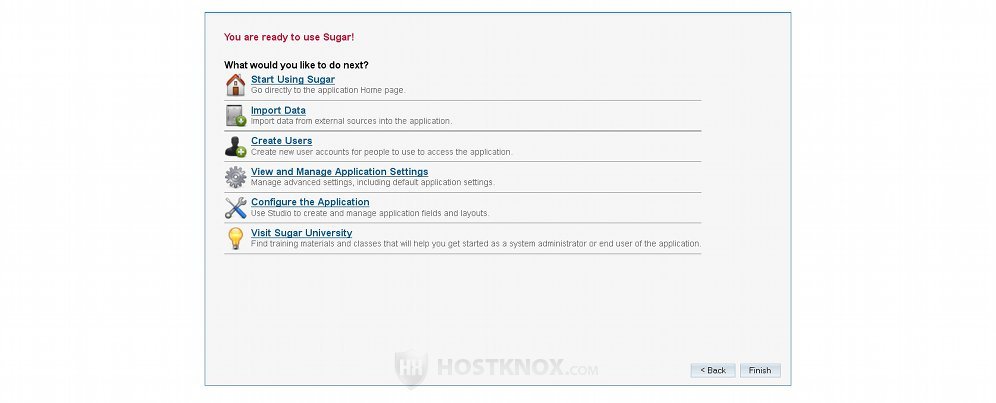
Just click on the Finish button in the lower right corner to go to the home page of the application. Of course, you can also use one of the links which lead to different places within the application.
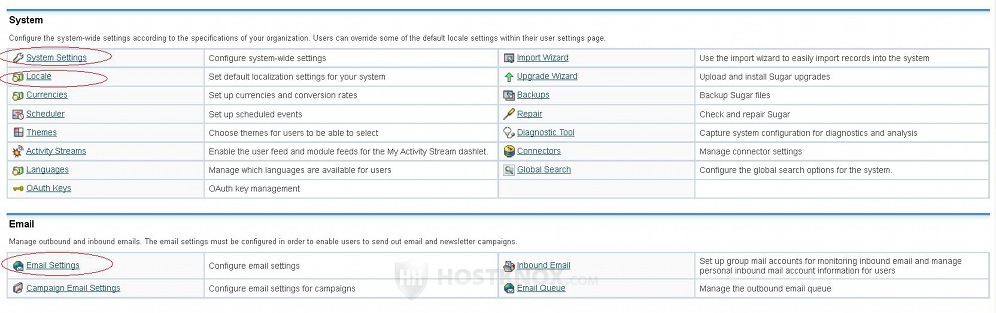
Once you configure the basic settings for the application (e.g. branding, system locale settings, SMTP server settings), you can change them from the admin panel of the application. To do this, after you log in as an administrator click on the Admin link in the upper right corner of the SugarCRM home page:
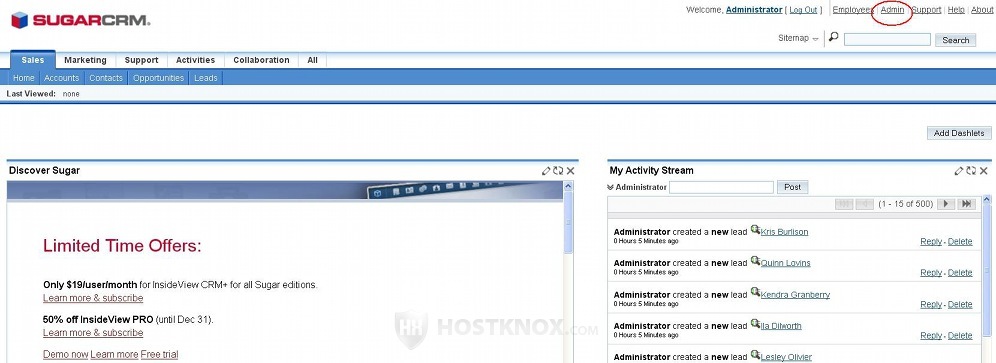
This will open the admin panel from which you can access and modify the various settings. To change the branding settings (system name, logo), as well as some other settings, click on the link System Settings in the System section. To change the system locale settings click on the Locale link in the same section. To change the email settings click on the Email Settings button: