Magento Attributes Tutorial
How to configure and manage attributes in Magento
In Magento attributes are used to describe products; for example, the price, size, manufacturer, etc. of a product are all its attributes. When you add/edit products you can specify and change the values of these attributes. Magento comes preconfigured with many attributes which you can edit, and you can also add and configure new attributes according to your needs. Attributes can then be added to attribute sets which you can select when adding new products. For more information on this check out our Magento attribute sets tutorial.
In this tutorial we'll describe how to configure attributes and we'll examine the available attribute settings.
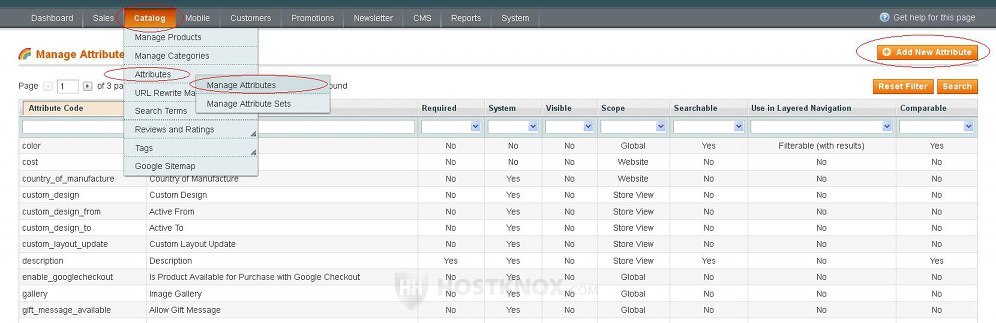
To add and edit attributes, log in to the admin panel of your Magento, go to the Catalog tab in the top navigation bar, then to Attributes and select Manage Attributes from the menu that appears. On the following page you'll see a table with the preconfigured attributes. To edit any of them click on its row in the table, and to add a new one click on the Add New Attribute button that's above the top right corner of the table:
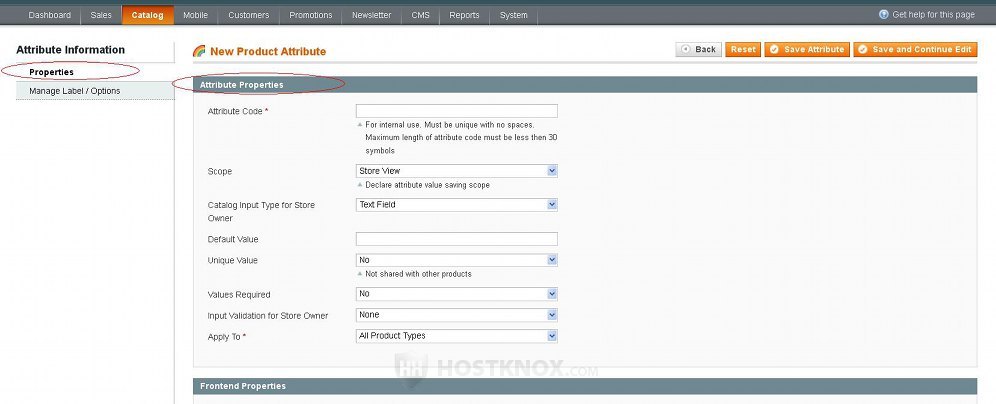
On the page that opens there are two buttons on the left: Properties and Manage Label/Options. You can use them to switch between the different attribute settings. The Properties tab is clicked by default. On the Properties page there are two sections with settings: Attribute Properties and Frontend Properties. Let's examine first the Attribute Properties:
- Attribute Code - type some name, or whatever you prefer, which will be used to identify the attribute. This is not something that's displayed on the frontend. Use alphanumeric characters; you can separate word with underscores, spaces are not allowed.
- Scope - this option is set to Store View by default. The other choices are Global and Website. The scope option is important if you want to set up a multistore and/or a store(s) with different store views based on language, design, etc. The scope specifies the extent to which the value of the attribute is shared. For example, if you have a multistore and you set the scope to Global, the value will be shared across all of your stores; changing it in one store will change the value in the others. If you select Website, you'll be able to set a different value for the attribute in each of the stores. However, the value will be shared across the different views of the store (e.g. if you have the same store in different languages). With Store View you can change the value for each view of the store(s). When you edit products you can change the stores and store views from the drop-down menu above the options, and set a different value for the attribute for the articular store view.
- Catalog Input Type for Store Owner - you can use this option to change the way in which you input the value of the attribute when adding/editing products. It's set to Text Field by default which means that when you add/edit products you'll be provided with a text field in which to type the value of the attribute. The other input types that you can select include Text Area, Date, Yes/No, Multiple Select, Dropdown, Price, Media Image, Fixed Product Tax. Depending on the input type that you choose there might be slight changes in terms of the available options that you can configure when adding a new attribute. For example, if you select Media Image or Fixed Product Tax the Frontend Properties will be automatically removed. It's also worth mentioning that only the input types Multiple Select, Dropdown and Price can be used with layered navigation. For more information on layered navigation check out the tutorial on managing layered navigation. In case you select Multiple Select or Dropdown you'll also have to add the values for the available choices. We'll come to this further down in this tutorial.
- Default Value - in this field you can type some default value. When you add products the attribute will be set automatically to this default value. With some input types such as Multiple Select and Dropdown the default value settings is automatically disabled because you can specify it when adding the options for the drop-down/multiple select menu.
- Unique Value - this option is set to No by default. If you want each product's value for this attribute to be unique, just set the drop-down menu to Yes.
- Values Required - if you want to make the field required, set this option to Yes. This means that when you add a product that contains this attribute, you'll have to provide a value for it so that the product can be saved.
- Input Validation for Store Owner - you can use this option to set some criteria for checking the value of the attribute. By default, it's set to None. You can set it to Decimal Number, Integer Number, Letters, URL, etc. For example, if you set it to Letters, only letters can be used for the value of that attribute when adding/editing a product.
- Apply To - you can use this option to limit the type of products (e.g. simple, grouped, etc.) to which the attribute can be applied. By default, it's set to All Product Types. To select only particular product types set the drop-down menu to Selected Product Types and choose the desired types from the menu that appears.
- Use to Create Configurable Product - this drop-down menu will appear at the bottom of the Attribute Properties section only if you set the scope to Global and the input type to Dropdown menu. These two conditions have to be met so that you can use the attribute with configurable products. Then just set the option to Yes if you want to be able use the particular attribute when adding configurable products.
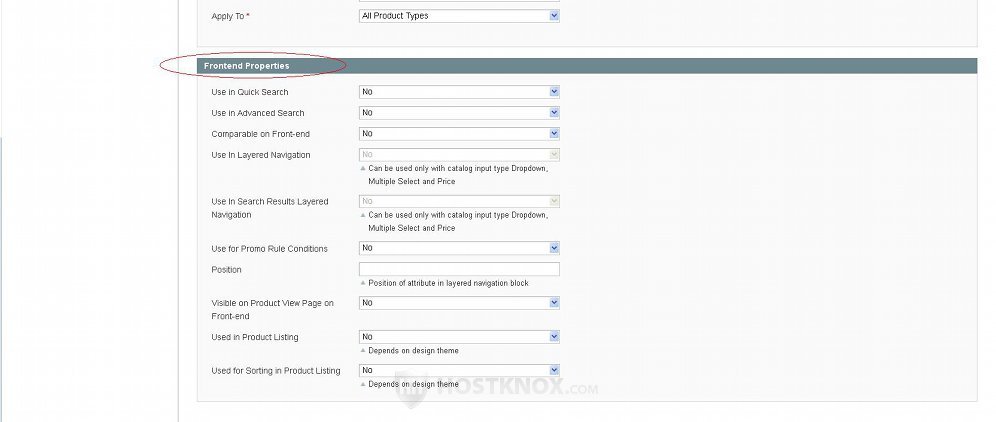
The next section with settings on the Properties page is Frontend Properties:
- Use in Quick Search-it's set to No by default. If you want the values of the attribute to be searchable on the frontend by using the quick search bar, set the drop-down menu to Yes.
- Use in Advanced Search-similar to the previous option but applies to the advanced search function.
- Comparable on Front-end-this setting is also set to No by default. If you want the values of the attribute to be listed when customers compare products that use the particular attribute, just set it to Yes.
- Use in Layered Navigation-this setting is set to No by default and can only be configured if the input data type is Multiple Select, Dropdown or Price. With any of these input types you can make the attribute filterable, meaning that it's values will be displayed in the layered navigation menu on the frontend. For more information check out our Magento layered navigation tutorial.
- Use in Search Results Layered Navigation-this option is also set to No by default and is configurable only with the input types Multiple Select, Dropdown and Price.
- Use for Promo Rule Conditions-this is set to No. To be able to use the attribute for promo rule conditions simply set the drop-down to Yes.
- Position-this option can only be configured if the Use in Layered Navigation option is set to filterable (no matter whether with or without results). In that case you can determine the positions within the layered navigation menu of all filterable attributes by changing this option. For example, if you have the attributes color and size and you set their position respectively to 1 and 2, then in the layered navigation block on the frontend the values for color will be displayed above those for size.
- Visible on Product View Page on Front-end-with this option you can control whether the attribute and its particular value for the product should be shown as additional information on the page displaying the product's details on the frontend. By default, the option is set to No.
- Used in Product Listing-it's set to No by default. If you want to enable it, just change it to Yes.
- Used for Sorting in Product Listing-when customers view the list of products in a category on the frontend, by default there's a drop-down menu from which they can choose the sorting criteria (e.g. name, price, etc.). If you want this attribute to be available for sorting products, just set this option to Yes. Don't forget that you can also enable/disable the attributes available for sorting for each category by editing the display settings of that category.
To configure the label and additional options click on the Manage Label/Options button on the left:
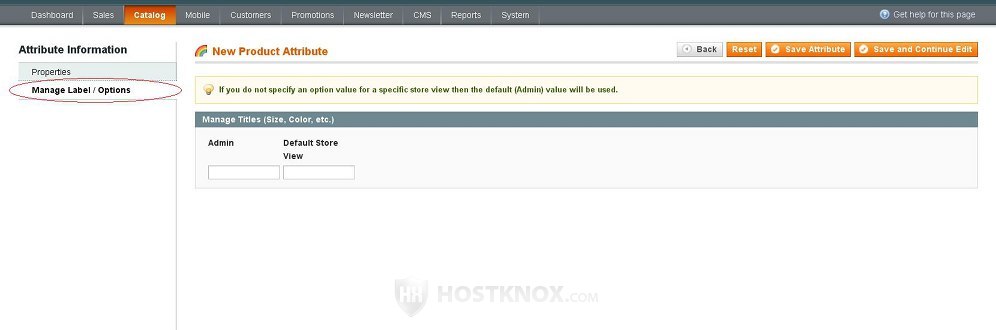
Here you can manage the title of the attribute as you want it to appear on the frontend, as well as in the product settings on the backend. Just type the name in the field under Admin. In case you use more store views, you can type a different name for each store view in the respective field. For example, if you have a multilingual site you can type the translated title in each language in the corresponding field:
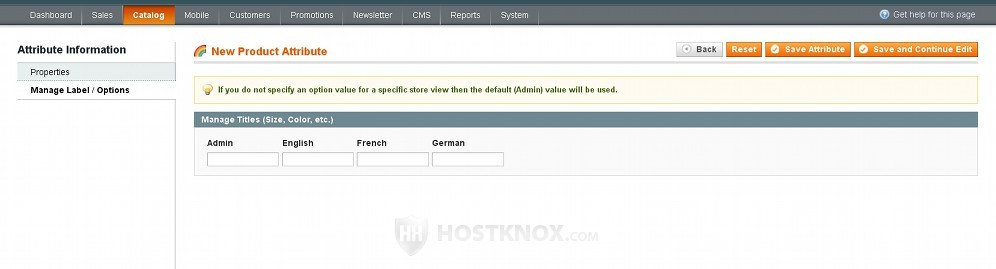
If the site has more than one store view, but you specify only the admin label/title, it will be used in all store views.
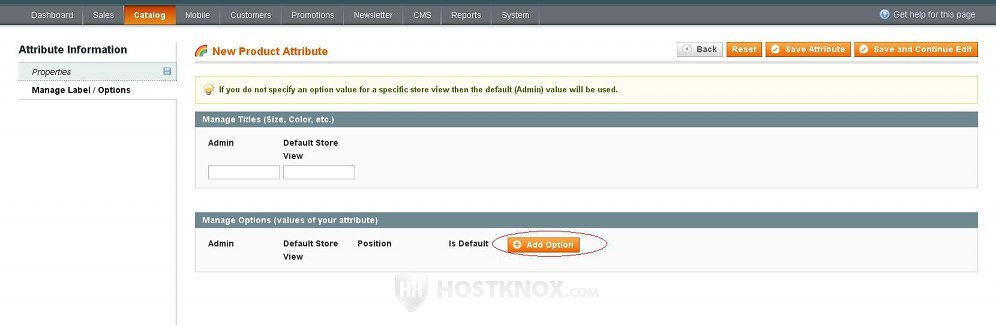
If you selected Dropdown or Multiple Select for input type, on this page you will also be able to add the available choices by clicking on the Add Option button in the Manage Options section:
This will display fields in which you can type the name of the option, its position within the menu, and also you can choose a default value. In case there are other store views there will also be fields for the title of the option in the particular view. For instance, in our example below we've configured a color drop-down menu and we've added different colors for the available options:
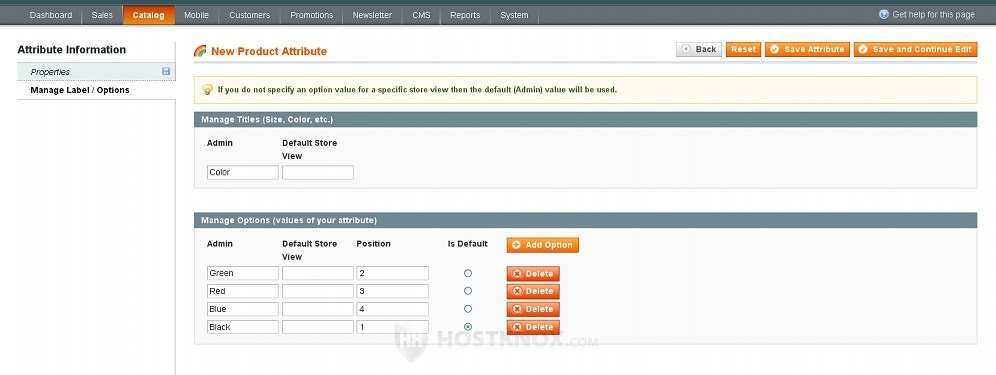
We've set black to be the default option and we've set their order in the drop-down menu to be black, green, red, blue. This order will apply both on the frontend and in the product settings on the backend.
After you're done with the settings don't forget to save them by clicking on the Save Attribute button in the upper right corner.
As we already mentioned, in order to be able to use this attribute when configuring products you need to add it to an attribute set. Then you can use that attribute set when adding a product. For more information check out the tutorial on how to configure attribute sets in Magento.