Mailbox Management Tutorials
How to add and manage a mailbox through the HostKnox control panel
In this tutorial we'll show you how to create and manage an email account.
You can create email accounts from the Email section of the HostKnox control panel. After you log in to your account's control panel, click on Email on the control panel's main page:

In the Email section there's a button Add mailbox. Click on it and type the name for the email, the password, and optionally a short description and a quota for the mailbox (the default quota is 250 MB):
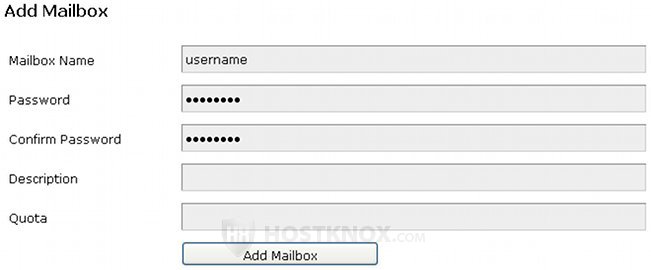
For mailbox name you only need to type the name you want to use (e.g. username in the above example); you don't have to include the domain (e.g. username@yoursite.com). It will be added automatically. If you don't set a quota for the mailbox it will be automatically set to use the default quota which is 250 MB. After you're done click on the Add Mailbox button.
Once you do it you'll see the new mailbox together with some options that you can configure:

To change any of the options just click on it. The first option is Quota. You can use it to change the quota for the mailbox. For example, if you set it to 300 MB your mailbox will be able to hold 300 MB of email messages (together with the attachments).
The second option is Spam Filter. It's disabled by default. If you wish, you can turn it on and set the Spam Filter score. The spam filter used by HostKnox is called Spam Assassin. From the drop-down menu you can set the spam filter score from one to ten. If you set it to 1 the spam filter will be at its most aggressive mode which means that it's much more likely for a message to be marked as spam, and it's also very likely that many legitimate messages will be sent to the spam folder. On the other hand, 10 is the most liberal score and it might fail to detect some spam messages. A good starting point would be to select a spam filter score of around 5. Still, it's a good idea to check your spam folder because there might be some normal messages marked as spam.
From the Forwarding option, you can enable forwarding: emails sent to the mailbox with forwarding enabled will be redirected to the emails that you have listed in the Forward To text area. If you want the current mailbox that you're editing also to receive the forwarded messages just list it in the text area with the other emails. For example, you want messages sent to the email mail1@mail.com to be forwarded to mail2@mail.com and you also want the original mailbox (mail1@mail.com) to receive the message too. So after you click on Forwarding, on the new page that opens mark the Activate checkbox and list both mails in the Forward To text area:
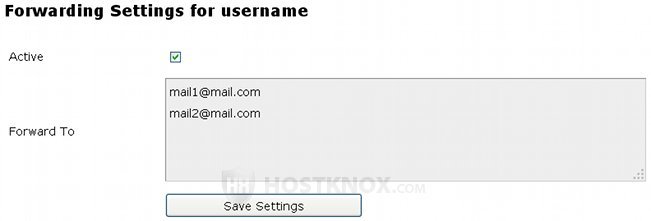
Don't forget to click on the Save Settings button.
The rest of the options are Autoresponder, Rename, Change Password, Edit Description, Remove Mailbox. The Autoresponder is turned off by default. If for some reason you won't be able to check your mail for some time, you can turn it on and type a message that will be sent automatically as a response to all received emails. The other options are all self-explanatory.