HostKnox Hosting Services Tutorial
How to manage your HostKnox hosting services
The HostKnox Client Area has a section labeled My Services. There you can check the hosting services that you've purchased from HostKnox and some additional information related to them.
To do this, log into the Client Area and click on the button My Services that's in the blue menu at the top.
For information on how to access the Client Area and for a basic overview check out the tutorial on how to access and use the HostKnox Client Area.
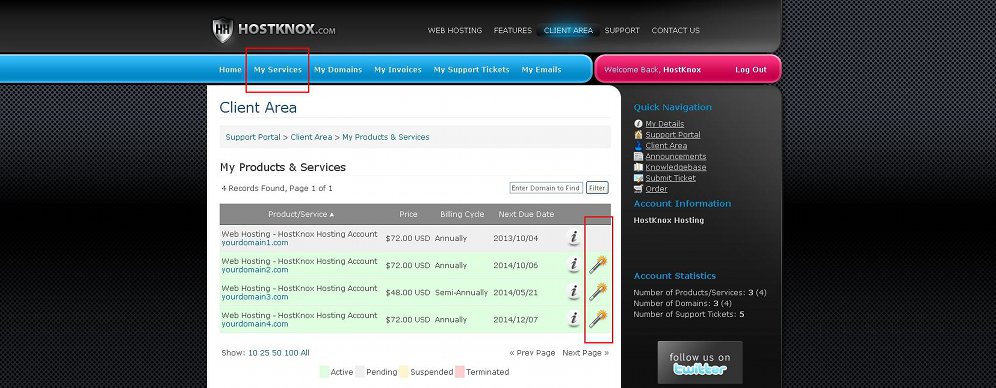
On the page that opens after you click on the button My Services in the Client Area you'll see a table with the hosting services that you've bought:

The table shows each hosting account that you've purchased no matter whether it's still active or not. For each account you'll see the domain name with which it's associated; the domain name is a link that points to the frontend of the site. For each account you'll also see shown in the table its billing cycle, price and next due date.
The active accounts are colored in green and the terminated are in red. In the table row of each account there's a button labeled I:

Clicking on one of these buttons will display a page with details about the particular account:
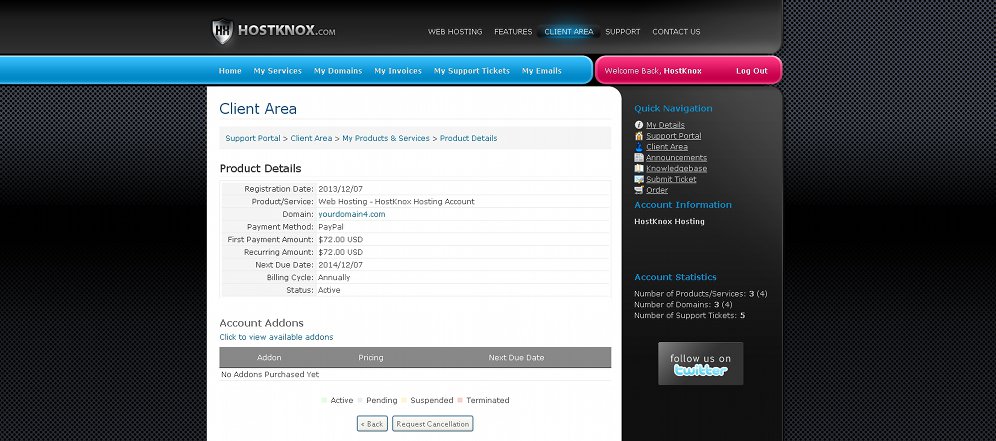
On the page with the account details there is a table listing various information: e.g. registration date, domain associated with the account, payment method, next due date, status, etc. Under that table there's another one showing addons for that account (if you have bought any addons). For example, if you have purchased an SSL certificate for the account it will be listed in that second table at the bottom of the page.
Now let's go back to the page that shows all services. In the table row of each active account there's also a button that redirects you to the HostKnox control panel; the button looks like a magician's wand:
Clicking a button will open the login page of the HostKnox control panel. The login credentials for the Client Area and the HostKnox control panel are the same. After you log into the HostKnox control panel you can switch between the control panels for each hosting account you own by using the links on the right side. Of course, if you want to access the control panel you don't have to log into the Client Area first, then go the My Services section and use the link there; you can directly open the URL of the HostKnox control panel: https://pixie.hostknox.com.
You may find useful the other tutorials on the HostKnox Client Area:
- How to access and use the HostKnox Client Area (a general overview of the Client Area)
- How to edit your personal information, change your password and add contacts and sub-accounts
- How to submit and manage tickets
- How to order web products and services
- How to manage your domains
- How to manage your invoices and renew your HostKnox hosting accounts