Website Transfer Tutorial
How to transfer your website
In this tutorial we'll show you how to transfer your site from one hosting account to another. The process is basically the same regardless of whether you transfer your site from one account to another within the same hosting provider, or whether you transfer it from an account with one hosting provider to an account with another provider.
Free Website Transfer from HostKnox - get a hosting plan and have our specialists take care of transferring your website for you at no additional cost.
To request it simply send a ticket to the support team. You can do this from the Client Area. For more information check out the tutorial on how to submit and manage support tickets. You can request a transfer from one HostKnox hosting account to another HostKnox account, or a transfer from an account that you have with another hosting provider to your HostKnox hosting account.
The basic things that have to be done to migrate your site are:
- Transfer the files from the old account to the new one. There are a few ways you can do this. The most widely used method is by using an FTP client (e.g. FileZilla).
- Export the database of the site and import it into a database on the new account. This can be done with phpMyAdmin.
Note that in addition to the above steps, depending on the web application (e.g. WordPress, Magento, etc.) that you use to create and manage your site you'll probably also have to modify a configuration file and/or make some other changes to the options of the application. The file that you have to modify and the exact changes depend on the application.
Now let's go over the website transfer in more details.
Transfer Files
A reliable and easy way to transfer files is via FTP (File Transfer Protocol). To do this you need an FTP client (e.g. FileZilla). First, of course, you need to set up the FTP client so that it can connect to your old hosting account and to your new one. To do this you need to have an FTP user for both accounts and you have to set up the FTP client with the correct information for both accounts. For more details on how to do this and to set up some of the most popular FTP clients check out the HostKnox FTP tutorials.
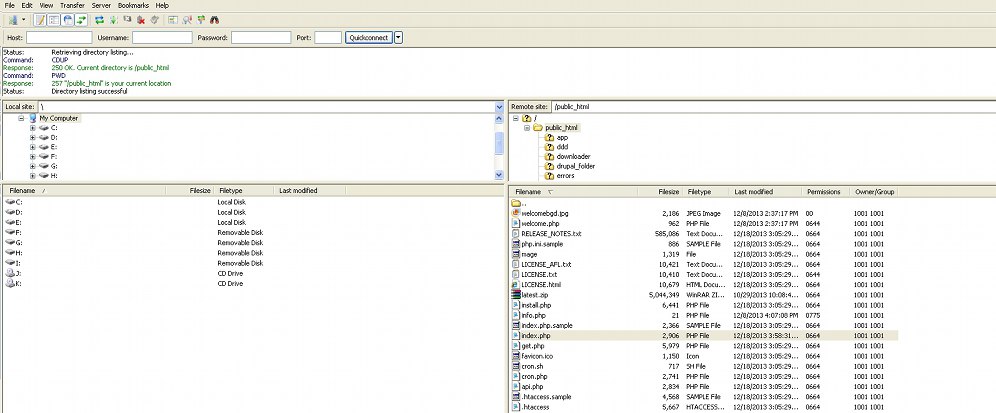
So after you configure the FTP client open it and first connect to the account from which you want to move the site. Most FTP clients display the files on your local computer in the left frame while the files on your account are shown in the right frame:
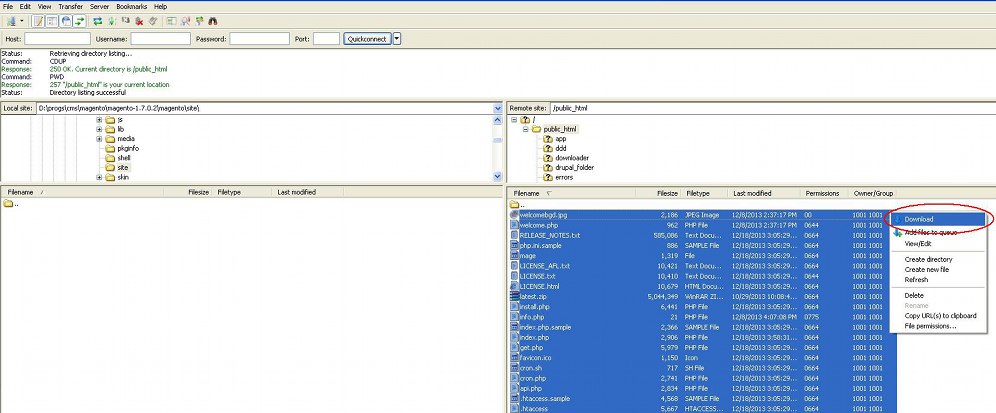
In the frame that shows your local computer drives navigate to the folder into which you want to download your site's files. Then in the frame with your account's files navigate to the folder that contains the files of the site that you want to move and highlight/mark them. To do this just click and hold the left mouse button, drag the mouse and mark all the files. Then while they are still marked click the right mouse button and select Download:
The files and folders will be downloaded to the selected location on your local computer. Another way to download files and folders is to drag and drop them from one location to another. To do this click on the file/folder with the left mouse button, hold the button pressed and use the mouse to drag the file/folder to the desired location.
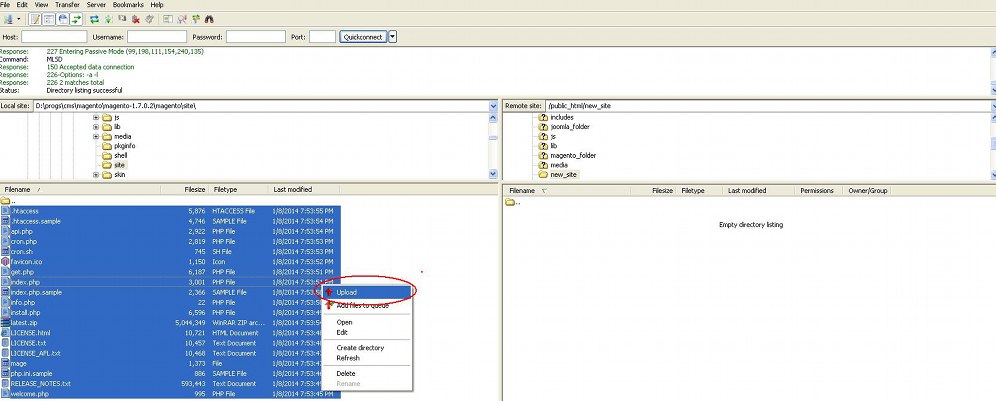
After you have the site's files and folders on your local computer disconnect from the account and connect to the one to which you want to move the site. Navigate to the folder on the account where you want to upload the site, then navigate to the folder on your local computer that contains the site's files and folders, mark them, click the right mouse button while they are still marked and select Upload:
You can also use the drag-and-drop method to upload files and folders.
One trick that will save you a lot of time is to archive the site's files and folders before downloading them from the old hosting account. Then download only the archive to your local computer, upload it to the new hosting account and unpack it there. This may save you, depending on how many files the site contains, an hour or even more. Downloading and uploading the files as they are (without packing them into an archive) takes much longer. You should be able to pack your site's files from the control panel of your hosting account. This, of course, depends on the functions of the control panel provided by the hosting company. The HostKnox control panel that HostKnox uses (it's our own software) has the functions to pack and unpack files and folders into archives. This can be done from the Files section of the HostKnox control panel.
You can also transfer files via SSH. All HostKnox clients have free SSH access. This however is something that's more difficult for beginners. Nevertheless if you want more information on this check out the tutorial on how to transfer files via SSH using PuTTY.
Export Databases
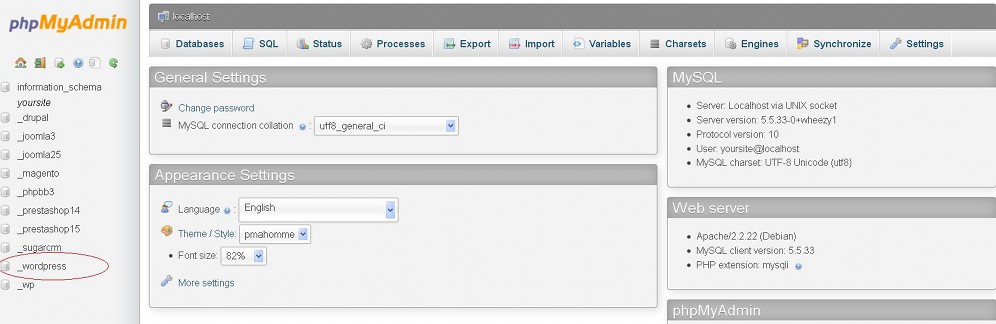
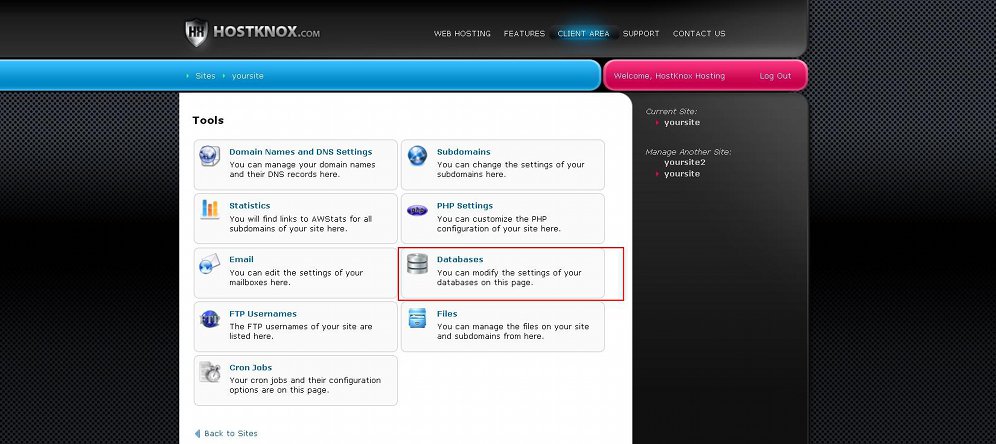
To transfer the database that your site uses first you have to export it from your old hosting account (the one from which you want to move the site). You can do this with phpMyAdmin; this is an application for managing databases. You can access phpMyAdmin from the control panel of your hosting account. In our HostKnox control panel you can access phpMyAdmin by going to the Databases section and clicking on the phpMyAdmin link in the black area on the right.
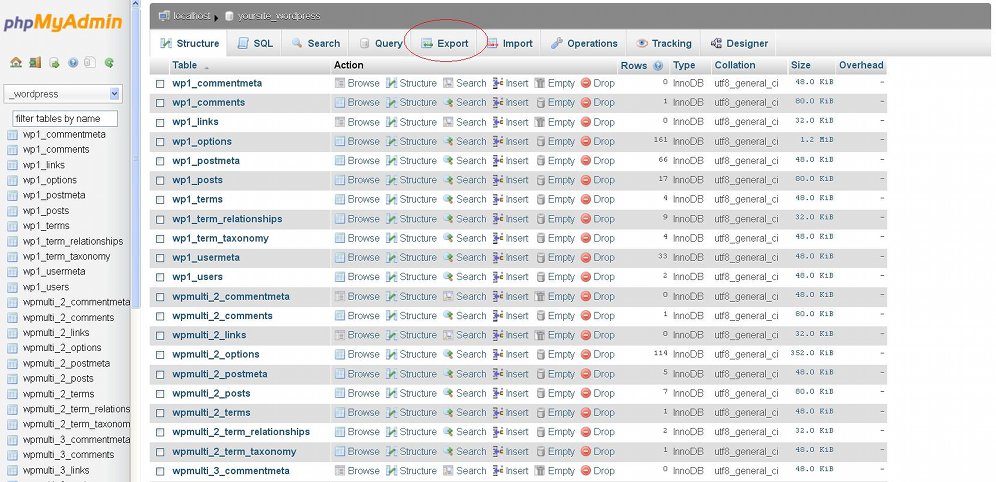
Once you're inside phpMyAdmin you'll see listed your databases in the left frame. Click on the name of the database that you want to export:
This will display the tables of the database in the right frame. Click on the Export tab that's above the tables:
On the page that opens click on the Go button:
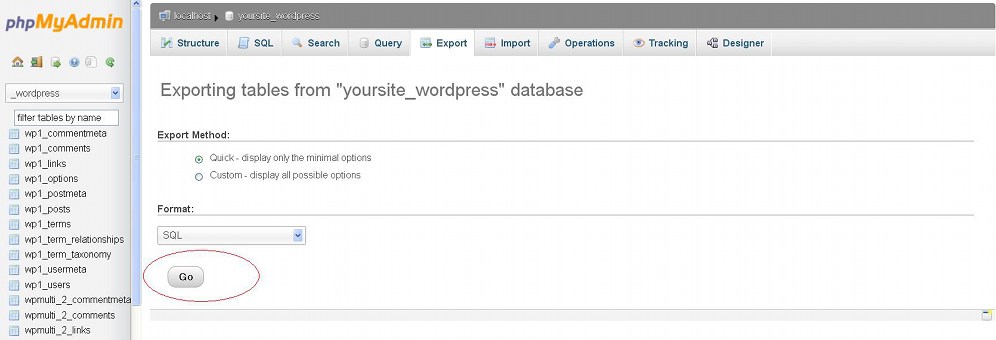
A small window will pop out with which you can save the SQL dump file on your local computer.
A useful tip for reducing the size of the SQL dump file is to compress it before exporting the database. In this way it will be faster and easier to export and then import the database, especially if the database is a big one. To do this, after you click on the Export tab (and before you click on the Go button) mark the radio button Custom - display all possible options. This will display some additional options. Find the Compression drop-down menu and select one of the compression formats:
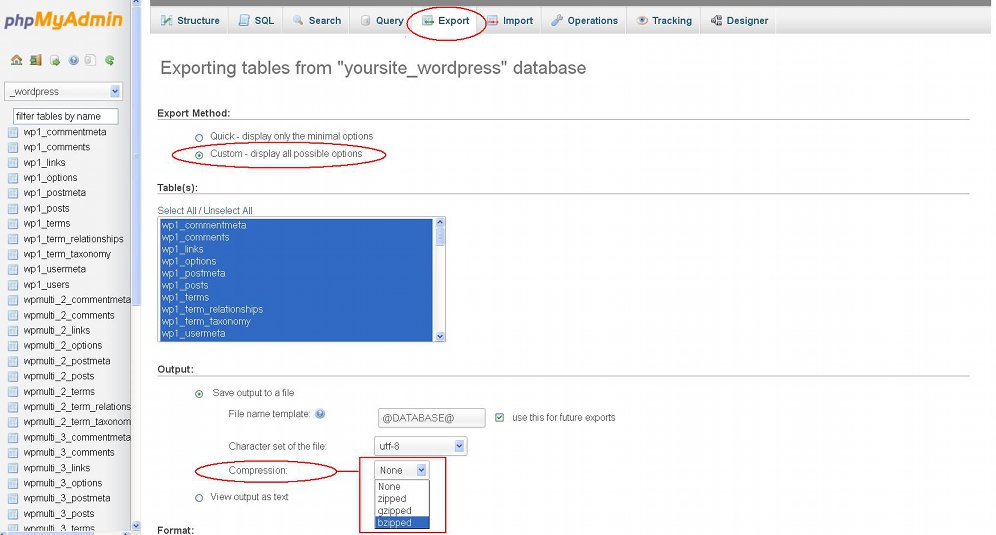
You can select ZIP, GZIP or BZIP. The BZIP format is the most compressed one. After you select the compression format click on the Go button at the bottom of the page and save the SQL dump file on your local computer. Don't change any of the other custom options.
Note that a database can contain the tables of more than one site. If the particular database contains the tables of more than one site and you want to export the tables of only one of the sites, you can do this as well. In this case after you click on the name of the database in the left frame and the tables are displayed in the right frame, mark the checkboxes only of the tables associated with the particular site. Then from the drop-down menu With selected that's at the bottom of the page select Export:
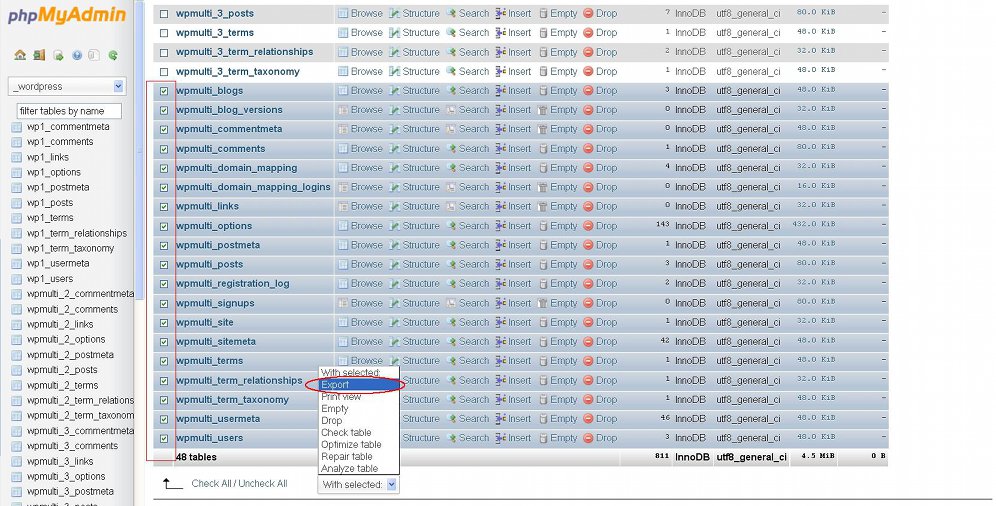
Then on the page that opens click on the Go button and save the SQL dump file on your local computer.
Import Databases
After you have exported the databases from the old hosting account you have to import it into a database on the new account (the account to which you want to transfer the site). As with exporting a database you can do this again with phpMyAdmin. Before you can do it however you need to have a database on the new account. So if you don't have one, first you have to create a database. You can add databases and access phpMyAdmin from the Databases section of the HostKnox control panel.
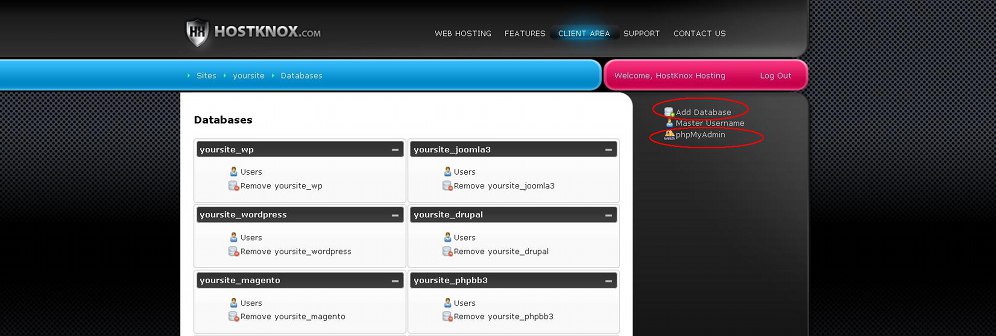
After you log into the control panel click on the Databases section:
On the page that opens you'll see a few buttons in the black area on the right. To add a new database click on the Add Database button and on the following page type a name and add a user to it. To access phpMyAdmin click on the phpMyAdmin button:
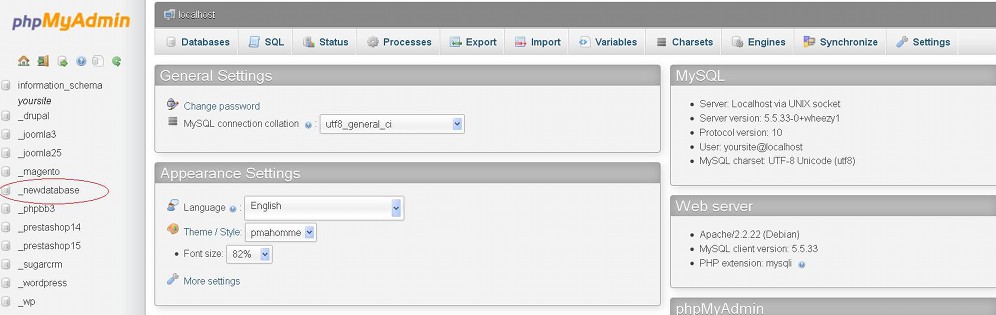
Inside phpMyAdmin you'll see listed the databases of this account in the left frame. Click on the name of the database in which you want to import the SQL dump file that's on your local computer:
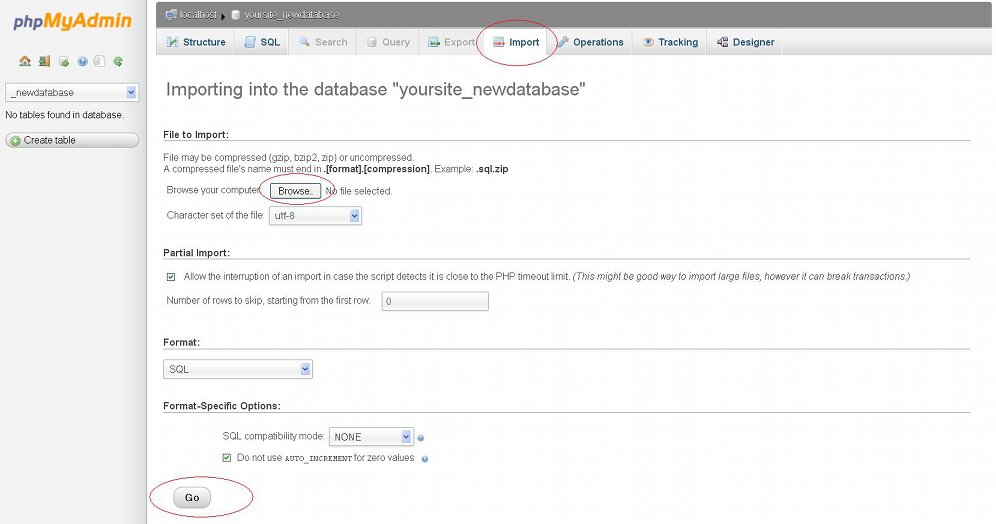
This will display the tables of the database (if there are any) in the right frame. Click on the Import tab that's at the top of the page. On the following page that opens click on the Browse button, use the window that pops out to find the SQL dump file on your local computer and then click on the Go button at the bottom of the page:
After that wait a while until the dump file is uploaded into the database.
Note that if your database is very big you might not be able to export and import it using phpMyAdmin. In this case a reliable way to do it is via SSH. That method is a bit more difficult for beginners. For some more info and links check out the section in this tutorial on exporting and importing databases via SSH.
Transfer Web Applications
Most people use a web application to build and manage their site(s). The basic steps for transferring all web applications are the same as the ones described above: you have to transfer the files and database of the application. However, in addition to this you may also have to make some changes to the configuration file of the application and/or some changes to the database. The particular changes depend on the application. So for more information on application-specific changes that have to be performed when transferring that application you may find useful the following articles and tutorials on some of the most popular web applications:
- how to transfer Magento to a new host
- how to transfer WordPress to a new host
- how to transfer Joomla
- how to transfer Drupal
- how to transfer phpBB3
- how to transfer PrestaShop
- how to transfer SugarCRM
Transfer Databases via SSH
As we mentioned, it's also possible to export and import databases through SSH. For beginners it's easier and more convenient to use phpMyAdmin to export/import databases. If however the database is quite big, you may not be able to export/import it with phpMyAdmin (depending on how big exactly the database is). In such cases you can do this via SSH.
All HostKnox clients have free SSH access to their hosting accounts.
Before you can export and import databases via SSH you'll also need to know how to connect to your account through SSH. For more information check out the following: