HostKnox Support Tickets Tutorial
How to submit and manage support tickets
In this tutorial we'll show you how to send tickets to the HostKnox support team and how to read and manage your tickets. This is done from your Client Area.
For a basic overview of the Client Area check out the tutorial on how to access and use the HostKnox Client Area.
Submitting New Tickets
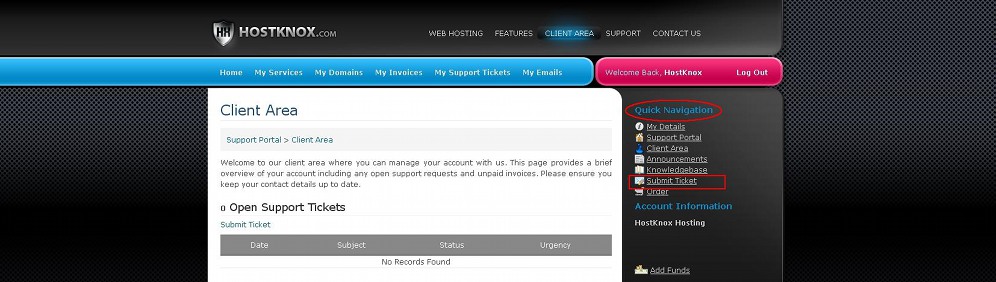
After you access the Client Area with your login credentials either click on the Submit Ticket button that's in the Quick Navigation menu on the right to go directly to the form for submitting tickets:
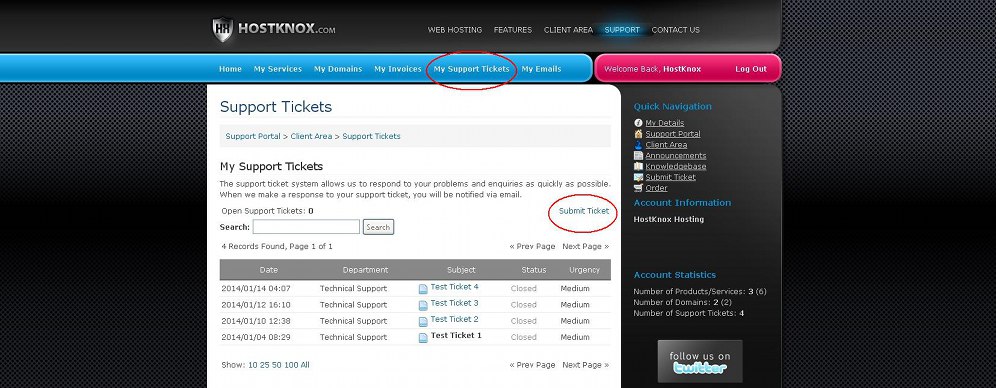
or go to the tickets section of the Client Area by clicking on the My Support Tickets button in the blue menu at the top, and then on the page that opens click on the Submit Ticket button:
In both cases the form for submitting tickets will open. On the first page of the form you have to select the department for which the ticket is intended:
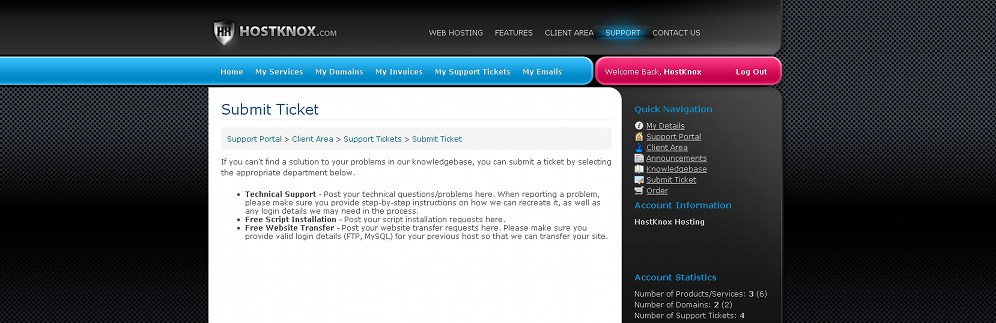
For any technical issue select Technical Support. If you want to request a free script installation select Free Script Installation. If you want to transfer a site from one account (no matter whether it's a HostKnox account or not) to one of your HostKnox hosting accounts, then select Free Website Transfer. All HostKnox clients can take advantage of the free website transfer service. To select a department just click on the name.
After you select the department the actual form for sending tickets will be displayed:
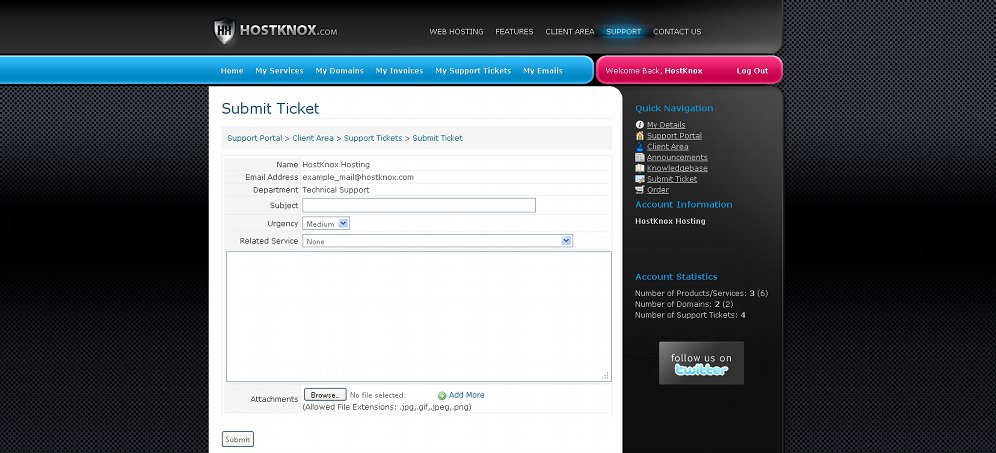
The fields for Name and Email Address are automatically filled with your name and email address as they are specified in the section My Details of the Client Area. In our example the Technical Support department is selected (the most common one). In the Subject field type a subject for the ticket. From the Urgency drop-down menu you can select Low, Medium or High, depending on how urgent the issue is. If you have more than one account, from the Related Service drop-down menu you can select the account/domain with which the issue is associated. It's not a required setting, so even if you leave the Related Service drop-down menu to None the ticket will be sent.
In the text area type the text of the ticket. You can also attach images to the ticket. To do this click on the Browse button that's under the text area and locate the image on your local computer. Once you're done click on the Submit button.
Viewing and Replying to Tickets
To view all your tickets, to read the replies sent by the support team to your tickets and to send your own replies go to the tickets section of the Client Area by clicking on the button My Support Tickets that's in the blue menu at the top. On the page that opens you'll see a table with all the tickets you've sent:
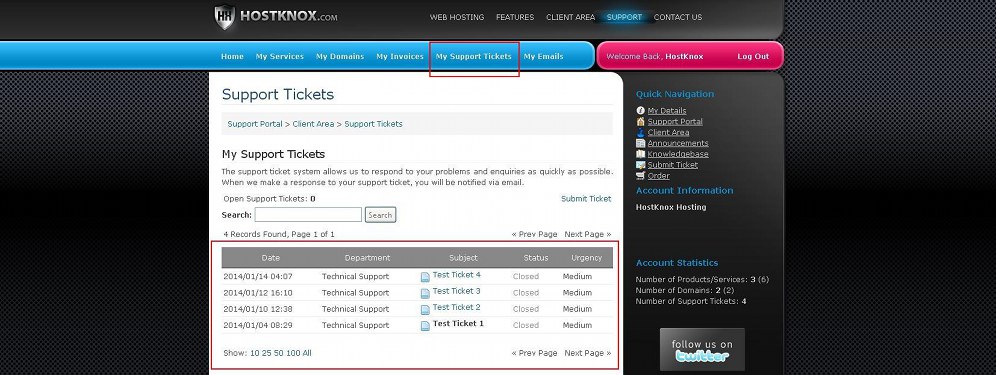
If there are any open tickets this will also be indicated. If you have many tickets you can browse through the pages using the respective buttons above and below the table. With the corresponding buttons under the table you can also choose how many tickets per page should be listed.
To view a ticket click on its subject/name in the table. This will show the content of the ticket and all the replies written by you and the support team:
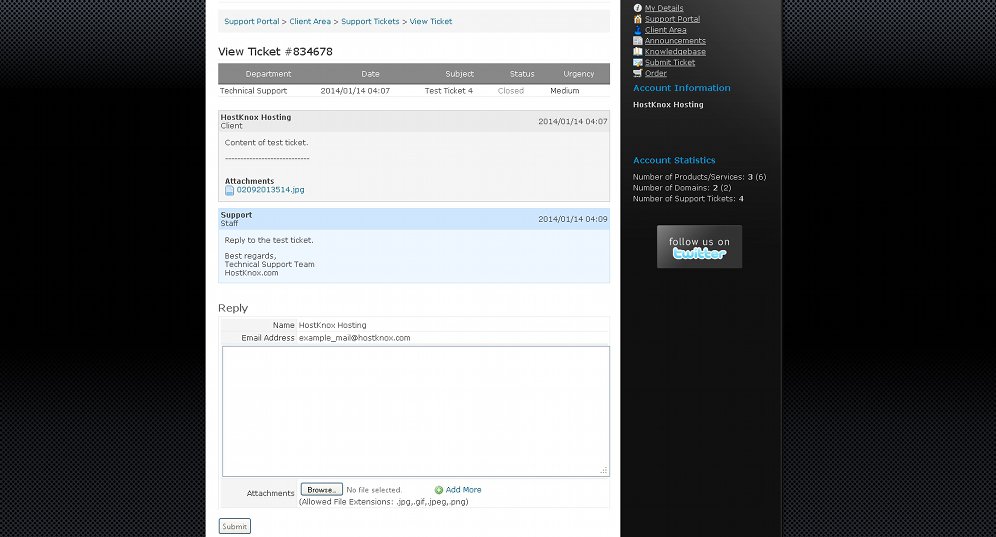
To send a reply simply type the text in the text area that's provided and click on the Submit button.
Note that the replies of the support team to your tickets will be sent not only to the Client Area but also to your email address (the one specified in the section My Details of the Client Area). So you can view the replies of the support team from the section My Support Tickets of the Client Area, as well as from your email address. In addition to this, from your email address you can also send replies to existing tickets (replies to the replies of the support team). However you cannot send a new ticket from your email address; this can be done only from the Client Area.
For more information on the Client Area and its functions you may also find useful the tutorials on:
- How to access and use the HostKnox Client Area (a general overview of the Client Area)
- How to edit your personal information, change your password and add contacts and sub-accounts
- How to order web products and services
- How to manage your HostKnox hosting services
- How to manage your domains
- How to manage your invoices and renew your HostKnox hosting accounts