HostKnox Client Area Details Tutorial
How to edit your personal information, change your password and add contacts and sub-accounts
When you sign up for your first HostKnox account you provide personal information such as your name, country, address, email, etc. You also have to specify a password for accessing the Client Area and the HostKnox control panel. Once you become a HostKnox client you can change that personal information and the password from the Client Area. From the same section there you can also add new contacts and give them access to different sections of the Client Area.
For basic overview and information on how to access the Client Area check out the tutorial on how to access and use the HostKnox Client Area.
Editing Your Personal Details
After you log into the Client Area click on the button My Details that's in the Quick Navigation menu on the right. On the page that opens you'll see your personal details:
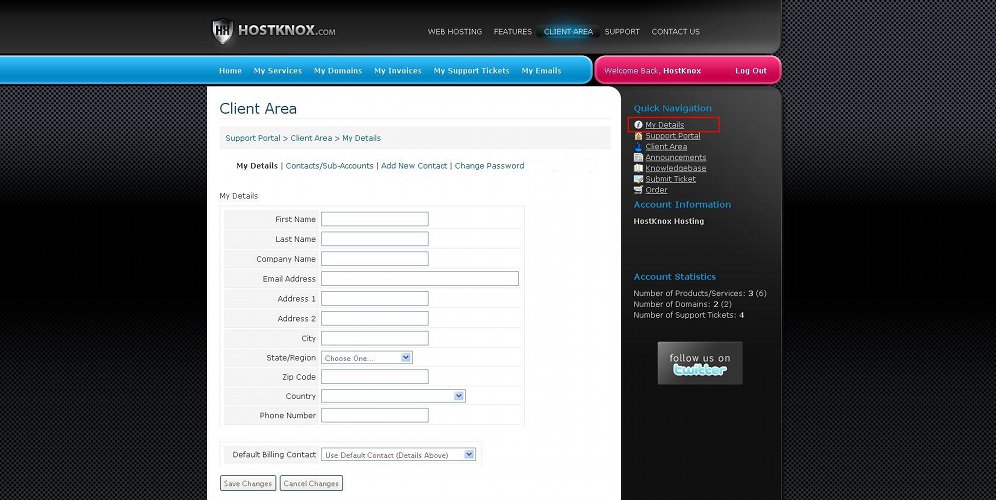
On our example screenshot the fields are empty, but otherwise they will be filled with the information that you provided when signing up for your HostKnox hosting account.
You can edit any of the personal information settings on this page: first and last name, address, email address, country, city, etc. After that just click on the Save Changes button at the bottom of the page. Note that the email address is also used as a username when logging into the Client Area and the HostKnox control panel. So if you change the existing one with a new one, you have to use the new email address when you log into the Client Area and the HostKnox control panel.
From the section My Details of the Client Area you can also change the password that you use to access the Client Area and the HostKnox control panel; you can add new contacts/sub-accounts and you can edit existing ones. At the top of the page there are some buttons that will redirect you to the appropriate page.
Changing the Password For the Client Area and the Pixie Control Panel
The password for accessing the Client Area and the HostKnox control panel is provided by you during the sign up process for you first HostKnox hosting account. If you want to change the password, you can do that by logging into the Client Area, then clicking on the My Details button on the right and then on the Change Password button which is at the top of the page that opens:
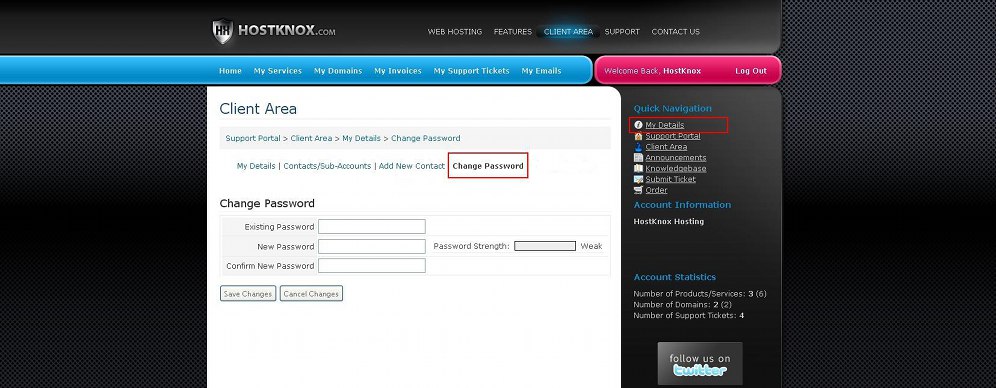
On the following page type the current password in the field for Existing Password. Then type the new one in the two fields under it and click on the Save Changes button.
Adding and Editing Contacts/Sub-Accounts
If you want to, you can add other people as contacts and give them access to sections and functions of the Client Area. This is useful if, for example, you want to allow other people to post and view support tickets, view and pay invoices, etc. You can give such a person access to some or all sections of the Client Area.
To do this, after you log into the Client Area click on the My Details button on the right and on the page that opens click on the Add New Contact button. This will display a new page with some options:
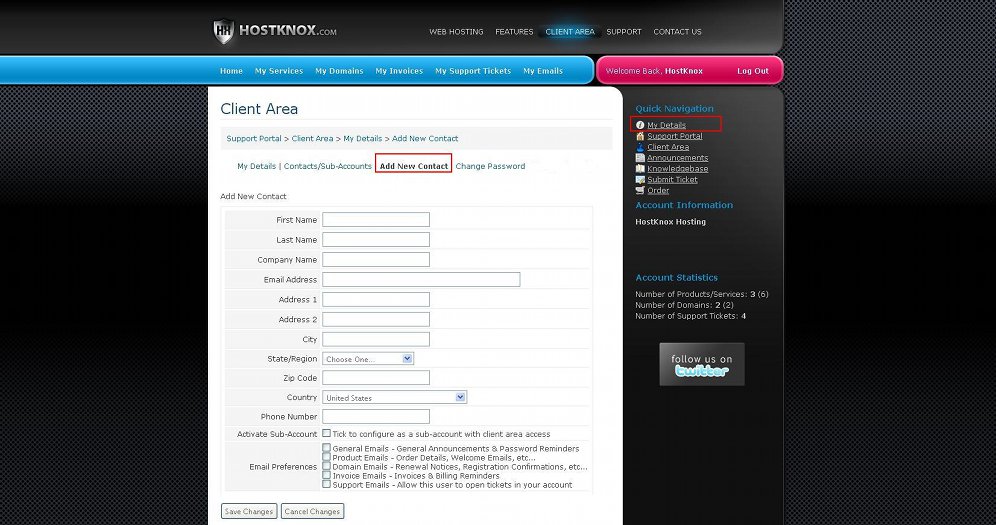
Most of the options are for the personal information of the contact such as name, address, email, country, city, etc. There are also some Email Preferences options. If you want the contact to receive email messages regarding your account(s), mark the corresponding checkbox(es). For example, if you mark the checkbox Invoice Emails, all invoice emails sent from HostKnox will be received not only by you but also by that contact.
To give the contact access to sections of the Client Area and allow him/her to perform various actions there mark the checkbox for Activate Sub-Account. This will display some additional options:
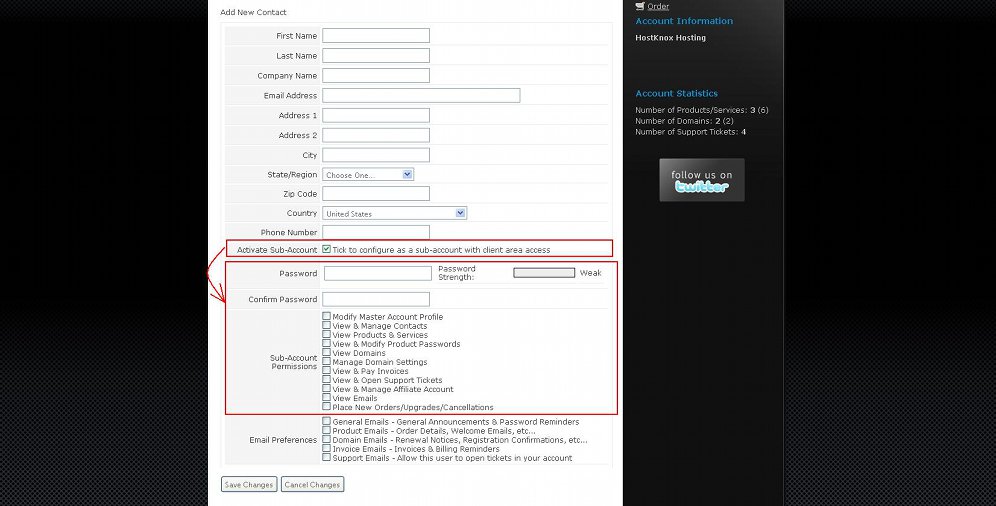
In the respective fields type a password that the person can use to access the Client Area. It should be different from your password. There's a list of sub-account permissions. To allow the contact to perform a particular action just mark the respective checkbox.
To edit the settings of an existing contact/sub-account, click on the Contacts/Sub-Accounts button at the top of the My Details page, then on the page that opens select the contact from the drop-down menu Choose Contact and edit the options:
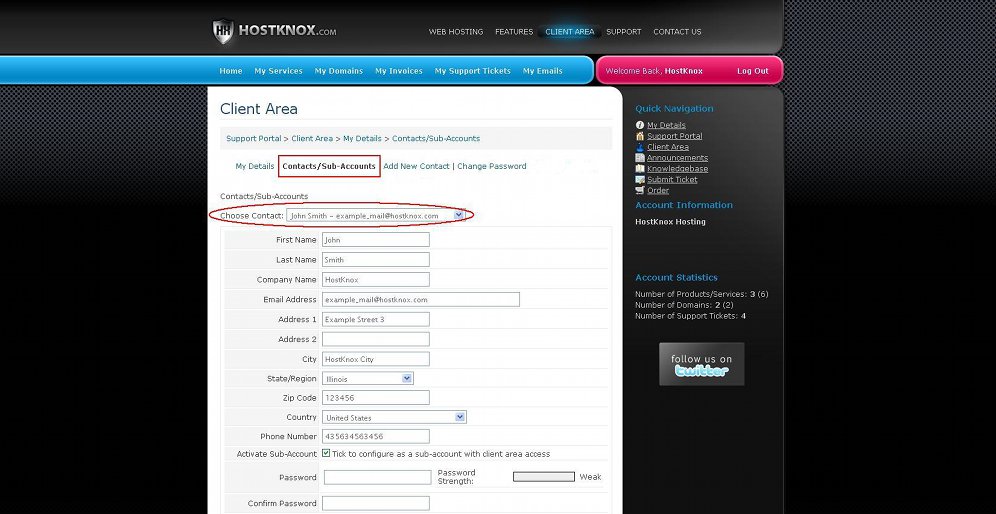
If you make any changes don't forget to click on the Save Changes button at the bottom of the page.
You may also find useful the following tutorials related to the Client Area: