SeaMonkey Email Tutorial
How to configure SeaMonkey to connect to your email account
SeaMonkey is an Internet all-in-one suite that contains a browser, an email and newsgroup client, an IRC chat client, an HTML editor and web development tools. It's a free, open source application that runs on Windows, Linux, Mac OS X, and on other operating systems. It shares much of the same code with Mozilla Firefox and Mozilla Thunderbird. You can download it from the official SeaMonkey site.
In this tutorial we'll show you how to configure the email client to use your email account.
If you are a HostKnox client, you can create an email account from the Email section of the HostKnox control panel. More information on how to do this can be found in the tutorial on creating an email account.
After you install SeaMonkey, start the application. If you have Mozilla Thunderbird installed on your computer and there are accounts in it, you'll be asked whether you want to import the settings and data from Thunderbird to SeaMonkey. Depending on what you want to do mark the appropriate button and click on Next. Then the browser will open and you'll be asked whether you want to use SeaMonkey as your default browser and/or email client. You can either accept or deny.
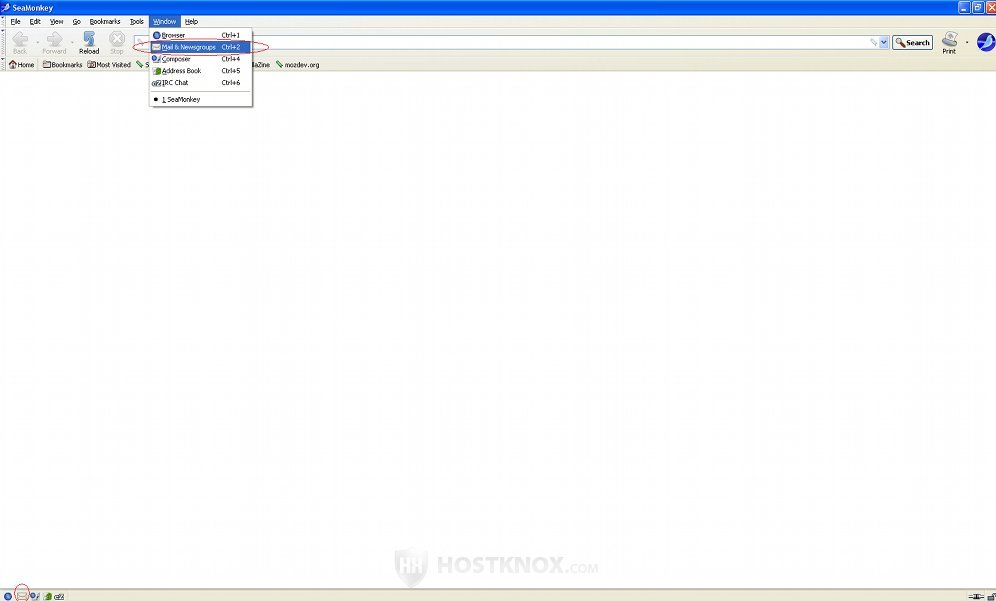
To start the email client either click on the Window menu and then select Mail & Newsgroups, or click on the small envelope icon in the lower left corner of the browser:
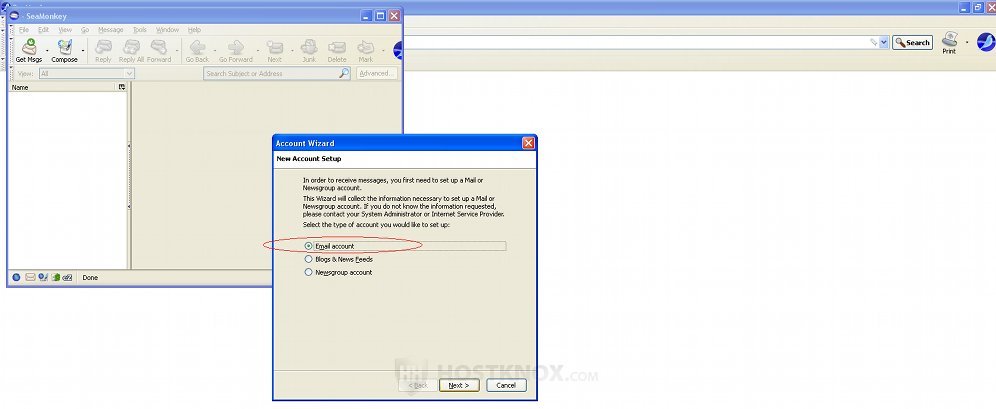
After you do this, assuming you're using SeaMonkey for the first time and there no email accounts added, the Account Wizard will start automatically. On the first page (New Account Setup) select the button for Email account and click on Next:
On the next page (Identity) you have to type your name and the full email address (e.g. username@yourdomain.com) in the respective fields. You can use any name that you want other people to see when they receive mail from you. The email address should be as you have created it from the Email section of the HostKnox control panel.
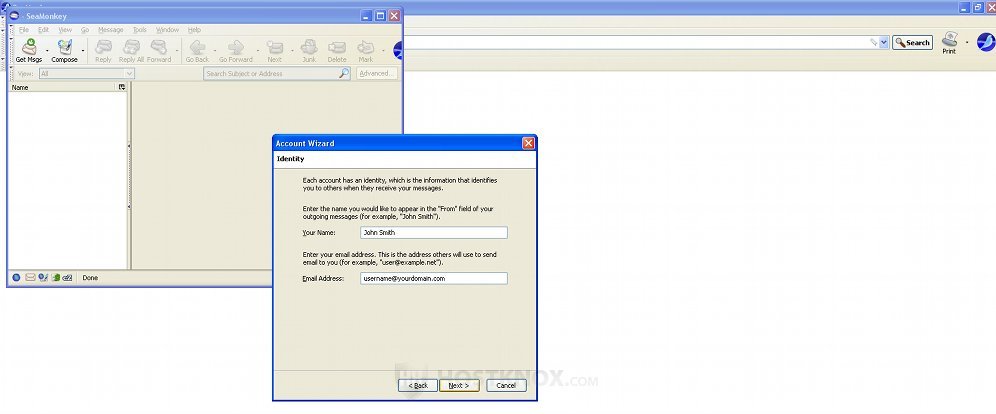
Click on Next to proceed.
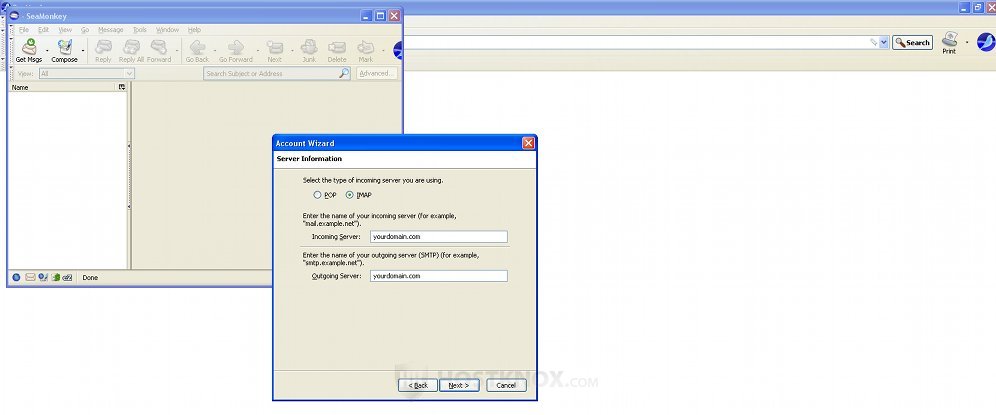
On the next page (Server Information) you have to select the incoming server type and you have to type the names of the incoming and outgoing servers. The incoming server types that you can select are POP and IMAP. The main difference between them is that with POP (Post Office Protocol) the incoming messages have to be downloaded from the server to your local computer before you can read them, while with IMAP (Internet Message Access Protocol) you can read and manage the messages directly on the server.
In the fields for Incoming Server and Outgoing Server you can either type only your domain name (e.g. yourdomain.com), provided it points to our servers, or the name or IP address of the HostKnox server hosting your account. However, if you want to use encryption you have to use the name the server. In our example we'll select IMAP for incoming server type and we won't use encryption, so we'll type the domain name for both incoming and outgoing server:
Click on Next to continue.
On the next page (User Names) type your full email address in the field for Incoming User Name:
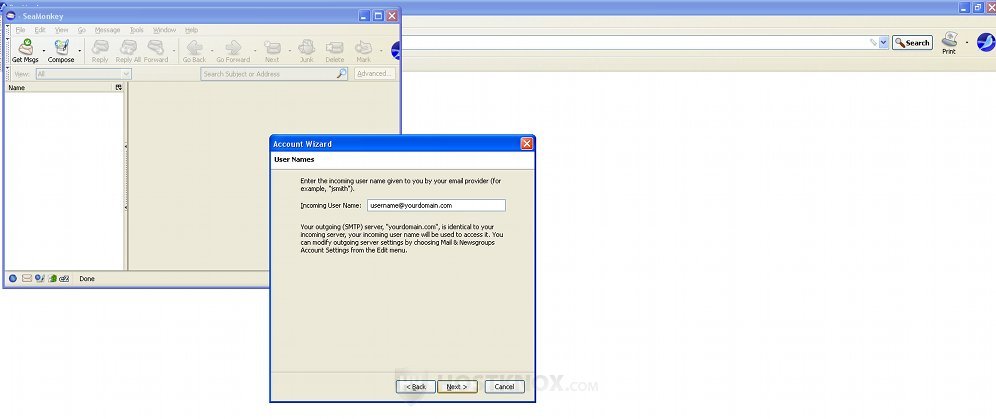
After that click on Next.
On the next page (Account Name) you have to specify your account name. It can be any name. This will be the name which will be displayed in the SeaMonkey application itself. By default the field is filled out with your full email address:
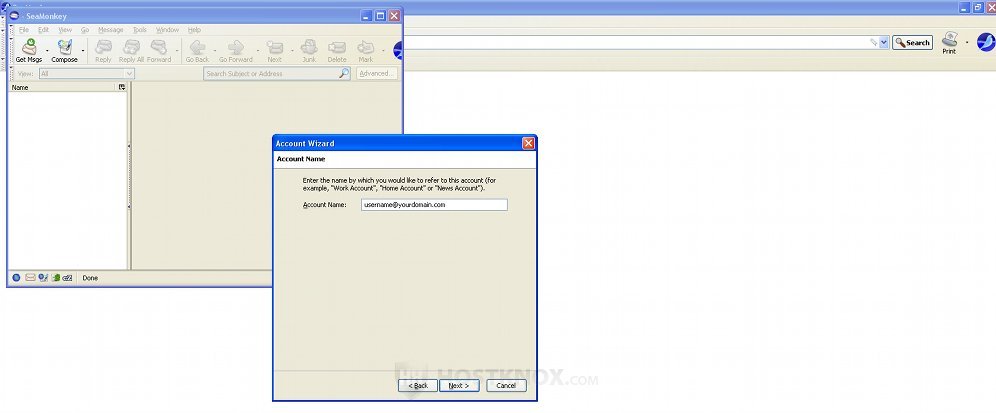
Click on Next and then on the next page you just have to click on Finish. Once you do it your email account will be added in SeaMonkey.
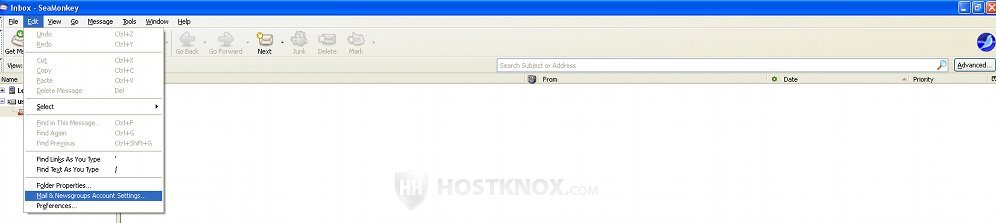
Now you have to check some other options just to make sure the correct port numbers for the incoming and outgoing server are configured correctly. By default the account is also configured to work without encryption, so if you want to enable it you have to change the settings for the account. To do this click on the Edit menu of the SeaMonkey email client and select Mail & Newsgroups Account Settings:
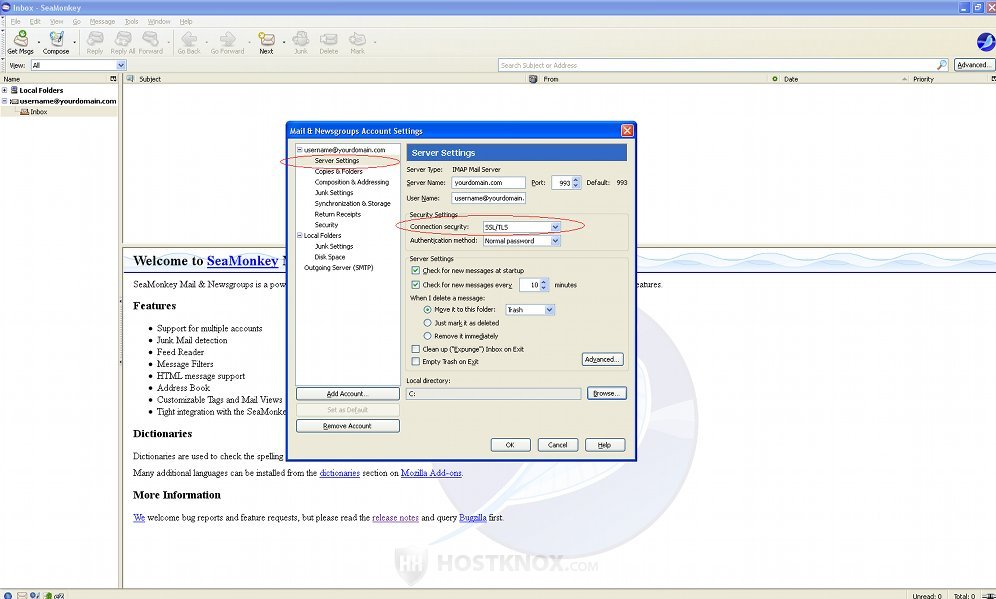
On the new window that opens click on Server Settings on the left and if you want to use encryption set the drop-down menu Connection security to SSL/TLS. The correct port numbers should be configured automatically. They are: 993 for IMAP incoming server with encryption; 143 for IMAP without encryption; 995 for POP incoming server with encryption; 110 for POP without encryption.
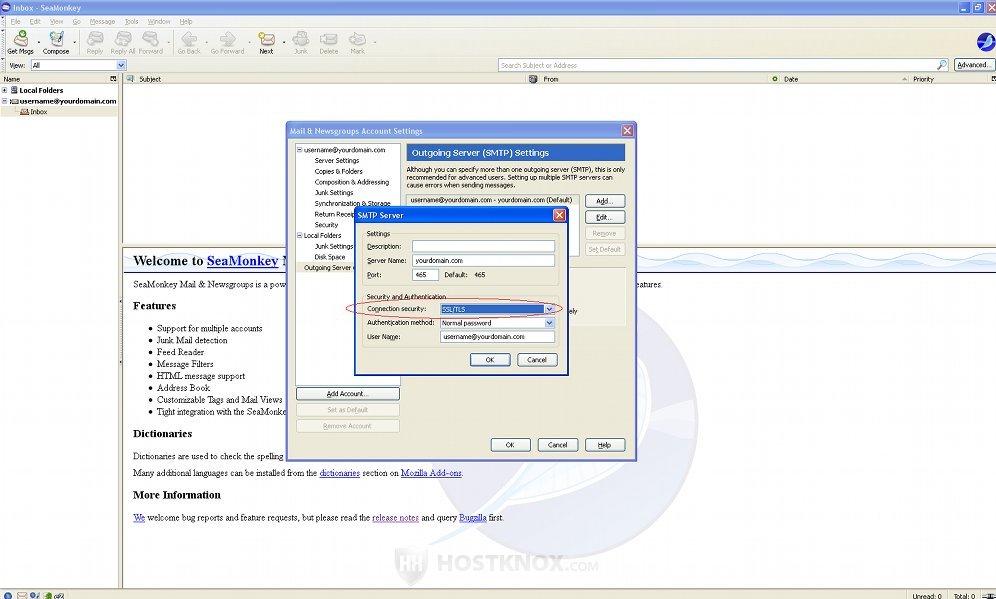
Then on the left side click on Outgoing Server (SMTP). Then on the right side click on Edit. On the new window that opens set the port number to 587 if you don't want to use encryption. If you want to use encryption set the drop-down menu Connection security to SSL/TLS and make sure the port number is 465:
After that click on OK, then on OK again on the previous window, and that's it.
To add more accounts click on the Edit menu of the email client, then select Mail & Newsgroups Account Settings, click on the Add Account button and follow the same steps as described above.
In addition to setting SeaMonkey to manage the email accounts that you have created from the Email section of the HostKnox control panel, you can also configure it to manage your accounts in web-based email services (e.g. Yahoo, Gmail, Hotmail). The process is the same; there are only a few things you need to change. To learn what they are read the article on configuring email clients to connect to your mail accounts in Yahoo, Gmail and Hotmail.