Pixie - Domain Names and DNS Settings Tutorial
How to manage domain names, DNS records and settings with the HostKnox control panel
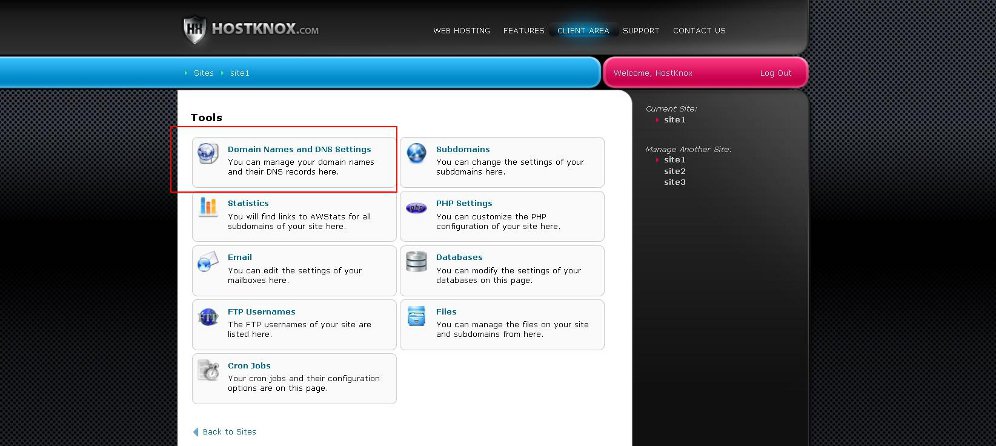
HostKnox clients can manage the DNS records and settings of the domain name(s) associated with each of their hosting accounts from the Domain Names and DNS Settings section of the HostKnox control panel. From there they can also park domain names and do a few other useful things. To access the Domain Names and DNS Settings section of the HostKnox control panel, log into the control panel, click on the Manage button for the account/site for which you want to manage DNS settings and on the page with the tools click on Domain Names and DNS Settings:
On the following page you'll see listed the domain name associated with the particular site/account. When you buy a HostKnox hosting account the DNS records for the domain name are automatically configured so that it works without any problems with the account with which it's associated. It's not advisable to edit or change the DNS records unless you know exactly what you're doing. Note however that even if you make some inappropriate changes, there's a very useful option with which you can automatically revert the DNS settings to the default values.
Now let's go over the different settings in the HostKnox control panel related to domain names and DNS records.
Add Domain Names
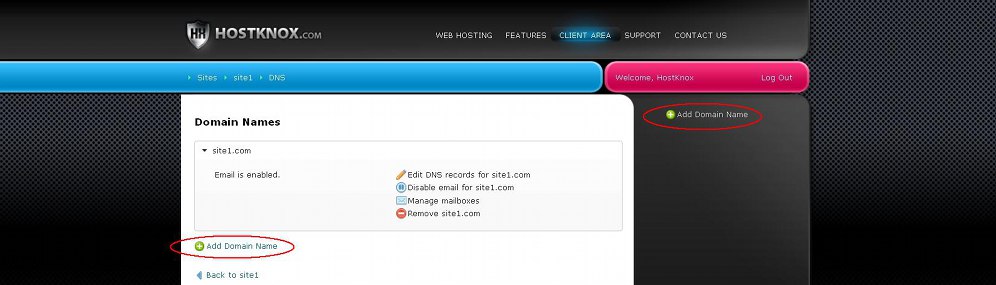
By default, there's one domain name associated with your site/account. That's the domain name that visitors use to open your site. You can however add other domain names with which your site can be accessed. This is also known as parking domain names and the added domain names are also referred to as parked domains. To do this, open the Domain Names and DNS Settings section of the HostKnox control panel and click on one of the two Add Domain Name buttons. There's one in the black area on the right and another one that's below the currently added domain names:
This will open the form for adding a domain name:

Type the domain name in the text field and click on the Add Domain button under it. Type the domain name without the http:// part (e.g. yourdomain.com). When you add the domain name the HostKnox control panel will automatically create the necessary DNS records for the domain.
Note that in order for the parked domain name to resolve to the site/account you should also update the settings in the registrar of the domain name and make sure that the name servers are those for the particular hosting account.
Remove Domain Names
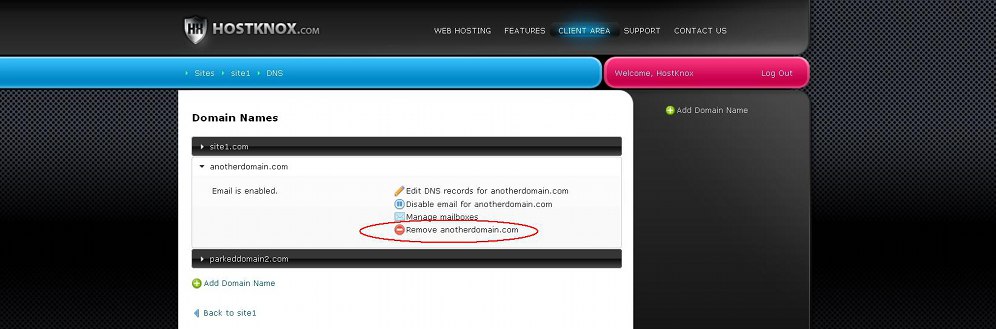
You can delete any of the parked domain names so that they don't resolve to the site any more. To do this, access the Domain Names and DNS Settings section of the HostKnox control panel. Click on the name of the domain and in the small panel that expands click on the Remove button:
A small window will appear asking you to confirm that you want to remove the domain.
Disable Email for a Domain
By default, email is enabled for all your domains.
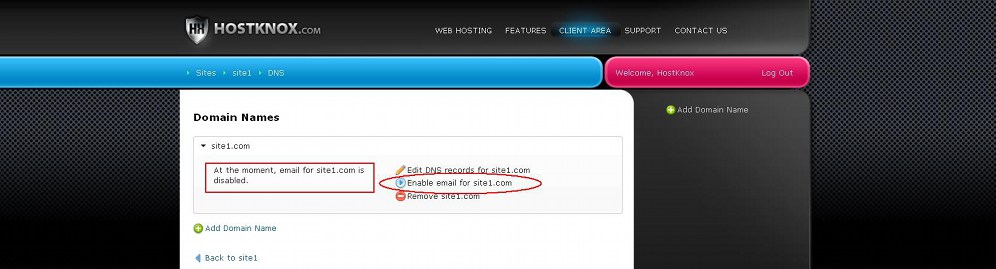
If you want to, you can disable the email function for your domain name(s). To do this, access the Domain Names and DNS Settings section of the HostKnox control panel and click on the Disable email button:

When you do this a small window will pop out asking you to confirm that you want to disable the email function. After the email function is disabled this will be indicated with a notice just under the name of the domain. To enable the email function again click on the Enable email button:
The email function will be enable instantly without the need to confirm.
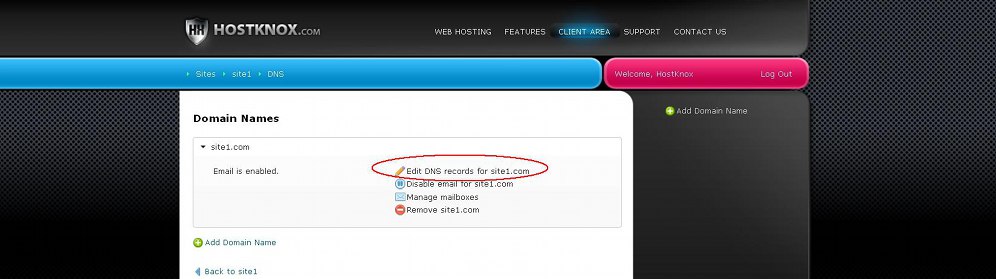
Edit DNS Records
Without DNS records your site and email will not function. As we mentioned, each of your hosting accounts comes with properly configured DNS records. If you are not certain about what you're doing you shouldn't edit the DNS records.
To edit the DNS records of your domain name and/or of any parked domain names, access the Domain Names and DNS Settings section of the HostKnox control panel, select the domain name by clicking on it and in the panel that expands click on the button Edit DNS records:
On the page that opens you'll see the DNS records and their values for the particular domain name. There are different types of DNS records. By default, each of your domains is preconfigured with three A records, one MX record and one SPF record. For each record type there's a table that lists the existing records of that type with their specific values:
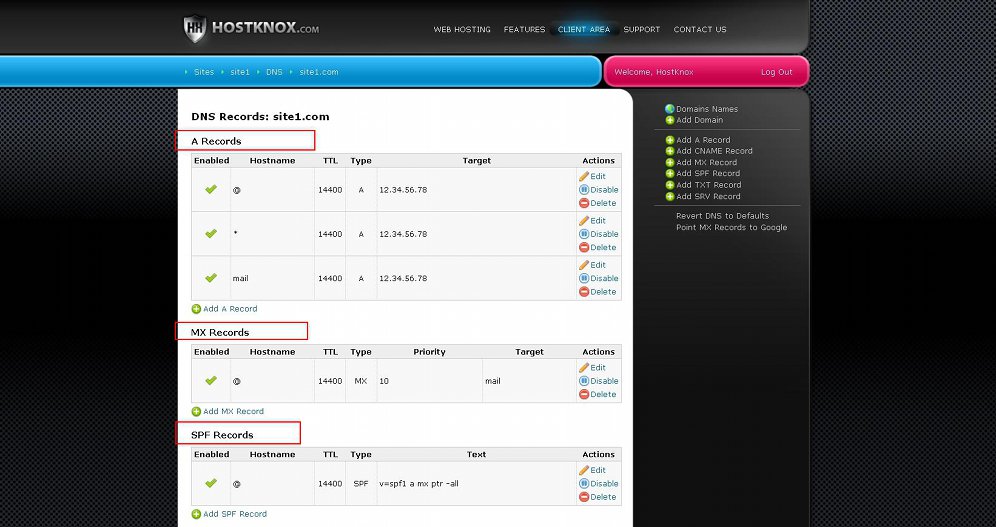
The ones that are essential for the functioning of your site (of any site) are the A and MX records. Here we won't go into a detailed explanation of what each record type is and how it functions. Basically, A records are used to map user-friendly hostnames (e.g. yourdomain.com) to IP addresses. The analogy that's usually used to illustrate this is that they function like a phone book where each number has a corresponding name. MX records are used to specify the mail servers that handle the emails of a particular domain name.
You can edit, disable and delete each of the existing records. To do this use the respective button for the particular record. The buttons are in the last table column:
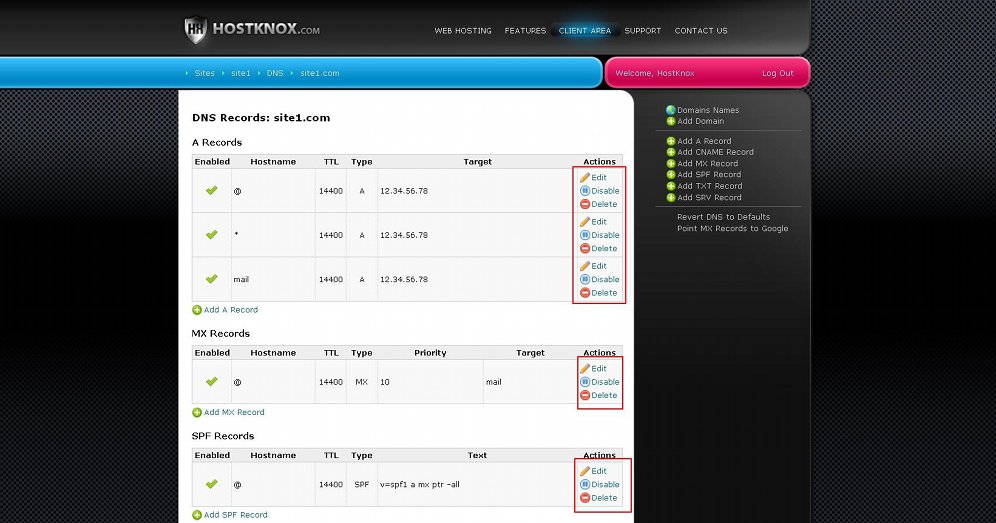
If you click on the Edit button, a new page will open on which you can edit the values for the different record options. The available options depend on the record type. For example, if it's an A record you can edit its hostname, the TTL (time to live) and the IP address to which the hostname should be mapped.
The value for TTL for all records is the same. It's automatically set to 14400 (it's in seconds). This is the time for which servers cache the records.
If you click on the Disable or Delete button for a record you'll be asked to confirm that you really want to disable or delete the record.
You can also add new DNS records. You can add records not only from the existing types but also from other types. For this purpose click on the respective button in the black area on the right:

This will open a form with some options. Configure the options and save the record.
Revert DNS Changes
If you make changes to your DNS records but it turns out that they were not right or not what you intended, there's nothing to worry about. You can fix everything with a single click. The HostKnox control panel has an option with which you can revert all DNS changes and restore the default DNS configuration.
To do this, go to the Domain Names and DNS Settings section of the HostKnox control panel. Click on the Edit DNS records button for the domain and on the page that lists the DNS records click on the button Revert DNS to Defaults (it's in the black area on the right):

All changes will be removed and the default records and their values will be restored.
Point MX Records to Google
By default, the server responsible for email messages is the HostKnox server hosting your account. This, of course, concerns email addresses that you have created from the account(s); these are the email addresses that contain your domain name (e.g. name@yourdomain.com). If you want the emails to be handled by another server, you have to edit the MX records.
One useful feature that the HostKnox control panel offers is a tool that automatically creates and configures the necessary MX records for Google. So if you want the emails for a particular domain to be handled by Google, you can do this with a single click without the need to edit and add MX records manually.
To do this, access the Domain Names and DNS Settings section of the HostKnox control panel, click on the Edit DNS records button for the domain and on the following page click on the button Point MX Records to Google. It's in the black area on the right:

MX records with the necessary values configured will be created automatically.