Pixie - Email Tutorial
How to manage mailboxes with the HostKnox control panel
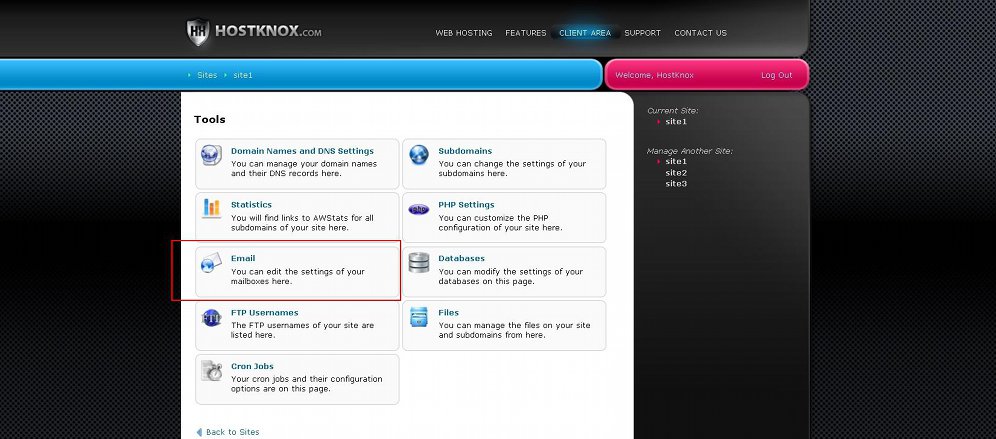
HostKnox clients can add and manage mailboxes from the Email section of the HostKnox control panel. From there you can add email addresses, remove them and edit the mailbox settings. To access the section log into the control panel, click on the Manage button for the site/account for which you want to manage mailboxes and on the page with the tools click on Email:
For a basic overview of the HostKnox control panel check out the tutorial on how to access and manage the HostKnox control panel.
Let's go over the email-related options in the HostKnox control panel.
Add Mailboxes
To add an email account, access the Email section of the HostKnox control panel and click on the Add Mailbox button that's in the black area on the right. If there are no mailboxes, a button for adding one will also be available in the white area in the center:

The form for adding a mailbox will be opened:
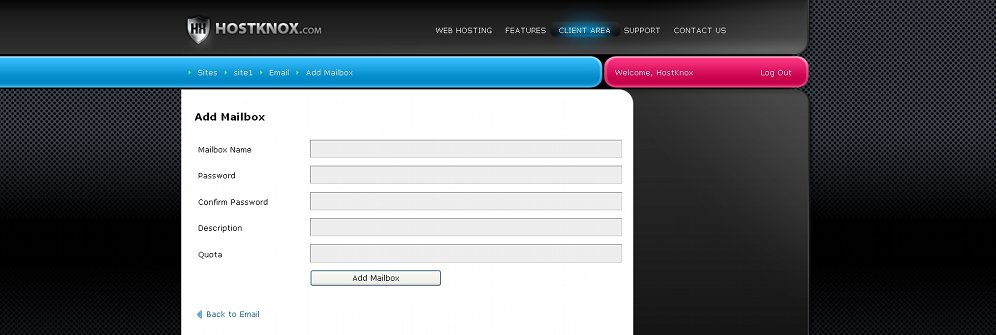
Type the name in the field for Mailbox Name. Don't type the whole email address but just the part that comes before the @ symbol. So, for example, if you want to create an email address username@yourdomain.com, type only username in the field for Mailbox Name. Type a password for the mailbox in the fields Password and Confirm Password. The Description field is optional. If you want to add some useful information about the particular mailbox, you can add it in the Description field. The description is only shown in the HostKnox control panel.
The Quota field is not required. If you leave it empty the mailbox will be created. You can use it to set the quota for the mailbox. The quota is the size on the hard drive that the mailbox is allowed to have. It's in megabytes. For example, if you put 50 in the Quota field, the quota will be 50 megabytes. If you leave the field empty, the default quota of 250 MB will be set for the mailbox. When the size of all messages in the mailbox reaches the quota you won't receive new messages unless you either delete some of the old ones or increase the quota for the particular mailbox.
After you're done with the options click on the Add Mailbox button under them.
All mailboxes that you create from the Email section of the HostKnox control panel will bear the domain name associated with the particular hosting account. They will have the form username@yourdomain.com.
You can check your mailboxes either with a browser using the web-based email solution that we provide or with an email client (e.g. Thunderbird). For more information check out the respective HostKnox email tutorial.
Remove Mailboxes
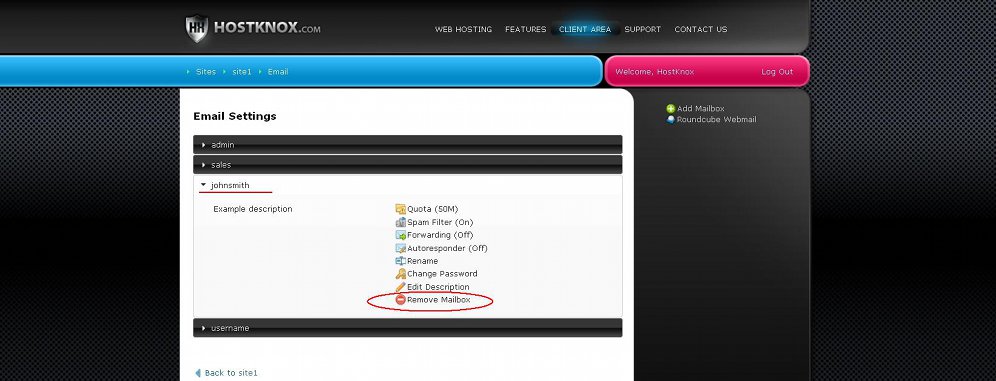
To delete an email account, go to the Email section of the HostKnox control panel and select the mailbox by clicking on its name. A small panel with some buttons will expand. Click on the Remove Mailbox button:
A window will pop out asking you for confirmation.
Change Mailbox Quota
As we explained in the section on adding mailboxes the quota can first be set when adding the mailbox. There's a field for that on the form for adding mailboxes. However you can change it at any time after the mailbox is created. The quota is the allowed size for the mailbox on the hard drive. When the quota for the mailbox is reached you won't be able to receive messages on the particular email address. You'll have to either delete messages or increase the quota
To change the quota of a mailbox, access the Email section of the HostKnox control panel, click on the name of the mailbox and in the panel that expands click on the Quota button. In brackets you'll see the current quota:

On the page that opens just type the new number in the text field and click on the Save Quota button that's under it. The quota is in megabytes.
Change Email Passwords
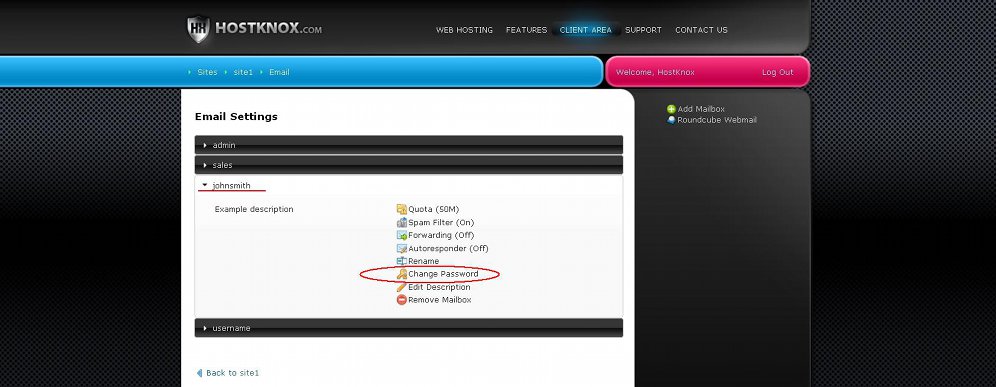
The password of an email account is first set when you add that mailbox. You can change the password of any of your existing mailboxes. To do this, access the Email section of the HostKnox control panel, click on the name of the mailbox and in the small panel that expands click on the Change Password button:
On the page that is displayed type the new password in the two text fields and save it by clicking on the Change Password button that's under them.
Spam Filter
If you want to, you can enable a spam filter for each of your email accounts. The spam filter that's used by HostKnox is Spam Assassin. By default, the spam filter is disabled. It can be enabled per mailbox after the mailbox is created. To do this, access the Email section of the HostKnox control panel, click on the name of the mailbox for which you want to enable the spam filter. This will expand a small panel with some buttons. Click on the Spam Filter button:
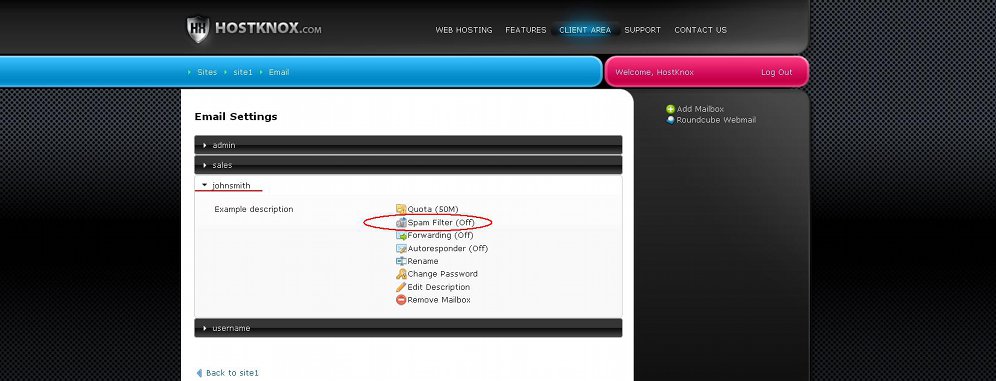
This will open the form for enabling/disabling the spam filter and setting its score:
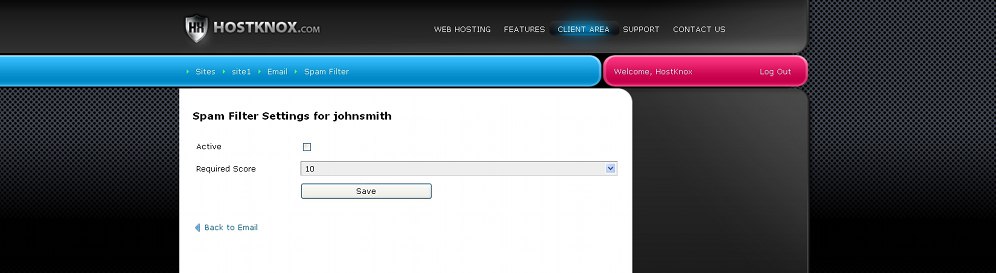
To enable the spam filter mark the Active checkbox. From the drop-down menu you can set the score. By default, it's set to 10. If you set it to one the spam filter will be at its most aggressive mode which means that it's much more likely for a message to be marked as spam, and it's also very likely that many legitimate messages will be sent to the spam folder. Ten on the other hand is the most liberal score and it might fail to detect some spam messages. A good starting point would be to select a spam filter score of around five. Still, it's a good idea to check your spam folder because there might be some normal messages marked as spam.
After you're done with the settings don't forget to click on the Save button. If you don't want to use the spam filter any more or you want to change its score, you can go back and edit its settings.
Forwarding
Each mailbox has an option for forwarding. It's not available on the form for adding mailboxes. It can be edited once the mailbox is added. By default, it's disabled. To enable it, go to the Email section of the HostKnox control panel, click on the name of the mailbox and in the small panel that expands click on the Forwarding button:

On the page that opens mark the Active checkbox and list the email address(es) in the Forward To text area:
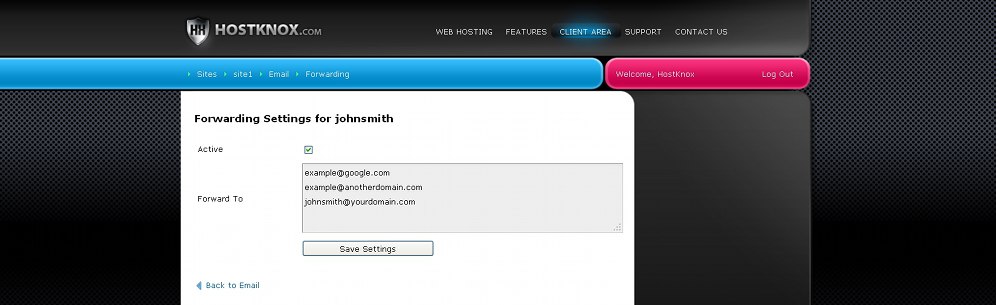
Emails sent to the mailbox with forwarding enabled will be redirected to the emails that you have listed in the Forward To textarea. If you want the current mailbox that you're editing also to receive the forwarded messages just list it in the textarea with the other emails. For example, you want messages sent to the email johnsmith@yourdomain.com to be forwarded to example@google.com and example@anotherdomain.com, but you also want the original mailbox (johnsmith@yourdomain.com) to receive the messages too. Then you have to enable forwarding from the options for the mailbox for johnsmith@yourdomain.com and list all three email address in the Forward To text area.
After you're done with the options don't forget to click on the Save Settings button.
Autoresponder
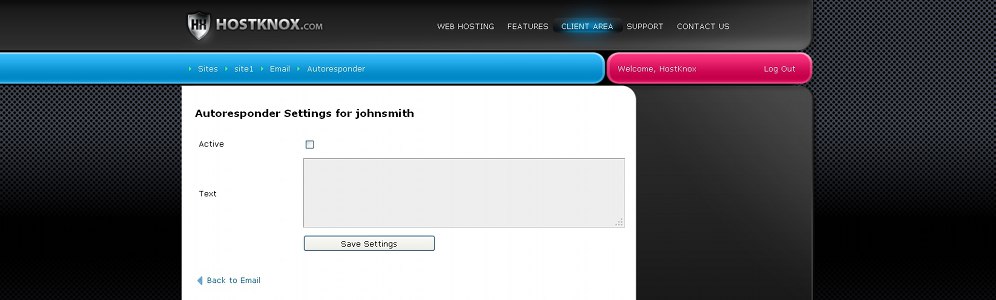
Every mailbox that you create has an autoresponder option that's turned off by default. When the option is enabled every time the mailbox receives an email message it will automatically send a reply. To enable the autoresponder and specify the text of the reply message, access the Email section of the HostKnox control panel, click on the name of the mailbox for which you want to enable the autoresponder and in the small panel that expands click on the Autoresponder button:

On the page that opens mark the checkbox Active to turn on the autoresponder and in the text area type the text of the message:
Don't forget to click on the Save Settings button.
Once the autoresponder is enabled the specified text will be sent in response to every email that is received in the mailbox.
Rename Mailboxes
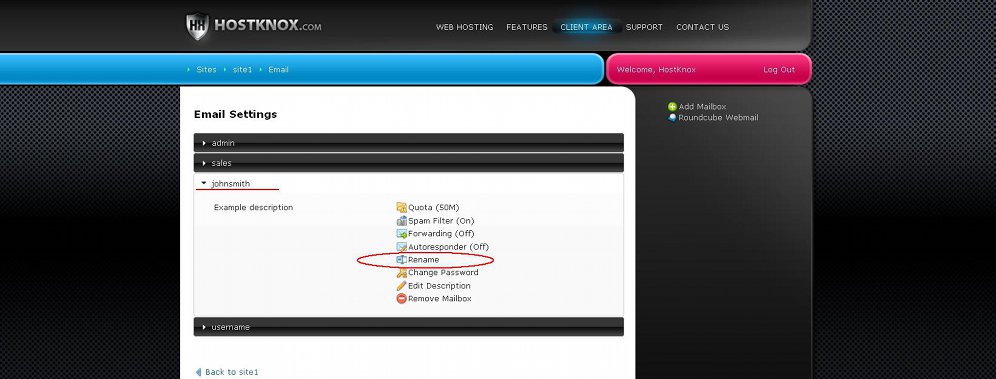
You can rename any of your existing mailboxes. What this means is that you can change the username part in username@yourdomain.com. To do this, access the Email section of the HostKnox control panel, click on the name of the mailbox that you want to rename and in the small panel that expands click on the Rename button:
On the page that opens simply type the new name in the text field and click on the Rename button under it.
Edit Description
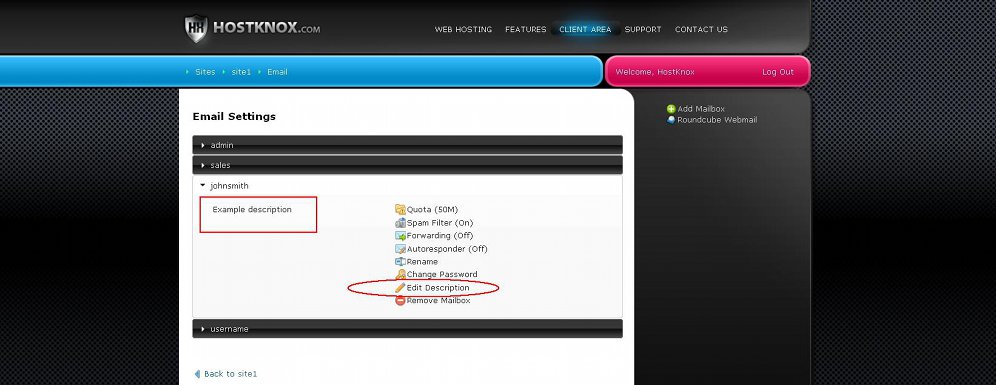
As we mentioned, for each mailbox you can include a description with some information about the mailbox. The option is first available on the form for adding a new mailbox. It's not required and you can also add a description or edit the existing one after the mailbox is created. The description is only shown in the HostKnox control panel. To edit the description of a mailbox or to add one, go to the Email section of the HostKnox control panel, click on the name of the particular mailbox to expand the panel with the buttons for managing it. If there's a description, it's shown right under the name of the mailbox. To edit it or add a new one, click on the Edit Description button:
On the page that opens type the description in the text field that's provided and click on the Save Description button.