Pixie - Databases Tutorial
How to manage databases with the HostKnox control panel
The HostKnox control panel has a database tool with which you can manage the MySQL databases of your HostKnox hosting account(s). You can add and remove databases, you can add and remove database users, and you can set and change the password of the master database user.
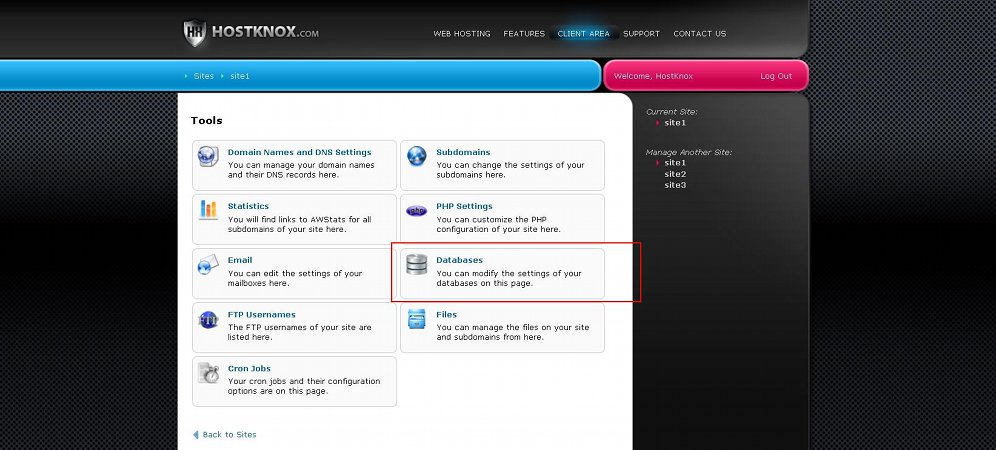
To access the Databases section, log into the HostKnox control panel, click on the Manage button for the hosting account which you want to manage and on the following page select Databases:
For a general overview of the HostKnox control panel read the tutorial on how to access and manage the HostKnox control panel.
Now we'll go over the functions of the Databases section of the HostKnox control panel.
Add Databases
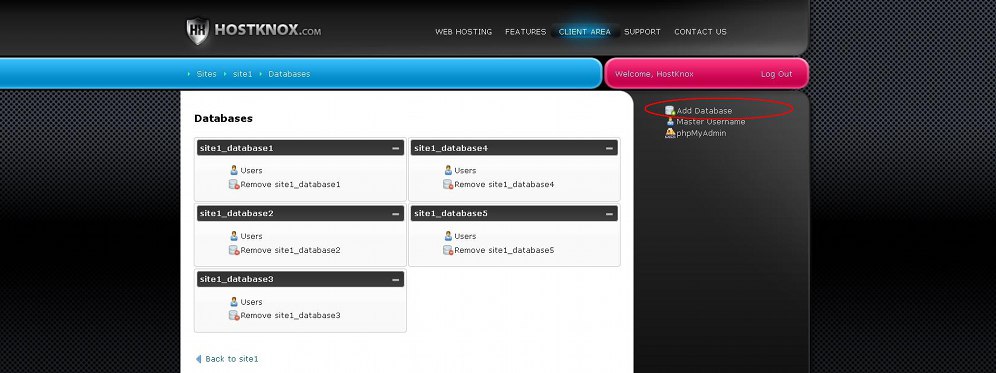
On the page that's displayed after you access the Databases section you'll see listed your existing databases (if you have any). In the black area on the right there are a few buttons. To create a new database, click on the Add Database button:
On the page that opens after you click on the Add Database button you'll see a form with a few text fields:

The only required field that has to be configured so that you can add the database is the one labeled Database. It's for the name of the database, and it's automatically filled with your account username followed by an underscore. On our example screenshot the account name is site1, and so the Database field contains site1_ by default. The hosting account username actually consists of the first several letters of the domain name associated with the account. You need to add the database name after the hosting account username and the underscore; the full database name should have the form accountname_databasename. This is the name that you have to specify whenever you need to provide database information (e.g. installing web applications, editing configuration files, etc.).
The other fields on the form are optional. They are for the username and password of the database user. If you want to add a new database user that has access to that particular database, type a some name of your choice in the Username field and provide a password in the Password and Confirm Password fields. If you don't add a separate user for the database, when you need to provide login credentials of a user who has access to the database you have to provide the username and password of the master database user. For more information on the master user check the section on the master database user in this tutorial.
For security reasons it's recommended that you add a different user to each of the databases that you create, and when you have to provide login credentials of a database user (e.g. web application installation) that has access to a database it's recommended that you provide the credentials of the user that you added for the particular database instead of the login credentials of the master user.
Note that you can add more than one user per database. If you want to add more users, you have to do it after the database is added. From the form for adding databases you can add only one user.
After you fill out the form click on the Add Database button that's under the text fields to create the new database.
Remove Databases
On the page that opens after you access the Databases section of the HostKnox control panel you'll see a list of the databases that you've added. To delete a database with all its content and users click on the Remove button that's under the name of the database:

After you click on the button a small window will pop out asking you to confirm that you want to delete the database.
If you want to delete only particular database tables from a database, you can do this with phpMyAdmin.
Database Users
As we mentioned, there's one master database user that has access to all the databases that you create. However, for each database you can add one or more users that have access only to that particular database. As we explained in the section on adding databases you can first add a user to a new database when creating that database; there are fields for adding a user on the form for adding a database.
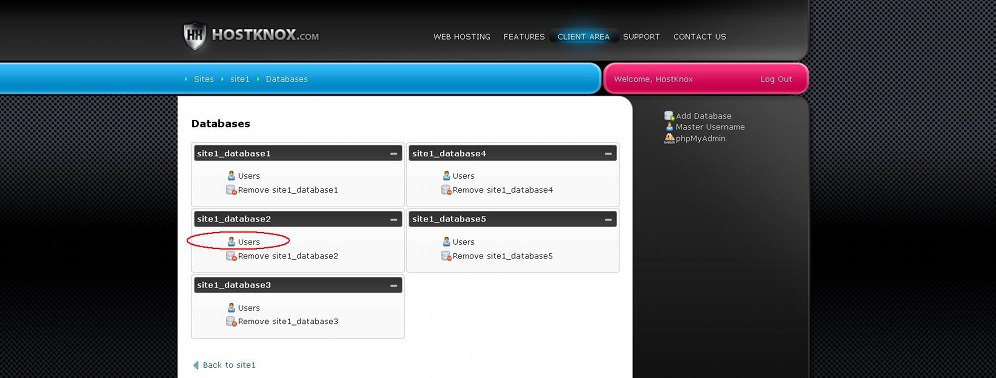
For each of the exiting databases you can add more users, you can remove them or change their passwords. To do this click on the Users button for the particular database:
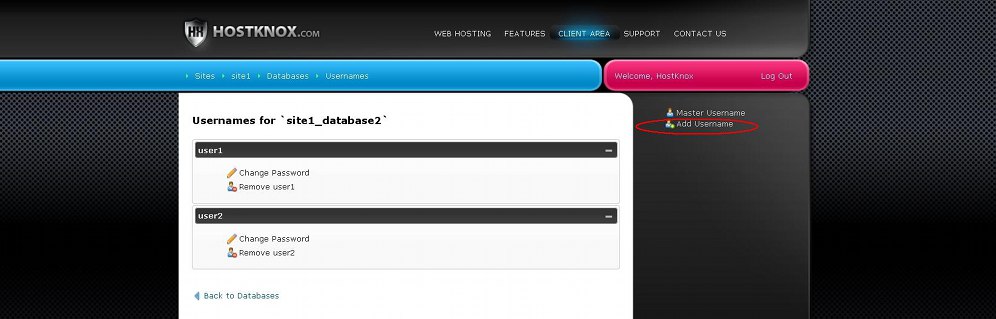
On the page that opens you'll see listed the users (if any) associated with the particular database. Under each username there are buttons Change Password and Remove with which you can change the password of that user or delete the user:

If you click on the Change Password button a new page will open. You have to type the new password in the two text fields that are provided on the page and then save the change by clicking on the Change Password button that's under the fields.
If you click on the Remove button a window will pop out asking you for confirmation that you really want to remove the particular user.
To add a new user to the database, click on the Add Username button that's in the black area on the right:
This will open the form for adding a user to the particular database:
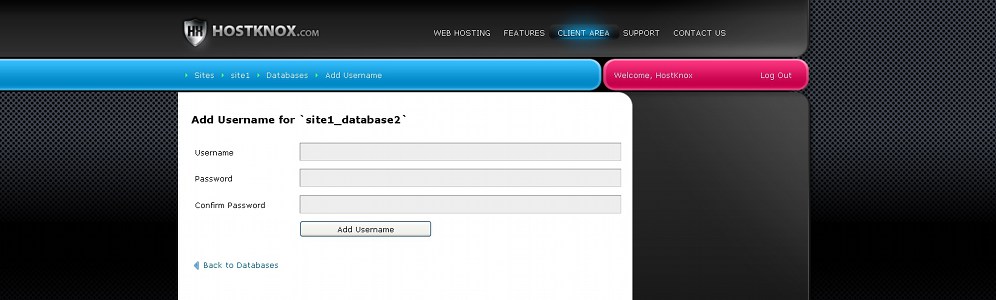
Provide a username and password in the respective fields and click on the Add Username button.
Master Database User
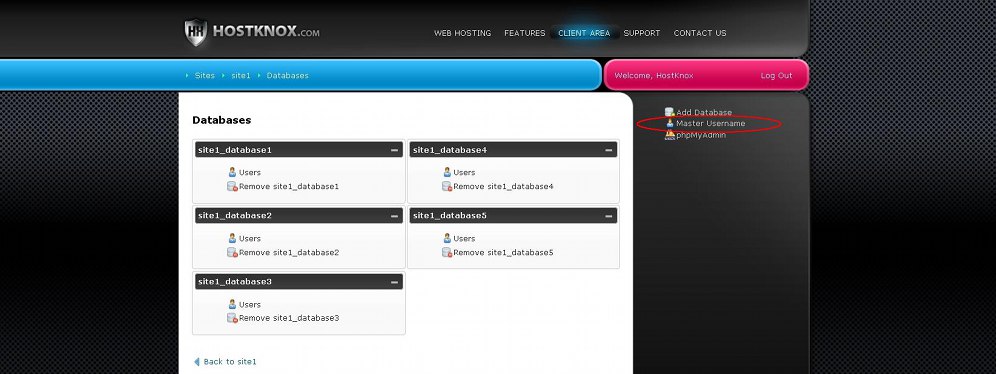
The master database user is the one that has access to all databases that you create. You don't have to add/create the master user. The master database user is added automatically to your account. The username of that user is the same as the hosting account username. Initially, however the master database user doesn't have a password, so you have to set one. To set or change the password of the master database user, go to the Databases section of the HostKnox control panel and click on the Master Username button in the black area on the right:
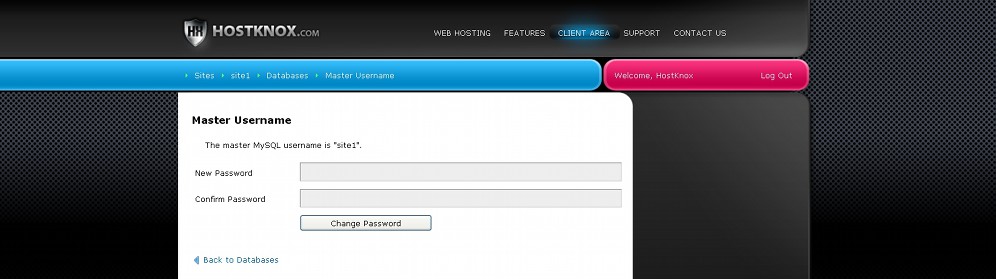
On the page that opens specify the password in the two fields that are provided and click on the Change Password button to save the change:
When you have to provide login credentials for any of your databases you can use those of the master user. However, as we mentioned, for security reasons it's better to use a separate user for each of the databases.
phpMyAdmin
From the Databases section of the HostKnox control panel you can access phpMyAdmin. This is an application for performing different tasks with your databases. You can use it to export/import whole databases or database tables, to truncate/empty database tables, to delete database tables, to edit and change the content of database tables.
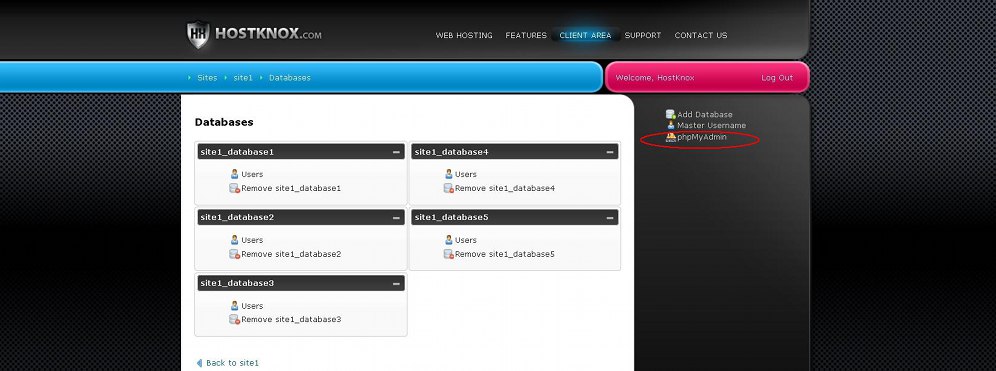
To access phpMyAdmin, click on the phpMyAdmin link in the black area on the right:
This will automatically log you into phpMyAdmin without the need to provide any login credentials. Otherwise, the login credentials for phpMyAdmin are the username and password of the master database user.
You can go directly to the login page for phpMyAdmin without the need to do it through the HostKnox control panel by using the URL address of phpMyAdmin. It consists of the URL of the HostKnox server on which your account is hosted and the path /phpMyAdmin added to it. For example, if your account is hosted on d.hostknox.com, then the URL will be d.hostknox.com/phpMyAdmin. This will open the login page on which you have to provide the login credentials of the master database user.
For information on how to do various things with phpMyAdmin you may find useful the following articles and tutorials: