Pixie - Subdomains Tutorial
How to manage subdomains with the HostKnox control panel
You can use subdomains for various things. For example, if you want to create more than one site but you only have one domain name and you don't want to use another and respectively have another account, you can create each of your sites either in a subdomain (e.g. subdomain.yourdomain.com) or in a subdirectory (e.g. yourdomain.com/subdirectory). You can use subdomains when creating a multisite/multistore. Note that depending on the web-application that you use, when you create a multisite/multistore you may not need to actually create a subdomain(s). You can use subdomains just for testing purposes. What's meant here by subdomains is subdomains of your main domain (e.g. subdomain1.yourdomain.com, example.yourdomain.com, etc.).
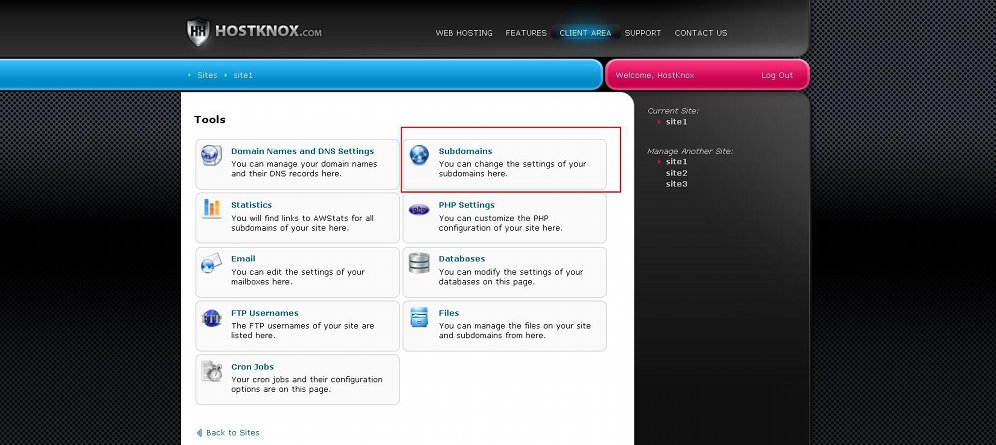
HostKnox clients can add, remove, rename and manage subdomains from the HostKnox control panel. You can add subdomains to each of the sites that's hosted on a HostKnox hosting accounts. In the HostKnox control panel there's a section Subdomains which makes managing your subdomains quite easy. To access it log into the HostKnox control panel, click on the Manage button for the site for which you want to manage subdomains, on the next page click on the Subdomains button:
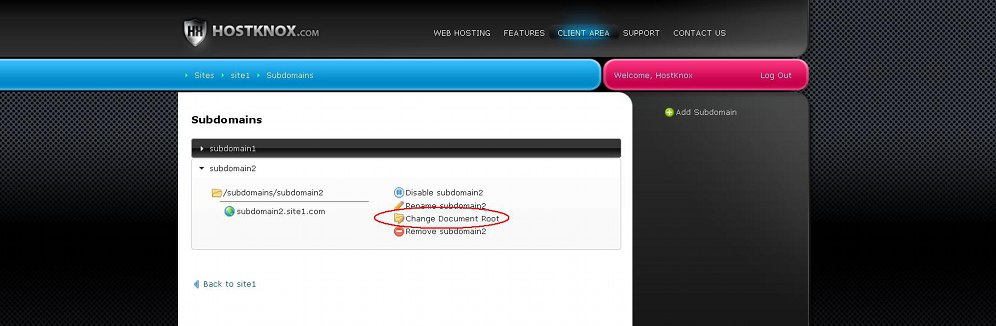
On the page that opens you'll see listed the subdomains that you have created, if there are any. For each subdomain there are some buttons for managing that subdomain. These buttons are displayed in a panel under the name of the subdomain:

You can see the buttons only for one subdomain at a time. To expand the panel of another subdomain just click on its name.
For general information on the HostKnox control panel check the tutorial on how to access and manage the HostKnox control panel.
In this tutorial we'll go over the functions of the HostKnox control panel related to subdomains.
Add Subdomains
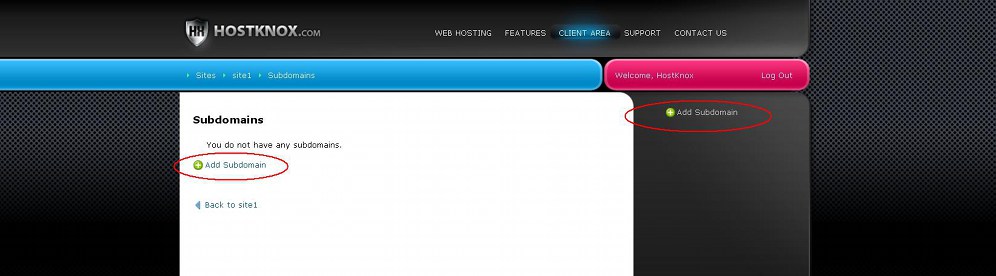
To add a subdomain, after you access the Subdomains section of the HostKnox control panel click on the Add Subdomain button in the black area on the right. If there are no subdomains, the same button will be available in the white central area of the page:
This will open the form for adding a subdomain:
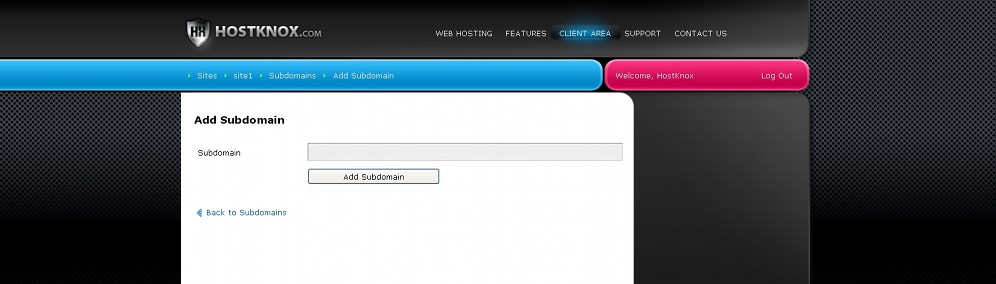
You only have to type the name of the subdomain in the text field that's provided and click on the Add Subdomain button under it. Type only the name of the subdomain and not the whole URL address. For example, if you type subdomain1, then the URL of the subdomain will be subdomain1.yourdomain.com.
Once you add the subdomain you don't have to do anything else to make it accessible on the Internet. The subdomain is automatically added to the virtual host file of your account which is all that's needed so that the subdomain can be accesses with a web-browser by opening its URL address. Of course you have to upload content for the site that will be available on this subdomain. When you add a subdomain a folder with the name of the subdomain is automatically created on your account. You can add the content of the site in that folder.
Subdomain Files and Folders
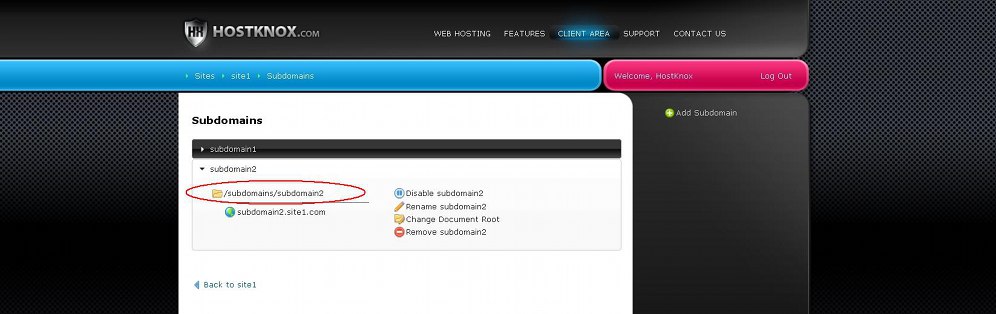
As we mentioned, each time you add a subdomain a folder with the name of that subdomain is created on your hosting account. That's where you have to put the files and folders of the site that you want to associate with the particular subdomain. There are a few ways you can access the directory of the subdomain on your account. There's a link to that folder in the Subdomains section of the HostKnox control panel. After you access the Subdomains section click on the name of the particular subdomain (if you have more than one) to expand the panel with the buttons for that subdomain. Under the name of the subdomain you'll see a small folder icon with a folder path next to it. The folder path has the form /subdomains/name-of-subdomain (where name-of-subdomain is replaced with the actual name):
The path is a link that will redirect you to the directory of the subdomain in the File Manager.
So when it comes to the HostKnox control panel, the other way to access the directory of any of your subdomains is from the File Manager. Open the file manager by selecting the Files section on the main page of the HostKnox control panel; this will display the content of the public_html folder. You have to go one level up by clicking on the top folder in the list (the one with the two dots), then on the next page open the subdomains folder and this will show you the folders of all the subdomains that you've created.
The full path on your hosting account to any of your subdomains is /home/username/subdomains/name-of-subdomain, where username is replaced with your actual account username and name-of-subdomain with the name of the particular subdomain. You can also access subdomain folders with an FTP client (e.g. FileZilla) or via SSH.
Change Subdomain Root Directory
By default, the path to the root folder of a subdomain on your hosting account is /home/username/subdomains/name-of-subdomain; in the path username stands for the actual username of your hosting account and name-of-subdomain for the name of the particular subdomain. That subdomain folder is automatically created when you add the subdomain. In this folder you have to put the content of the subdomain site.
However, it's possible to change the root folder of the subdomain and select some other folder on your account to be the document root of the subdomain. For example, you may want to make a subfolder in the public_html directory the document root of a subdomain. The public_html directory is the main web-accessible folder on your account. The content that's uploaded directly in the public_html folder corresponds to the main URL address (e.g. yourdomain.com). The subdomains directory that contains the document roots of all subdomains is outside the public_html directory. The full path to the subdomains folder is /home/username/subdomains, and that of public_html is /home/username/public_html.
In certain situations it might be very helpful to change the document root of a subdomain. Let's say that you have uploaded the content of a site in public_html/site1 which means that the URL of that site will be yourdomain.com/site1. You want the URL of that site to be a subdomain (e.g. site1.yourdomain.com) instead of a subfolder. You create the subdomain and then you have to move the content of the site from the subfolder to the document root of the subdomain (e.g. from /home/username/public_html/site1 to /home/username/subdomains/site1). Instead of doing this however you can just make the subfolder /home/username/public_html/site1 the document root of the subdomain.
To change the document root of a subdomain, go to the Subdomains section of the HostKnox control panel, select the subdomain by clicking on its name and then click on the button Change Document Root:
On the page that opens you'll see a text field that has the default document root path in it. Just type the path that you want in the field and click on the Change DocumentRoot button that's under it:
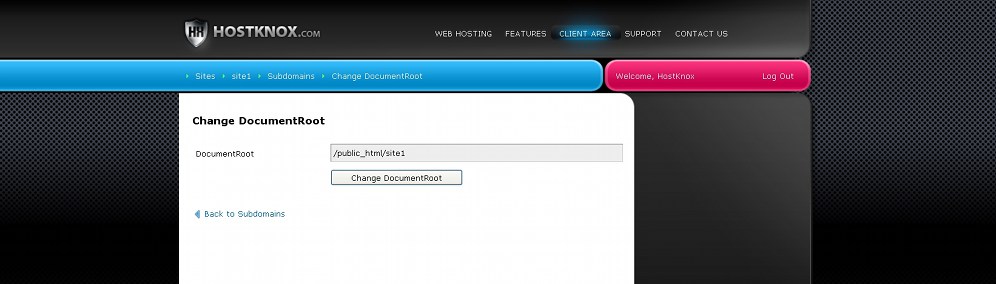
Note that the folder to which you point the document root should actually exist on your hosting account.
If the full path to the new root is /home/username/public_html/site1, you can put only /public_html/site1 in the text field for the document root. Whatever the path is you can put only the part that's after /home/username. But even if you put the full path it will work without problems.
Delete Subdomains
To delete any of your subdomains, go to the Subdomains section of the HostKnox control panel, select the subdomain by clicking on its name and from the buttons that appear under it click on the Remove button:
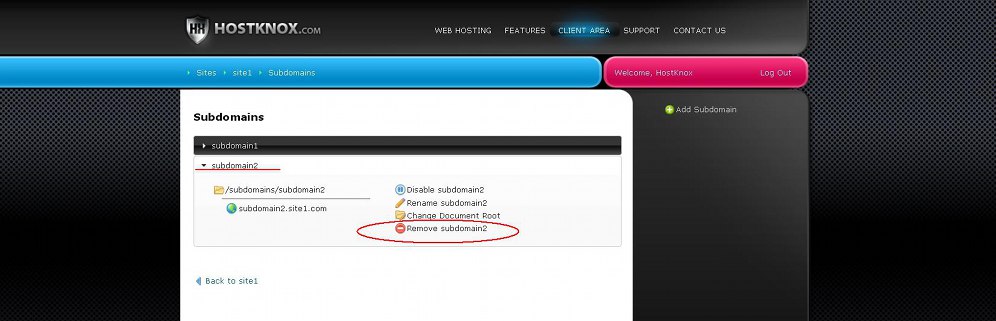
This will remove the subdomain from the virtual host file of your hosting account which means that the URL corresponding to the subdomain (e.g. subdomain.yourdomain.com) will not resolve to anything. Removing a subdomain will not delete the directory for the subdomain that's on your hosting account. That's the directory in which you put the content of the subdomain site. As we explained in the section on subdomain files and folders of this tutorial the path to a subdomain directory on your account is /home/username/subdomains/name-of-subdomain. If you want to, you can delete it from the Files section of the HostKnox control panel or with an FTP client (e.g. FileZilla).
Disable Subdomains
If you want to make a subdomain temporarily inaccessible, instead of deleting/removing it you can disable it. To do this, go to the Subdomains section of the HostKnox control panel, select the subdomain by clicking on its name and then click on the Disable button:
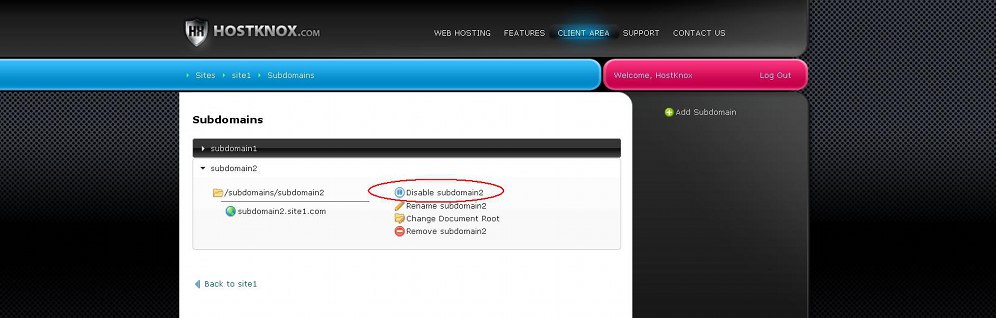
A small window will pop out asking you to confirm that you want to disable the subdomain. After the subdomain is disabled people will not be able to access it by opening its URL address.
To enable the subdomain again click on the Enable button:
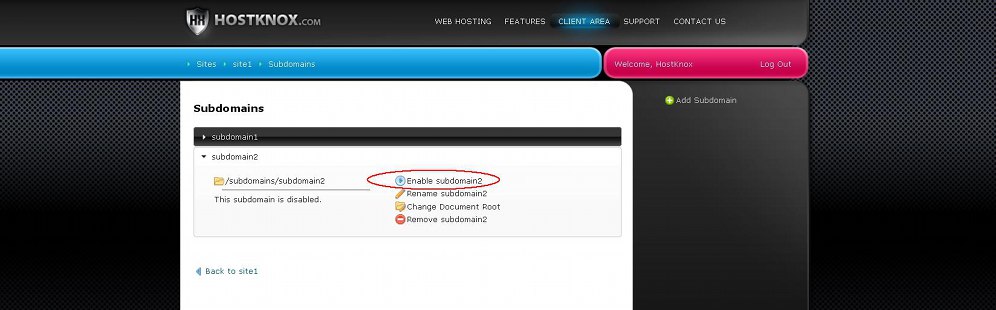
This will make the subdomain accessible again.
Rename Subdomains
If you decide that an existing subdomain should have a different name than its current one, instead of creating a new subdomain and moving the content of the old one to the new one you can rename the existing subdomain. To do this, in the Subdomains section of the HostKnox control panel select the subdomain by clicking on its name and then click on the Rename button:
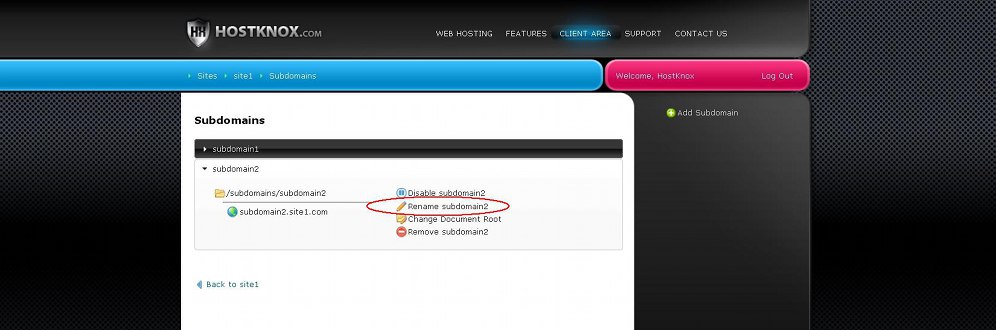
On the page that opens type the new name in the text field and click on the Rename button that's under it.