WordPress Categories Tutorial
How to manage categories in WordPress
In WordPress you can use categories to organize and group your posts/articles. Categories can be organized into a hierarchical structure, meaning that you can create subcategories that have parent categories (you can go many levels down). WordPress comes preconfigured with one category labeled Uncategorized which cannot be deleted. If you don't assign your posts to a category, they will automatically be put in Uncategorized.
On the frontend, depending on the theme, the category to which a post belongs is shown after the content of the post, or it might be listed at the top under the title of the post. There's also a menu that lists all the categories (this also depends on the theme). Each category is also a link. When a visitor clicks on it all the posts belonging to that category and all its subcategories are listed on the page.
In this tutorial we'll review the process of managing your existing categories and adding and editing new ones.
Categories Section in the Admin Panel
To manage your categories, log in to the admin panel of your WordPress and go to Posts menu>Categories sub-menu. On the page that opens you'll see the add form for new categories on the left side, and on the right there's a table listing all the exiting categories. The table consists of a few columns: Name, Description, Slug, Posts.
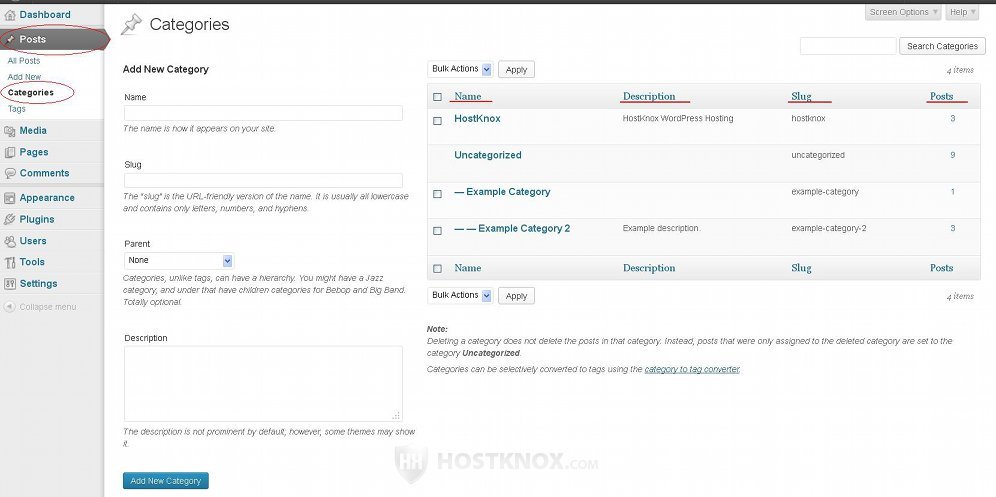
The columns display the corresponding information for each of the existing categories. If you haven't added any new categories, there should be at least the default Uncategorized category. The name of each category in the table is also a link to the edit form for that category. Subcategories are marked with one or more dashes, depending on how many levels down the subcategory is in relation to the parent category. In our example screenshot the category Example Category is a subcategory of Uncategorized, while Example Category 2 is a subcategory of Example Category. The numbers in the Posts column are also links. Clicking on the number of posts for a specific category will redirect you to the Posts section of the admin panel where you'll see listed the posts belonging to the particular category.
If you want to, you can remove some or all of the columns in the table except for Name. To do this click on the Screen Options button in the top right corner of the page. A panel with some checkboxes will appear. To show or hide columns in the table mark/unmark the respective checkbox(es):
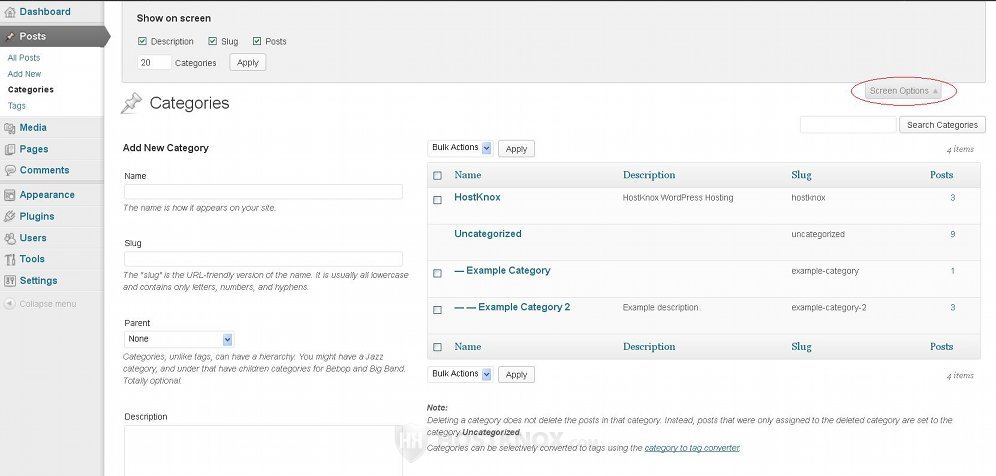
You can also change the number of categories displayed in the table per page.
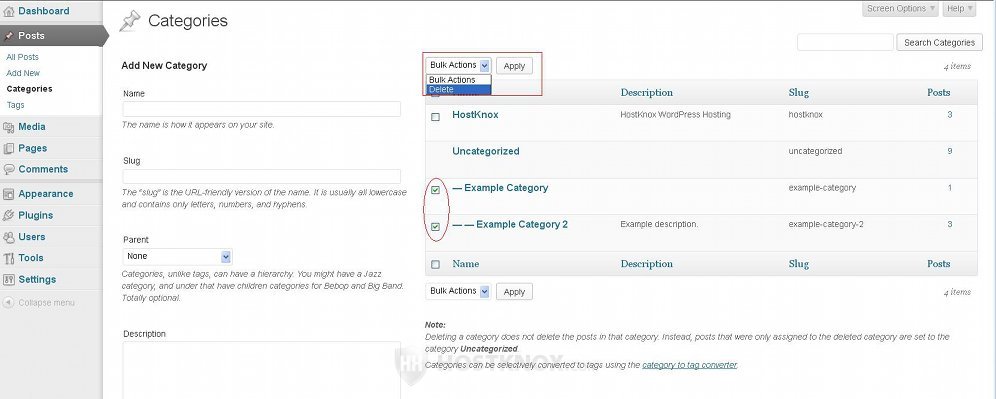
The table with the categories offers some other functions. Using the Bulk Actions drop-down menu you can delete many categories at the same time. Just mark the checkboxes in front of the names of the categories, select Delete from the drop-down menu and click on the Apply button next to it:
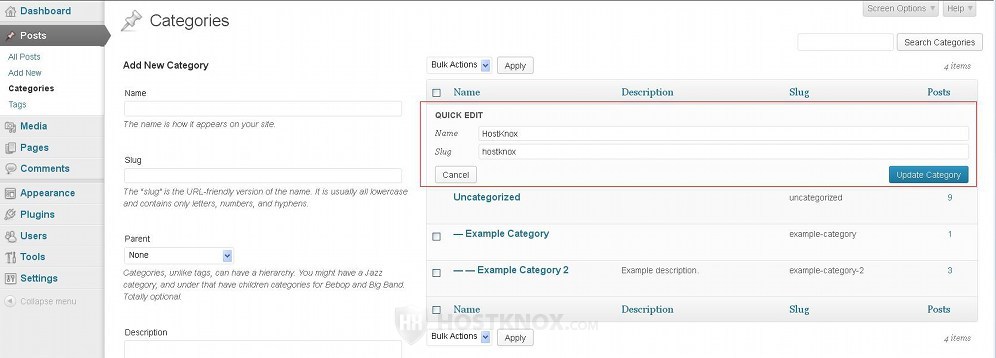
When you hover the mouse pointer over a row in the table a few buttons will appear under the name of the category:
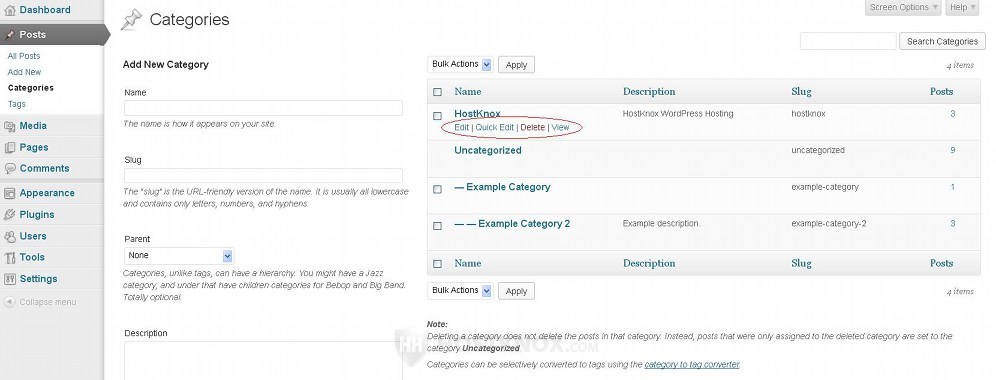
The View button will redirect you to the category page on the frontend. With the Delete button you can delete the category. The Edit button will redirect you to the edit form where you can edit all the settings of the category. Clicking on the Quick Edit button on the other hand will expand a small panel on the same page. From that panel you can edit the name and slug of the category:
In the next section we'll review how to add and edit categories and the specific category settings associated with that.
Adding and Editing Categories
When you go to Posts menu>Categories submenu in your WordPress admin panel the add form for new categories is on the left side of the page. On the same page there's a table with the existing categories. To edit a category either click on its name in the table or on the Edit button that appears when you hover the mouse pointer over the name of the category:
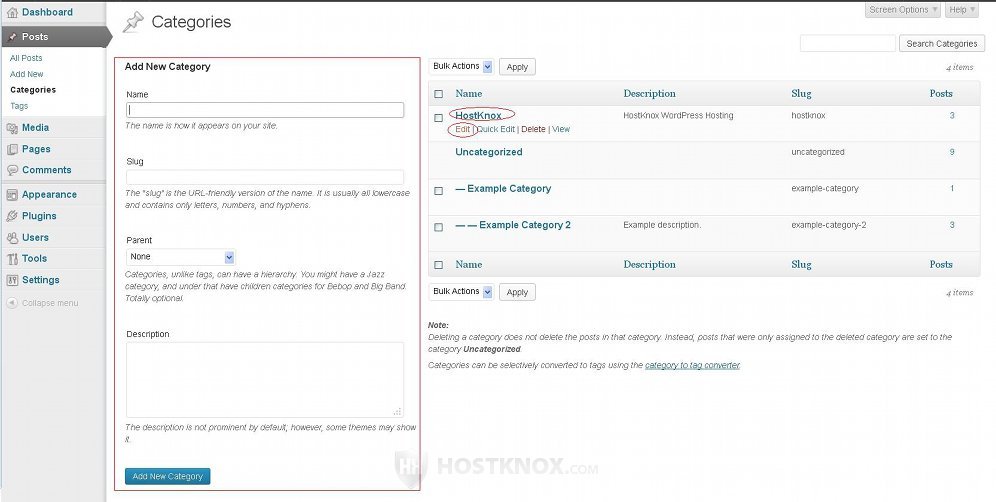
If you want to edit a category you'll be redirected to a different page, but the form is the same one as the add form. Now let's go over the options on the add/edit category form:
- Name - in this field simply type the name of the category as you want it to appear on the frontend.
- Slug - you don't have to put anything in this field. If you leave it empty, the name of the category will be used automatically as the slug; uppercase letters are turned into lowercase ones and words are separated with hyphens. For example, if the name of the category is HostKnox Hosting, the automatic slug will be hostknox-hosting. The slug is used with permalinks. It's the part of the friendly URL that corresponds to the category. By default, category URLs have the form yourdomain.com/?cat=4. If you enable permalinks, depending on the URL structure that you choose the same category might have the URL yourdomain.com/category/hostknox-hosting. For more information on permalinks check out the tutorial on WordPress permalinks.
- Parent - if you want the category you're adding/editing to be a subcategory of an existing category, you can select the parent category from this drop-down menu. If you want it to be a top level category, just leave it to None.
- Description - you don't have to type a description for the category. If you want to, you can do so in the text area that's provided. On the frontend the description is shown at the top of the category page above the posts belonging to the category. This, however, also depends on the particular theme. Some themes don't display the category description.
After you're done with the settings click on the Add New Category button. In case you're editing an existing category the button will be labeled Update.