WordPress Installation Tutorial
Learn how to install WordPress
WordPress is an open source, web-based application for creating blogs or sites. It is easy to install and use. In this tutorial we will show you how to do it.
First you have to create a MySQL database and add a user to it. You can do that from the Databases section of the HostKnox control panel. Then you need to download the last stable version of WordPress from their official site. After that you have to extract the downloaded archive on your computer. The contents of the archive will be unzipped in a folder called wordpress. Then you need to upload the folder to the public_html folder of your hosting account. An easy way to do this is by using an FTP client (e.g. FileZilla).
If you upload the whole wordpress folder as it is, your site will be accessible at www.yourdomain.com/wordpress. You can rename the wordpress folder to something of your choice or, if you want your WordPress-built website to be accessible directly at www.yourdomain.com, you have to upload all of the contents inside the wordpress folder (not the whole folder itself) to public_html. But keep in mind that in order to do this you shouldn't have the contents of any other Content Management System (e.g WordPress, Joomla, Magento, etc.) uploaded directly in your public_html folder. You can, however, have many CMS (Content Management System) applications installed in different directories inside your public_html folder.
So, in this tutorial, let's upload the whole folder without renaming it. This means that your site will be accessible at www.yourdomain.com/wordpress. In order to begin the installation you have to open with your browser the following address: www.yourdomain.com/wordpress/wp-admin/install.php (or you can also use www.yourdomain.com/wordpress/index.php).
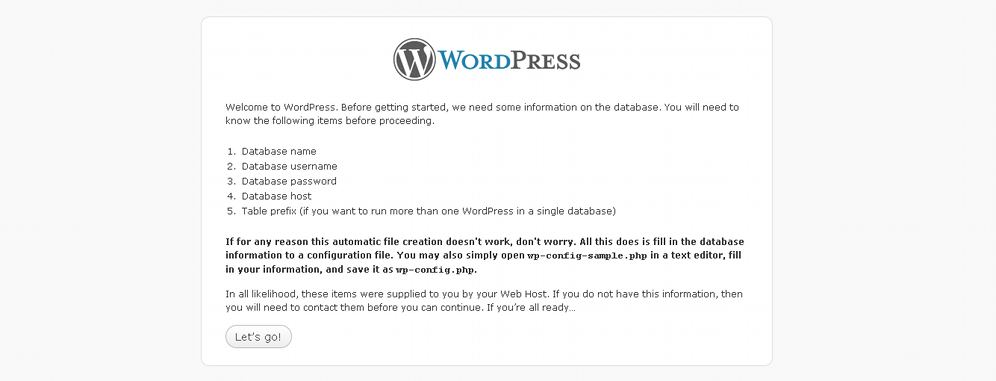
After you open the above address, you will see the following message:

Although this might appear to you as an error, usually it shouldn't be a problem if you continue by clicking on Create a Configuration File and just let the mentioned file (wp-config.php) be created through the web interface. If for some reason this doesn't work, there is an easy way to fix it. But we'll come to that later.
So just press the button and it should be fine.
The next screen of the installation is a reminder that you'll need the database name, username and password:
Just click on Let's go to continue.
On the next page you will be prompted to fill several fields with information about the database you created for your WordPress installation:
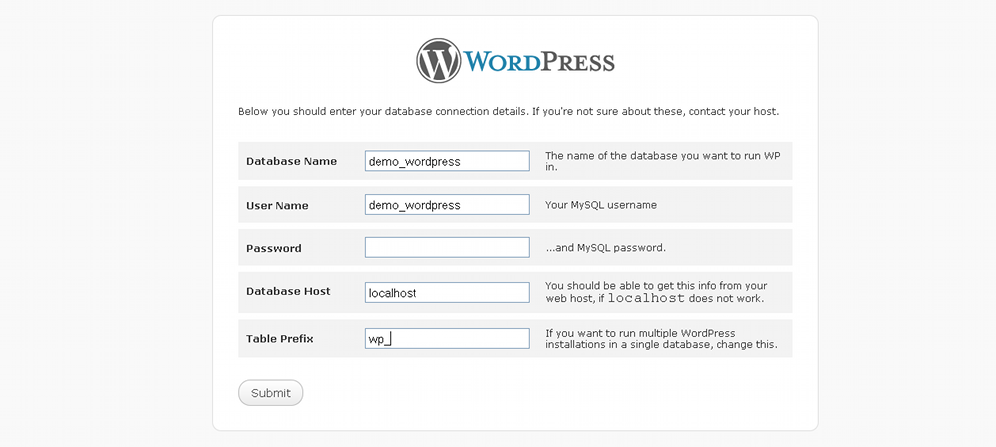
They are self-explanatory but let's go over them:
- Database Name - type the name of the MySQL database you created earlier; in this example it's demo_wordpress
- User Name - the user name for the same database that you created for this installation; here it's demo_wordpress
- Password - the password for the user of the MySQL database you created earlier
- Database Host - the default one is localhost and it should be fine, so you can safely leave it as it is
- Table Prefix - this field is optional; you can leave the default one, you will only need to change it if you have another WordPress application installed on the same database and with the same prefix
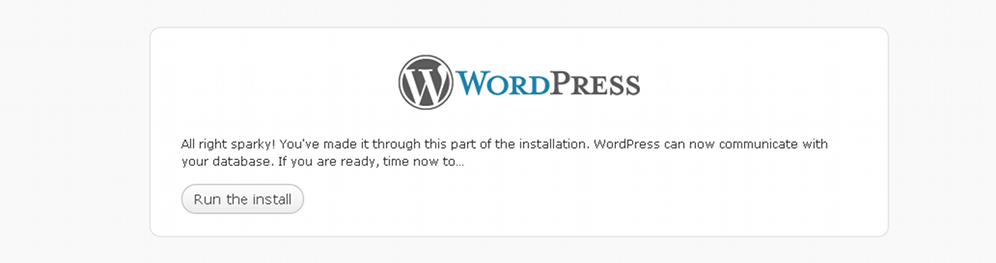
When you are done click on Submit to continue. The next page is a confirmation that connection has been established with your MySQL database and you can continue by clicking on Run the install:
On the next page you have to add some more information before you can complete the installation. All this information can be changed later from the admin panel:
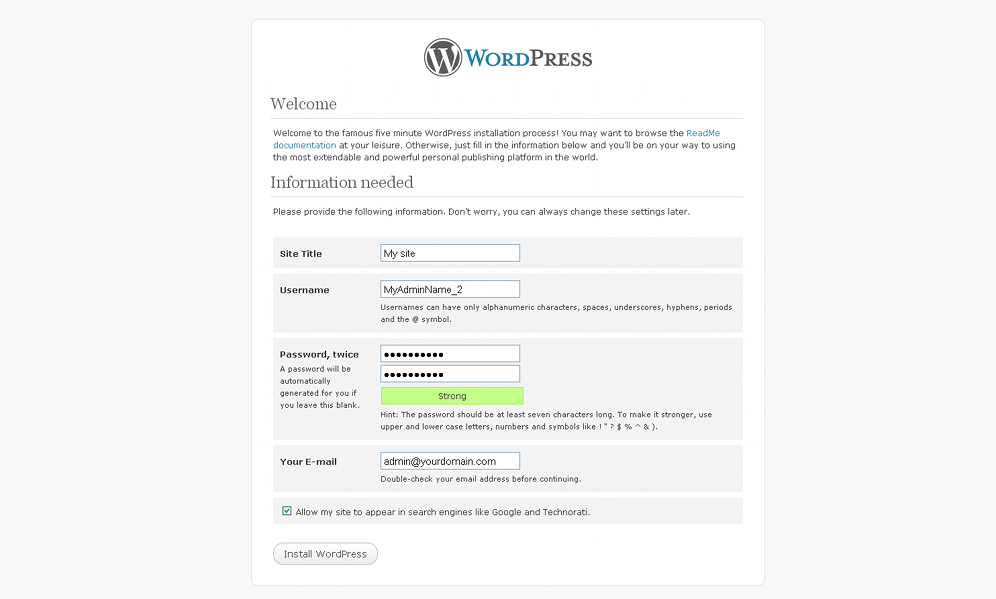
- Site Title - in this field you can put whatever you want your site to be called, it doesn't have to be its URL address; in this example it's My site
- Username - here you have to choose and type a user name for the administration panel of your site; avoid simple names (such as just admin)
- Password - choose a password for the admin panel and type it twice; it's a good idea to use a combination of upper and lower case letters, numbers and special characters to make it more secure; it has to be at least seven characters long
- Your E-mail - just type your e-mail
Make sure that the Allow my site to appear in search engines like Google and Technorati check-box is marked, if you want your site or blog to be visible to everybody, and press Install WordPress at the bottom.
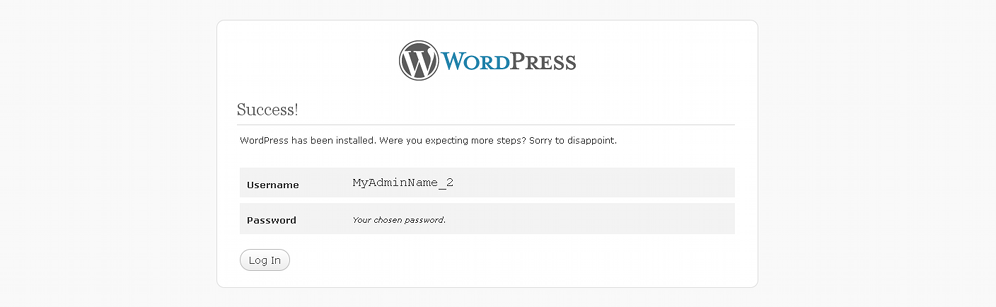
That is all you have to do. The last page congratulates you on the successful installation and provides you with a link to go directly to the log in page for the administration panel of your new WordPress site:
As we mentioned earlier you might have some problems with letting WordPress create the wp-config.php file. It's not likely, but it may happen. If during the installation you receive an error message after the step where you submit the database information, you will have to edit the file manually. First, however, make sure you submitted the correct information (database name, user name, password, etc.). Use your browser's Back button to go to the page with the database information and fill everything again. If it doesn't work again, you will have to make the changes to the file yourself.
In the folder where you extracted WordPress on your computer find the file wp-config-sample.php, rename it to wp-config.php and open it with a text editor (e.g. Notepad). It looks like this:
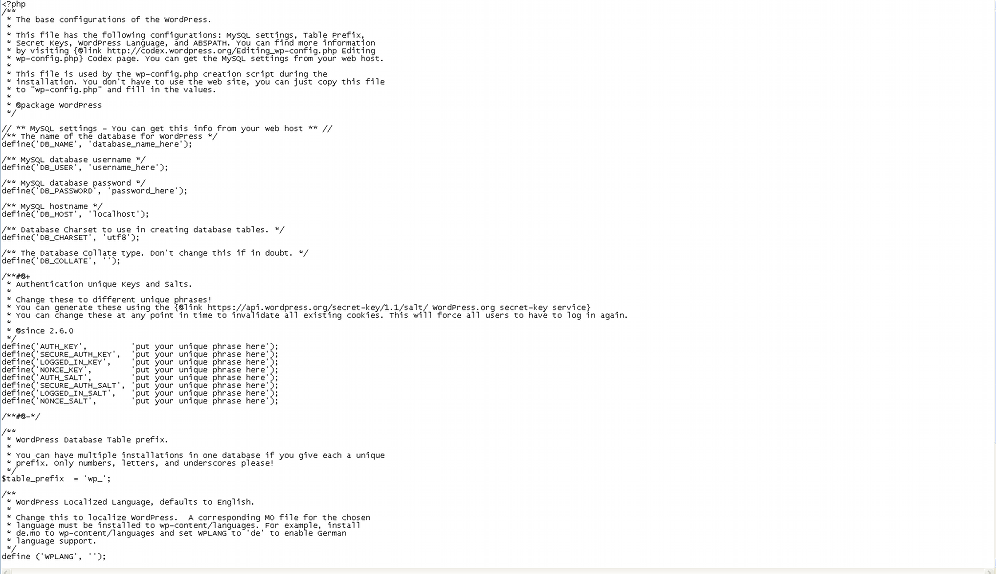
You have to add the information for the database you created earlier. In the quotation marks where it says database_name_here, username_here, password_here put the information for your database. The rest of the options (DB_HOST, DB_CHARSET, DB_COLLATE) should be fine the way they are.
The next thing you need to change in the file is just below the MySQL Database section. There you can see these security keys: AUTH_KEY, SECURE_AUTH_KEY, LOGGED_IN_KEY, NONCE_KEY. Just below them are corresponding _SALT keys. Right next to each key in the quotation marks, where it says 'put your unique phrase here', you have to type a random string of letters, numbers and characters. You don't need to remember those codes, so don't worry about that. You are only required to type codes for the first four security codes (without the _SALT ones), it's also recommended to write codes for the rest, but if you don't, they will be automatically generated by WordPress.
After your are done save the wp-config.php file and upload it to the directory on your hosting account where you uploaded earlier the rest of the WordPress files. You can delete the sample file (wp-config-sample.php). Then to install WordPress without any problems, if you have done everything properly, type the same URL you used before in your browser (e.g. www.yourdomain.com/wordpress/wp-admin/install.php) and follow the instructions. This time you won't have to provide the database details.
It is also possible to rename and edit the sample file directly on your hosting account by using the HostKnox control panel. You can also use this second method to install WordPress without going through all the steps of the previous method for creating a configuration file.