Drupal Images & Image Styles Tutorial
How to manage images and image styles in Drupal
In Drupal you can upload and put images in content items (nodes), registered users can upload pictures for avatars; you can add many image fields to content types, user profiles, etc. You can also manage the image styles of your Drupal.
Managing Image Styles
In Drupal image styles are used to determine how an image will be displayed on the frontend of your site. They can be used to scale, crop, rotate images and add various effects. When an image is uploaded a copy is created and the effects of the particular image style are applied to the copy. The copy is displayed on the frontend, and the original image is kept on your Drupal hosting account. For example, the teaser view of the preconfigured article content type is set to use the medium image style, while when the full article is displayed the large image style is applied. The image style settings are provided by the core Image module that comes prepackaged with Drupal.
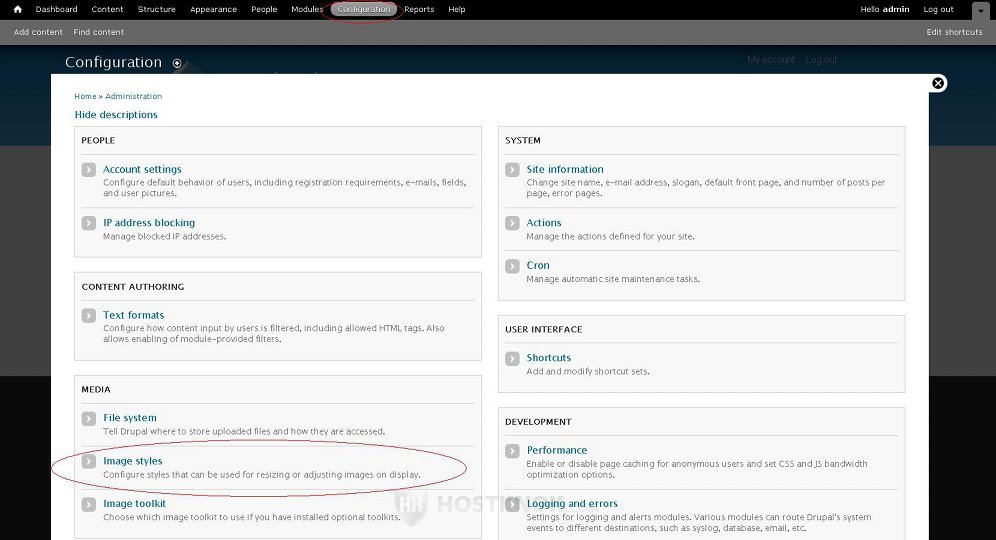
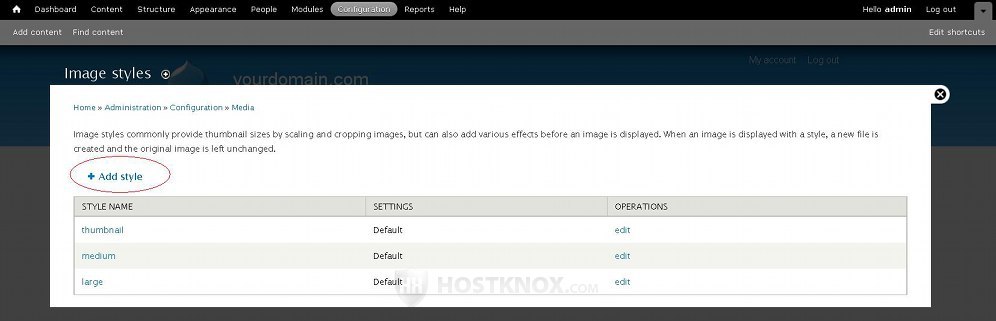
To manage image styles, log in to the admin panel of your Drupal, click on the Configuration tab in the top navigation bar, and on the page that opens click on Image Styles (it's in the Media section):
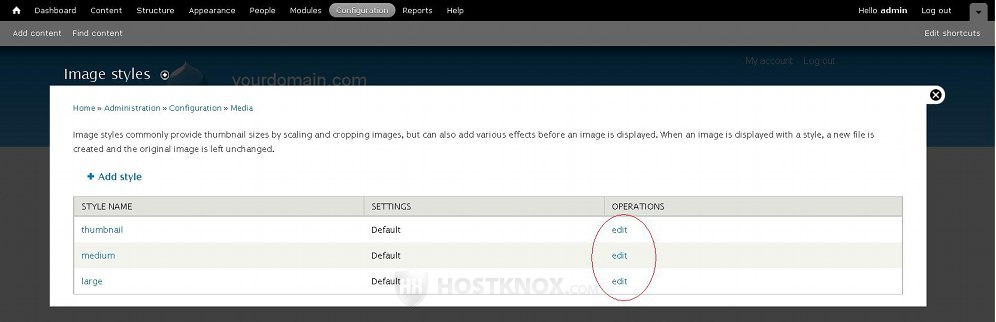
On the page that is displayed you'll see a table with the existing image styles. By default, Drupal comes with three preconfigured image styles: thumbnail, medium, large. To edit the settings of any of these styles click on its edit button in the table:
This will open a page on which you can see the effects that have been added to the particular image style. By default, all the three preconfigured styles are set only to scale the original images. The thumbnail style is set to scale images to the dimensions of 100x100 pixels (width x height), the medium style to 220x220, and the large style to 480x480.
Above the table with the effects you can see a preview of an example image, and what it will look like after the effects are applied:
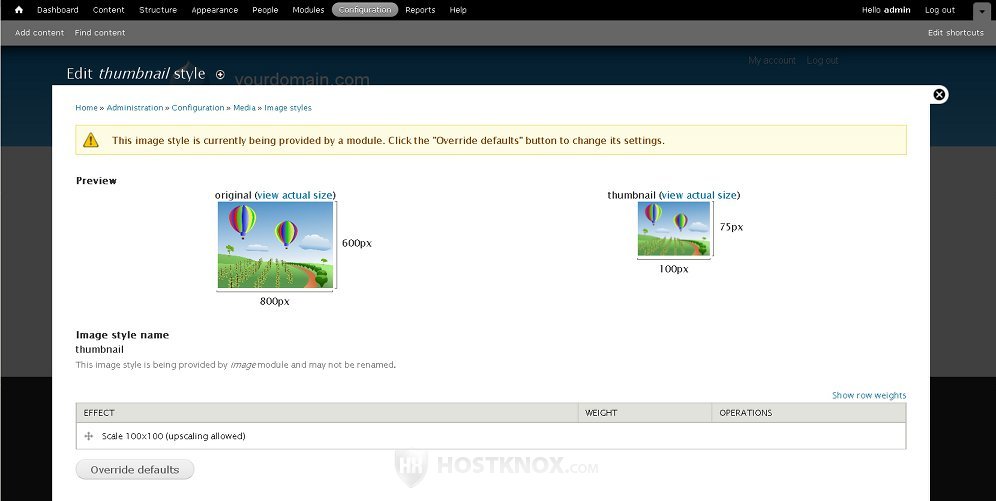
In our example, it's the thumbnail image style. The original image will be scaled to the default dimensions of 100x100 only if it's a square one (e.g. 800x800). If it's, for instance, 800x600 (as in the preview example), it will be scaled to 100x75. In case you haven't change the default settings of the image style, you have to click on the Override defaults button that's below the table with the effects before you can edit the default Scale effect or add new ones.
Once you click on the button you'll be able to edit or delete the current effect by using the corresponding buttons in the table, and you can add more effects by selecting the desired effect from the drop-down menu in the table and clicking on the Add button:

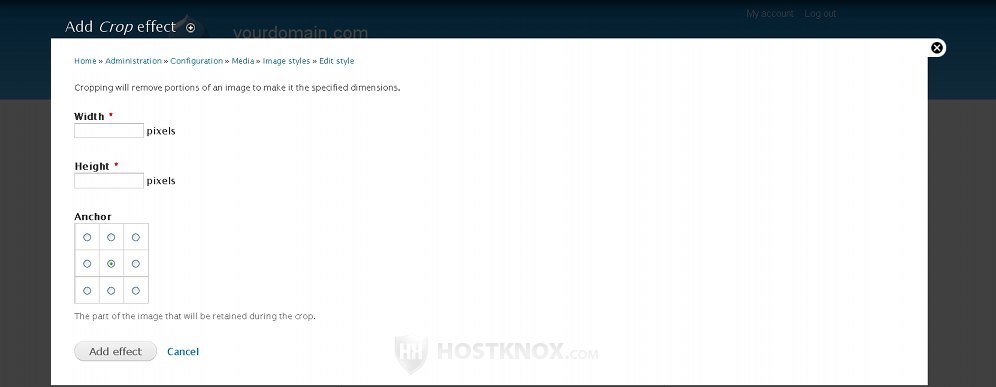
There are several effects that come prepackaged with Drupal: Crop, Desaturate, Resize, Rotate, Scale, Scale and crop. The crop effect is for cutting out parts of the image until it fits into certain dimensions; from the settings of this image effect you can select the dimensions and the part of the image to be retained (the anchor). The desaturate effect will turn a color image into a grayscale one; it doesn't have any settings. The resize effect will reduce the image into the specified dimensions without keeping the original proportions. For example, if the resize effect is set to 100x100 pixels and the original image is 800x600, the resized copy will have the dimensions of 100x100. The scale effect on the other end will keep the original proportions. Using the same example, an image with dimensions 800x600 will be scaled to 100x75. The rotate effect, as the name suggest, is used for rotating images; from the settings of this effect you can specify the degrees of rotation and the direction (clockwise, counter-clockwise).
After you select the effect from the drop-down menu and you click on the Add button the page with the settings for that effect will be automatically displayed (with the exception of the desaturate effect). The settings vary according to the particular effect. For example, for the crop effect, as we already mentioned, you have to choose the dimensions and the anchor:
After you configure the settings click on the Add effect button and the effect will be added. You can add more than one effect to an image style. In any case, you can see what will happen to an image after the effects are applied thanks to the preview images that are above the table with the effects for the particular image style.
In addition to the prepackaged image effects from which you can choose, some third party modules for managing images may add more effects that can be included in an image style.
As well as editing existing image styles, you can also add new ones. To do this, on the page listing the existing image styles (Configuration tab>Image styles) click on the Add style button that's above the top left corner of the table:
On the page that opens after you click on the button you just need to type the name of the image style in the field that's provided and then click on the Create new style button. The image style will be created without any effects added to it, so you'll have to add the effects that you want to use with that style. It's done in the same way as when editing an existing image style.
Managing Content Type Image Options
To be able to include images in content items (nodes) you need to add an image field type to the content type that you want to use. For example, the article content type that comes prepackaged with Drupal has an image field type added which means that when you create/edit an article you can upload an image that will be displayed on the frontend. You can add many image fields to any content type. To do this, log in to the admin panel of your Drupal, click on the Structure tab in the top navigation bar, and on the page that opens click on Content types. On the following page click on the manage fields button for the particular content type. This will display a table with the existing fields for that content type. Type a label for the field in the text area under Add new field, then select Image from the drop-down menu and click on Save:
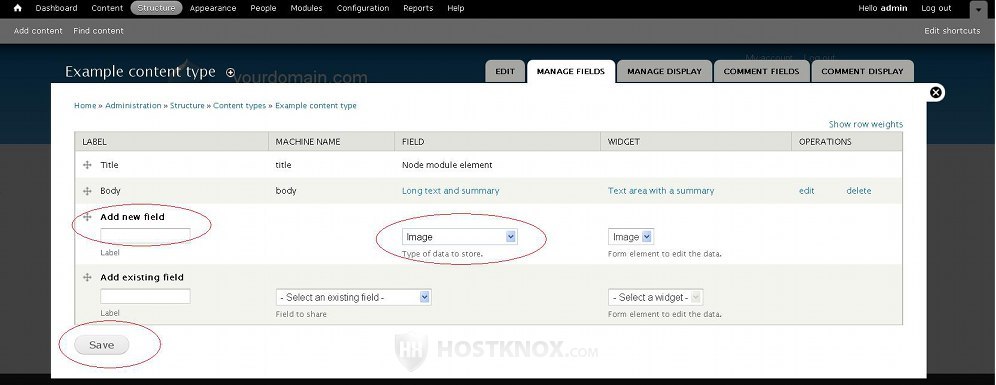
After you click on the Save button the field settings for the particular field will be shown. You can edit the settings at any time by clicking on the edit button for the field (on the Manage Fields page of the particular content type). You can specify the allowed file extensions, you can set the allowed maximum and minimum dimensions of the image, etc. You can also change the number of values for that particular image field; it's set to one by default. The number of values determines how many pictures can be uploaded with that field. Don't forget that you can also add more than one image field to a content type.
For more details on adding fields you can check out the tutorial on how to add and manage fields in Drupal.
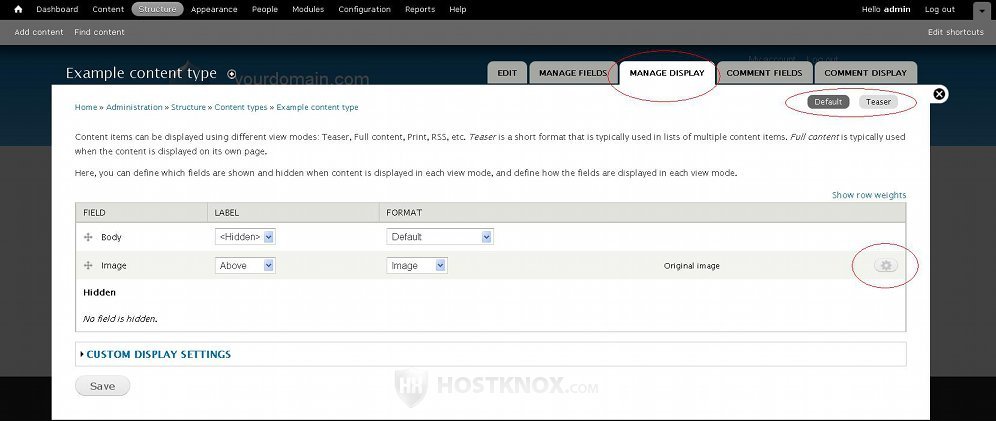
You can assign an image style to be used with a content type. After you go to Structure tab>Content types, click on the manage display button for the particular content type. You'll see a table with the fields that appear on the frontend when nodes from that content type are displayed. If nodes from that content type are displayed in a teaser view and a full view, you can navigate between the two using the small buttons in the top right corner of the page. You can use a different image style with each view. Find the field for the image in the table and click on the small button on the right side of the table:
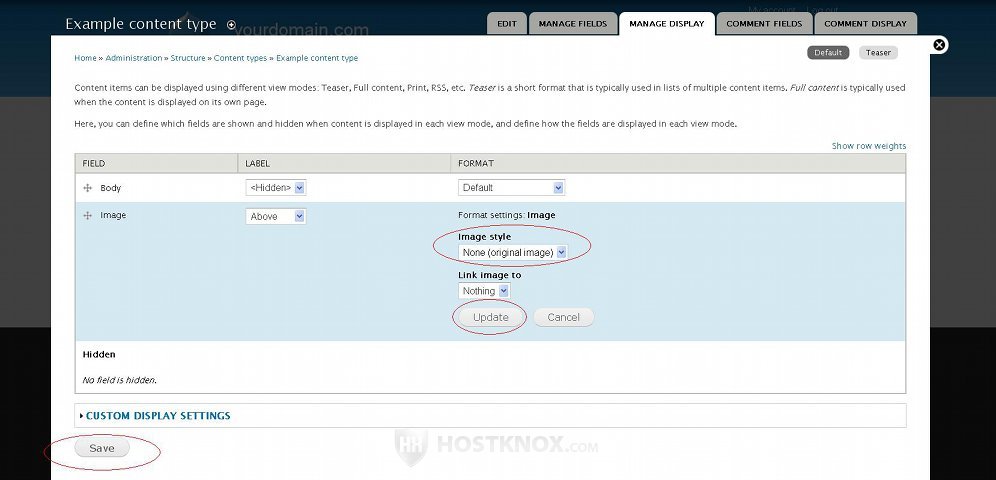
After you click on the button some settings will appear. Use the Image style drop-down menu to select the image style. Of course, you can select the original image to be displayed instead. From the other drop-down menu you can choose whether the image should be a link to the content of the node or not. After you're done click on the Update button and then on the Save button at the bottom of the page:
User Picture (Avatar) Settings
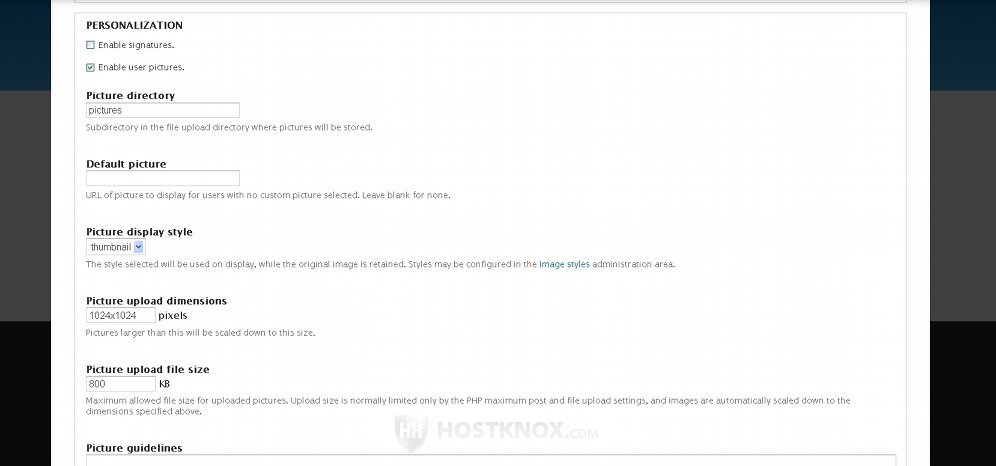
By default, registered users in Drupal are allowed to upload a picture which will be used as an avatar when they post comments. The preconfigured thumbnail image style is assigned to be used with the user picture. There are also some other settings such as the allowed file size and dimensions of the original picture that the user can upload. To change these settings, log in to the admin panel, click on the Configuration tab in the top navigation bar, and on the page that opens click on Account settings. On the following page scroll down to the Personalization section and there you'll find the settings for the user picture:
For more details on this and on managing users you can also read the tutorial on how to manage users in Drupal.