Drupal Publishing Content Tutorial
How to publish content on your Drupal site
One of the most important things associated with creating and maintaining a site is to put content on it, and if needed, to edit and remove that content. In Drupal that can very easily be accomplished through the admin panel of the application.
After you log in as an administrator, click on the Add content link that's in the Navigation block:
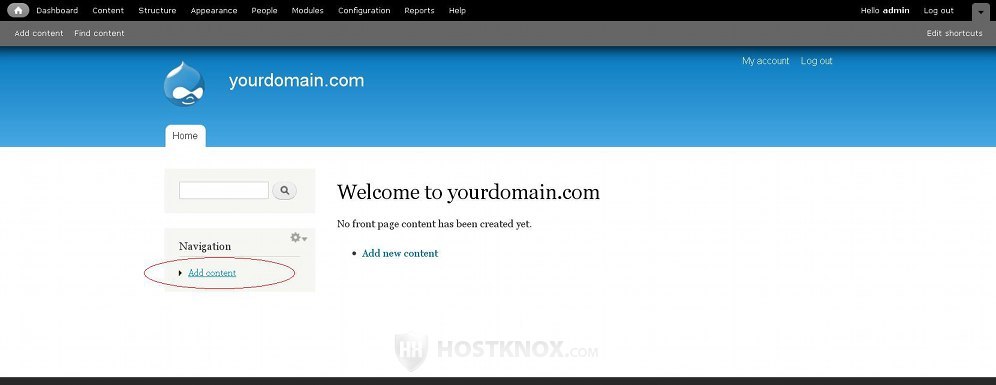
This will open the Add content window from which you can choose the content type.
Alternatively, you can get to the same page by clicking on the Content tab in the top navigation bar, and then on the Add content button:
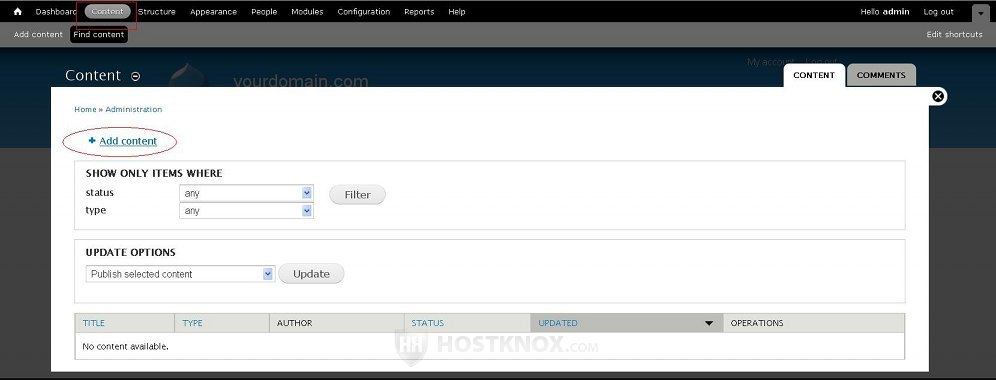
In both cases you'll be taken to the panel where you can choose the content type. By default, there are two content types: Article and Basic page.
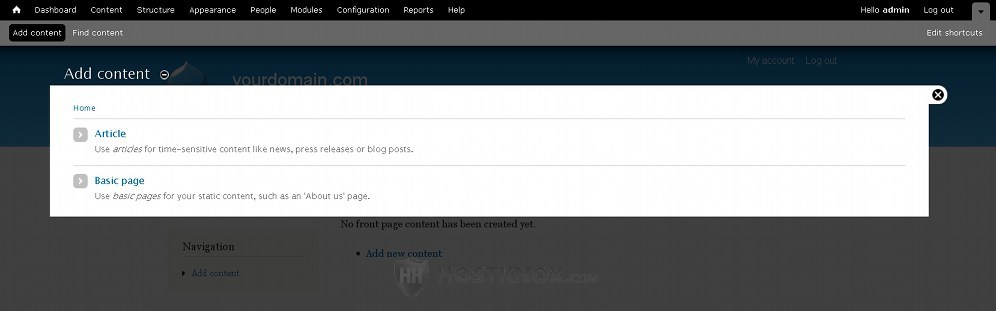
The default settings for these content types are a bit different. Basically, the article type is for such things as news, blog posts, etc., and the basic page type is for static pages (e.g. an about us page). You can change the settings of these content types and you can also create new content types. Click on the name of the content type that you want to use to add the content and adjust the settings for the particular content item that you're about to publish. In our example, we'll use the article content type. The settings for the basic page type are similar; some of the differences are that with the article type the default settings are configured so that you can upload an image, users can post comments, the author and publication date are shown, etc. Some of the modules that come prepackaged with Drupal but are disabled by default, add content types automatically when they are enabled. These include the modules Blog, Book, Forum, Poll.
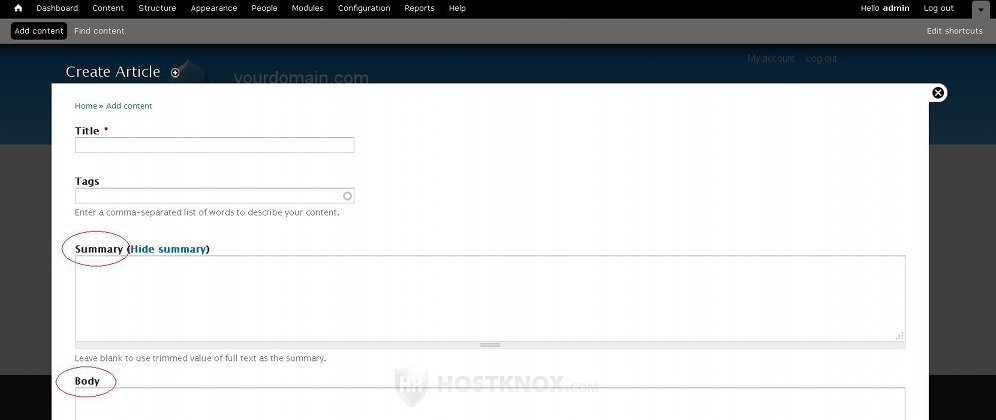
After you select the content type by clicking on its name you need to type a title for the article in the field for Title, and optionally type tags associated with that article in the corresponding field. If you use more than one tag word, put a comma between the words.
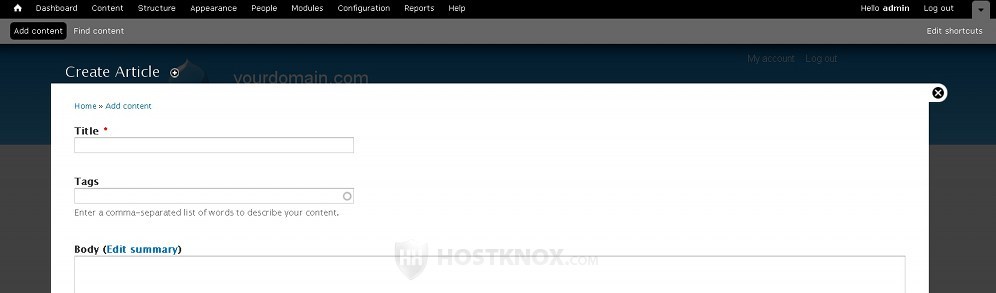
After these two fields there is a text area for the body of the article. By default, the article is displayed on the frontend with a summary, and if the visitor wants to read the full article they have to click on the name of the article, or on the Read more link. When you put the text in the text field for the body, the first part of it will be automatically trimmed and displayed as the summary. The length of the summary depends on the global settings of the content type. In the case with the article content type, the default settings are configured to display the first 600 characters. You can specify what exactly you want to be shown as the summary by clicking on the Edit summary link that's just above the text area for the body of the article. This will display another text area for the summary where you can put exactly what you want to appear as the summary. In this way you can put a summary that's longer (or shorter) than the automatically trimmed summary:
If you want to learn how to change the length of the automatically displayed summary, read the article on changing the summary length of content types. You can also remove the summary altogether; for more information read the article on disabling the summary in content types.
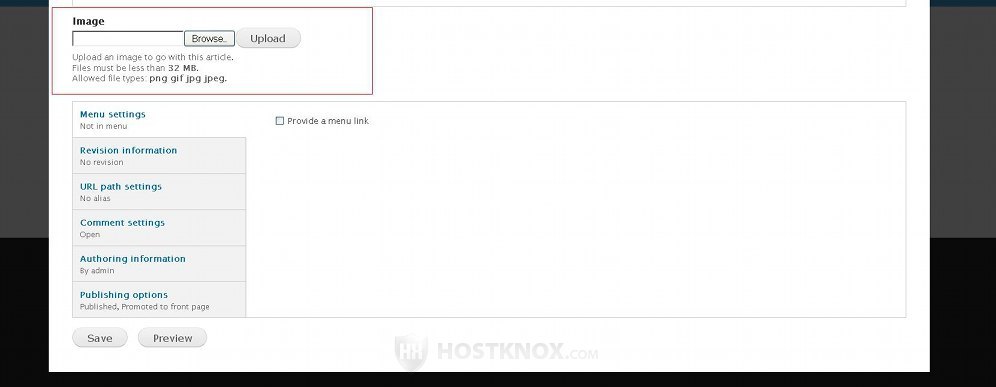
Under the text area for the body there's an option which you can use to upload an image that will be displayed in the article. Just click on the Browse button, locate the image on your local computer and then click on the Upload button:
With the default settings for the article content type the image will be displayed under the title but before the body of the text. This is true for both the view that displays only the summary (the so called teaser) and for the view that displays the whole article. You can change the position of the image by editing the settings for the content type. To learn how to do it read the article on changing the position of images and other elements within articles.
The image that you upload will also be resized according to the image size that is specified in the global settings of the content type and also according to the general image styles in Drupal. By default, Drupal comes with three preconfigured image styles: thumbnail (100 x 100 pixels-width x height), medium (220x220), large (480x480). These image styles can be assigned to the particular content type. For example, in the summary view (teaser) of the article content type the image is displayed with the dimensions of the medium image style, while the view that displays the full article on the frontend uses the large image style. If, for example, the dimensions of the image that you upload are smaller (e.g. 400x350 pixels) than those of the large image style, when you view the full article the image will be displayed with its original dimensions. It will be resized only if it's bigger. You can edit the current image styles or create new ones from the admin panel (Configuration tab>Image styles), and you can also edit the settings of the content type to assigned different image styles for the different views.
Below the option for uploading an image there are several sections with different settings. They are automatically configured with the default global settings for the particular content type (in our example, it's the article content type). You can change these settings before publishing the content. The changes will apply only to the particular article. The first section is called Menu settings and it allows you to include a menu link for the particular article. By default, this option is disabled for the article content type. To add a link just mark the checkbox for Provide a menu link and this will display several other settings:
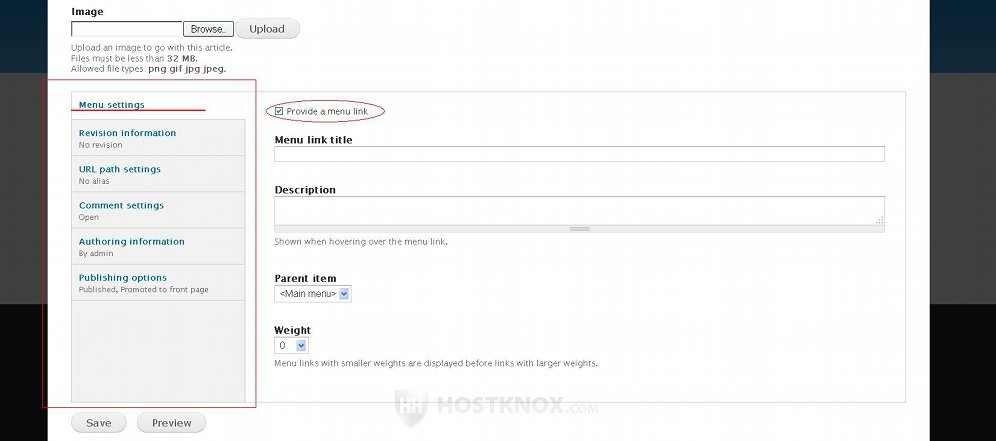
In the field for Menu link title type the name of the link as you want it to appear on the frontend (e.g. the name of the article). In the field for description type a description that will appear when a user hovers the mouse pointer over the menu. From the Parent item drop-down menu you can select the parent menu. If you leave it to Main menu it will appear next to the default Home menu which is the only menu that appears on the frontend by default after you install Drupal. The Weight drop-down menu allows you to set the order of the menus. Menus with smaller weights are displayed before those with larger. For example, if you set the weight of the article that you're currently configuring to 0, and then you create another one and you set its weight to -1, the link for the second article will be shown before that for the first one.
The next section with options is Revision information:
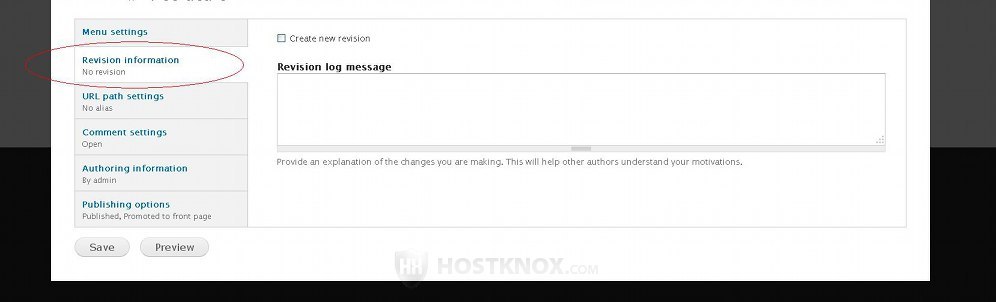
You can use this option to make notes about revisions that you have performed to the article once it has been publish. These notes will remind you and other administrators (or other users who can publish/edit content) what changes have been made. For example, after you publish the article you may decide that you want to change its alias, so you edit it, you change the alias and you make a note. To do this just type in the text area under Revision log message whatever you want. The checkbox for Create new revision will be marked automatically once you start typing in the text area.
The next section with settings is URL path settings:
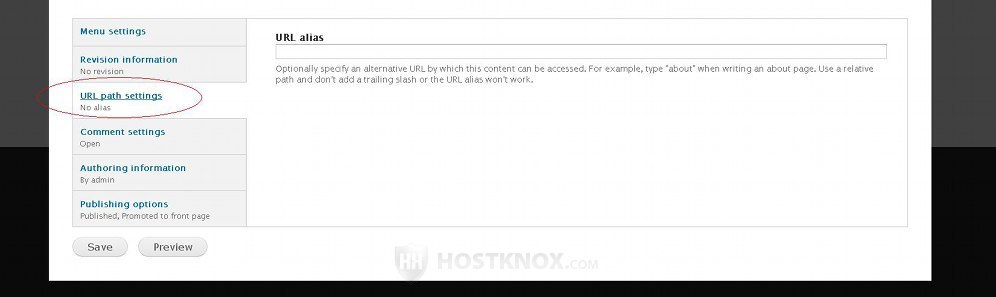
Here you can specify what you want the URL for the particular article/page to be. Type it in the field that's provided. It's relative to your basic URL. This means that you don't have to type the whole URL address but just the part related to the particular page. For example, if your Drupal application is installed directly in the public_html directory on your Drupal hosting account, the homepage of your site will be accessible at yourdomain.com. Let's say you want to add an about us page and you want its URL to be yourdomain.com/about-us. Then you just need to type about-us in the field for URL alias. If the alias has more than one word, it's recommended to put hyphens between them as in the above example. If you don't specify an URL alias (or friendly URL), using the above example the URL address to the about us page will be something like this: yourdomain.com/node/3.
The next section with settings is Comment settings:
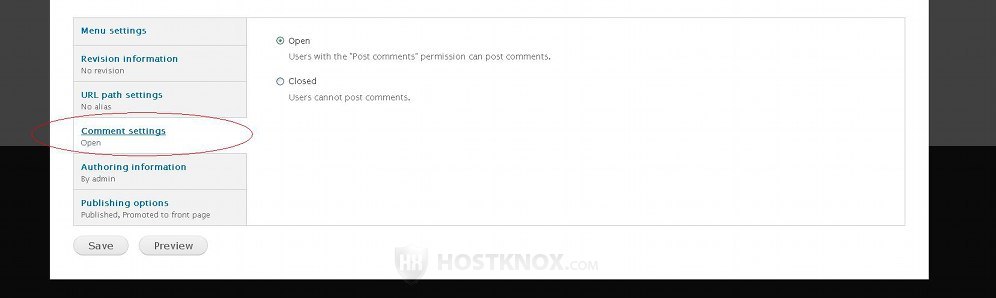
These settings allow you to choose whether the particular content item should be open or closed to comments. By default, registered users have the permission to post comments. The article content type is open to comments by default. If you don't want anybody to be able to post comments, just mark the button for Closed.
The next section with options is Authoring information:
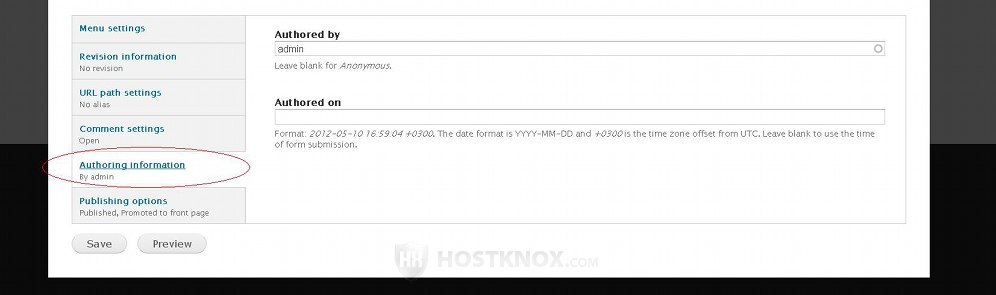
Here you can edit the author and date of publication that will be displayed on the frontend under the name of the article. By default, the name of the person who's creating the article should be automatically typed in the field for Authored by. If you leave the field for Authored on empty, the time and date of submission will be automatically set. Some content types don't display authoring information by default (e.g. the basic page content type), but the article content type in particular shows this information.
The last section with settings is Publishing options:

Here there are three settings with checkboxes: Published, Promoted to front page, Sticky at top of lists. The Published option is enabled by default for both the article and the basic page content types. This means that after the content is created and you click on the Save button, the content will be available on the frontend. If the Promoted to front page setting is enabled, the content will be put on the home page of your site. This option is enabled by default for the article content type, but disabled for the basic page type. For basic pages, such as an about us page, it's usually sufficient to have just a permanent link to it somewhere on your site. The Sticky at top of lists option is disabled by default for both content types. When articles are published, for example, they are displayed in a descending order (the newest being at the top of the page). If you want a particular article to be permanently at the top, you can enable this option.
Once you're done with all the settings don't forget to click on the Save button, and the content will be published. Then you can go to the homepage to see the result. You can edit the article/content item at any time. To do this, when you are logged in, on the homepage of your Drupal click on the small drop-down menu in the top right corner of the content item and select Edit (to remove it just select Delete):
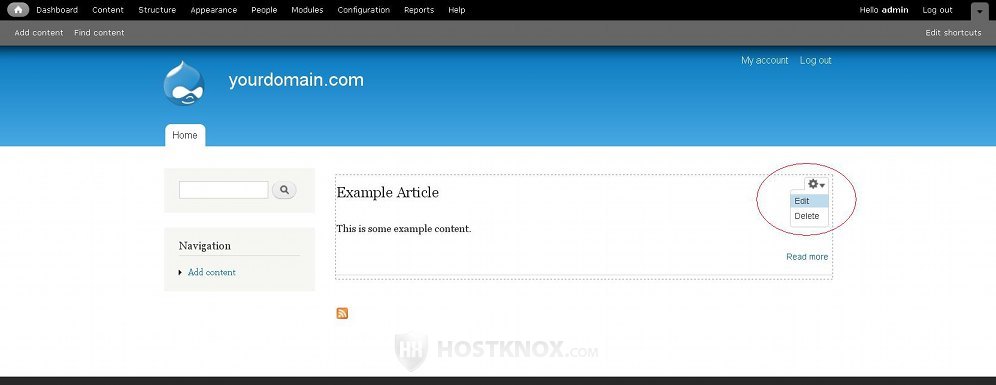
Alternatively, click on the name of the content item or on the Read more link, and then a View and Edit buttons will appear above the name of the article. Both ways will bring you to the page with the settings for that content item.