Drupal Menu Tutorial
How to manage menus in Drupal
Drupal comes prepackaged with a module called Menu which allows you to add and edit menus. With a standard profile installation the module is installed and enabled by default, and there are also a few preconfigured menus. On the frontend of your site menus are displayed by blocks.
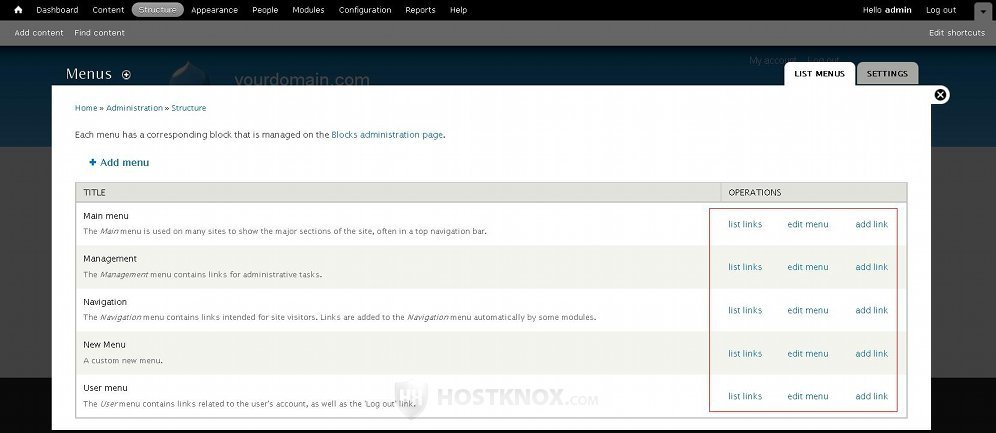
To manage menus, log in to the admin panel of your Drupal, click on the Structure tab in the top navigation bar, and on the page that opens click on Menus. On the following page you'll see a table with the existing menus:
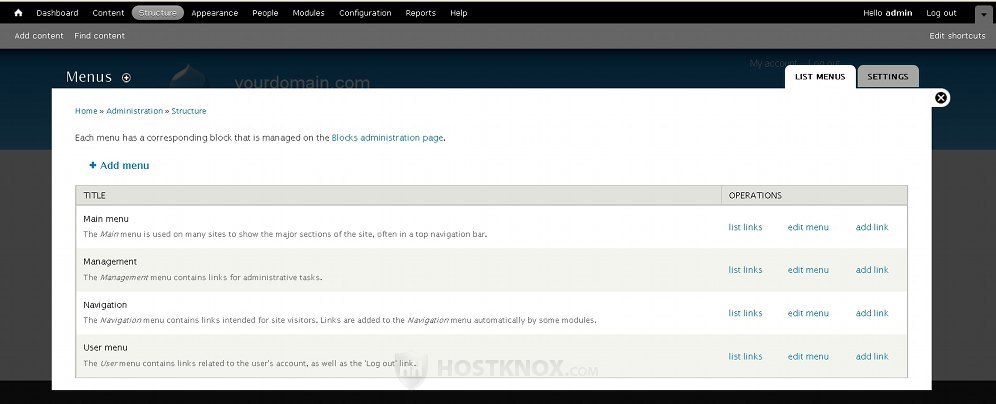
The Main menu displays links to content items (nodes) on your site, external URL addresses, etc. It's visible to all visitors on your site. The Management menu is the top navigation bar of the admin panel and all the sub-menus that it contains. It's visible and can be used only by logged in administrators, or by any user belonging to a user role with the necessary permissions. The Navigation menu is by default displayed by the navigation block; it's shown when a user logs in to their account, and it provides links for adding content for example (whatever the permissions for the user role allow). Of course, if the Navigation menu contains links to nodes or to any place that can be accessed by any visitor, it will also be shown to unregistered users/visitors. The User menu is for user account links such as Log out, My account, etc.
This is how the above mentioned menus are displayed with the default Bartik theme, and without any changes after the installation:
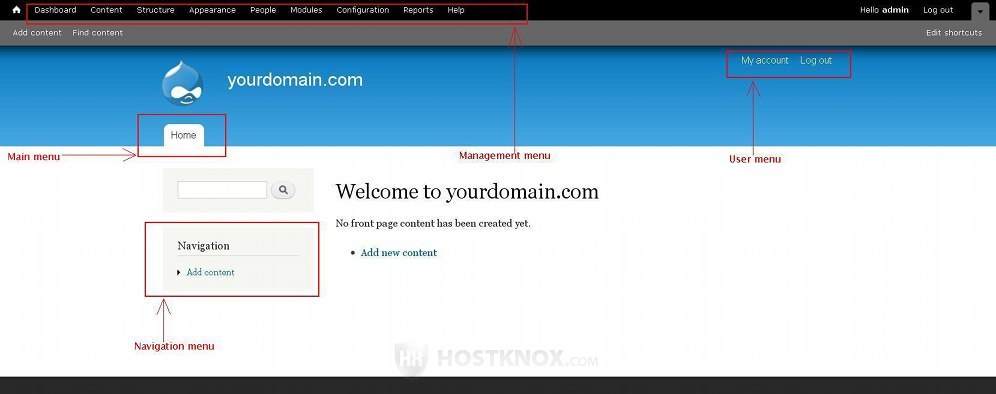
With this theme the Main menu is displayed as a bar with tabs; it contains just the Home link by default. However, there's a Main menu block which is disabled by default. You can enable it and put it, for example, in the left or right column. It will display the same links as main menu bar. For more information about blocks visit the tutorial on managing Drupal blocks.
Adding a New Menu
Back on the Menus page of the admin panel, to add a new custom menu click on the Add menu button that's above the top left corner of the table with the existing menus. This will open a page with settings that you have to configure before saving the new menu:
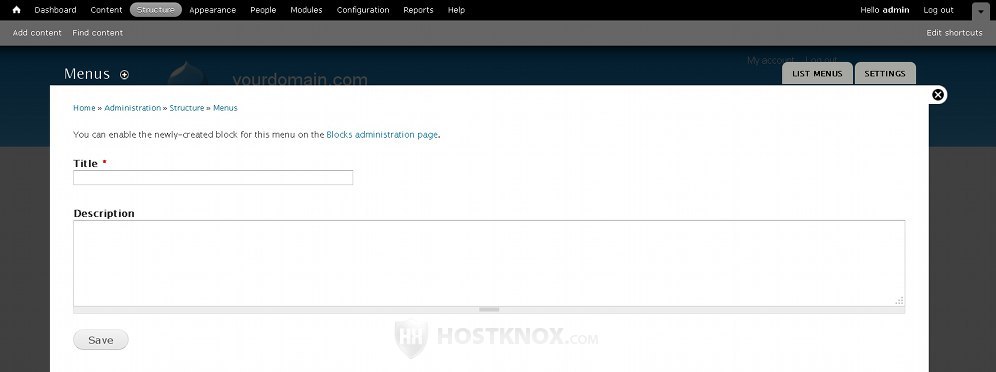
You only have to type a title for the menu in the corresponding field and optionally a description. The description will be shown on the Menus page of the admin panel. After that click on the Save button. The menu will be added and you'll be automatically taken to the page on which you can add menu items/links to that menu. We'll come to adding menu items a bit later when we discuss all the things that you can do with existing menus. After the new menu is added, a block for that menu will be created automatically. You can enable that block and put it in the desired region so that it's displayed on the frontend. You can do that from the Blocks page of the admin panel (Structure tab>Blocks).
Enabling a New Menu for a Content Type
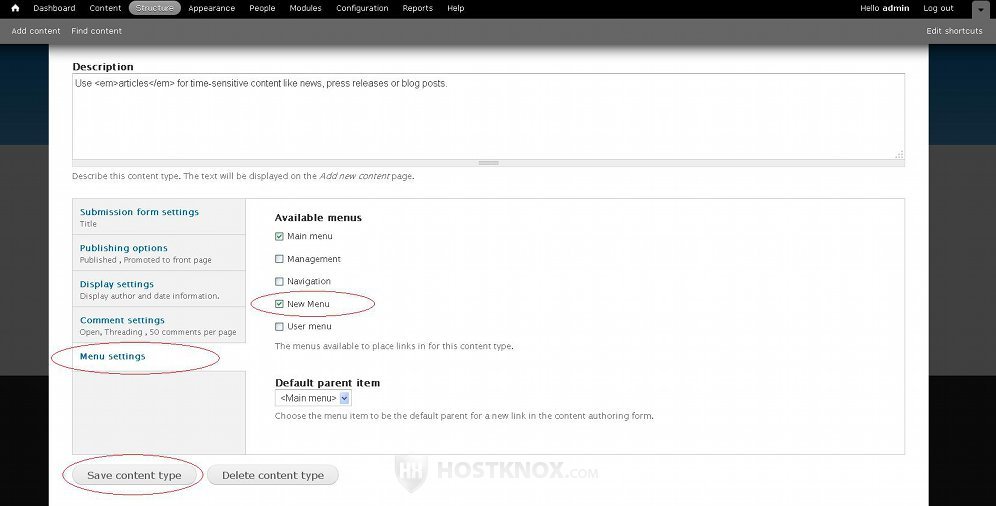
When you create a new menu you'll probably want to add links to nodes on your site to this menu. To do this you have to add the new menu to the particular content type(s). You can do this from the global settings of the content type. For example, let's say that you have created a menu called New Menu, and now you want to add as menu items to that menu links to articles on your site. So click on the Structure tab in the top navigation bar of the admin panel. On the page that opens click on Content types, and on the following page click on the edit button for the article content type. Scroll to the bottom of the page and click on the Menu settings button that's on the left side. Then mark the checkbox for the particular menu (e.g. New Menu) and click on the Save content type button:
Now when you create new nodes/articles, you'll be able to include a link to the particular node in the new menu. For more information on publishing nodes and on content types read the tutorials on publishing content in Drupal and on creating and editing content types in Drupal.
Managing Existing Menus
From the admin panel you can edit the settings of any of the existing menus; you can add new links to a menu, and you can disable or delete links. You can also edit the settings of any of the links in the existing menus. As we already mentioned, on the Menus page of the admin panel there's a table with the existing menus. For each menu there are a few buttons (e.g. list links, edit menu, add link):
Clicking on the edit menu button will display the page on which you can change the name and description of the menu; it's the same page that's shown when adding a new menu.
Click on the list links button to see all the links in that menu. On the page that opens you'll see a table with all the links added to that menu. Both the enabled and disabled links will be shown in the table. To disable/hide a link, just unmark its checkbox, and to enable a link mark its checkbox. To change the order of the links use the four-arrow button that's in front of the name of each link. Hover the mouse pointer over the button, press and hold the left mouse button, and drag and drop the link in the desired position:
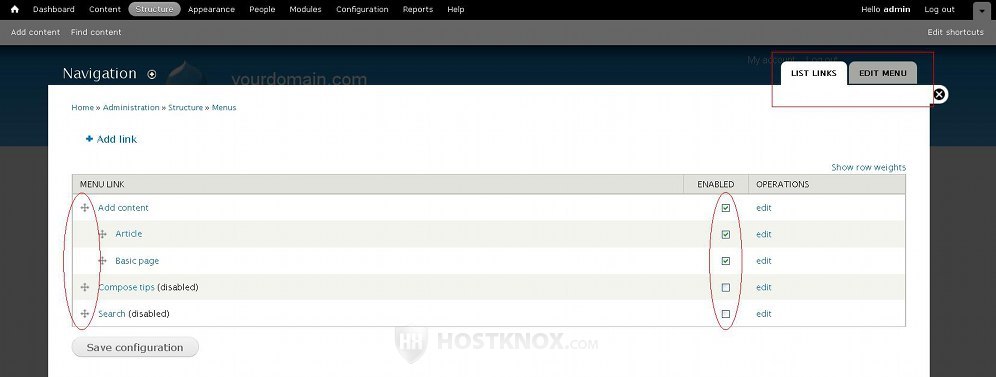
You can also reorder links by changing their row weights. If you make any changes don't forget to click on the Save configuration button. In our example, we've used the Navigation menu. You can also use the List Links and Edit Menu tabs in the top right corner of the page to switch between the page on which you can edit the title and description of the menu, and the page on which you can manipulate the menu links.
To edit the settings of an existing link click on its edit button in the table. To add a new link click on the Add link button that's above the top left corner of the table:
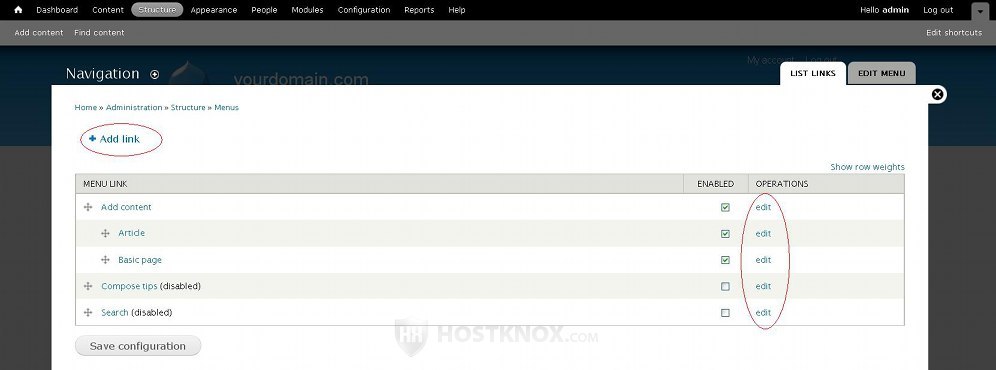
In both cases the settings are the same. So as an example we'll assume you want to add a new link.
After you click on the Add link button you'll see the page with the different link settings. First, type a title for the link, its path, and a description in the corresponding fields:
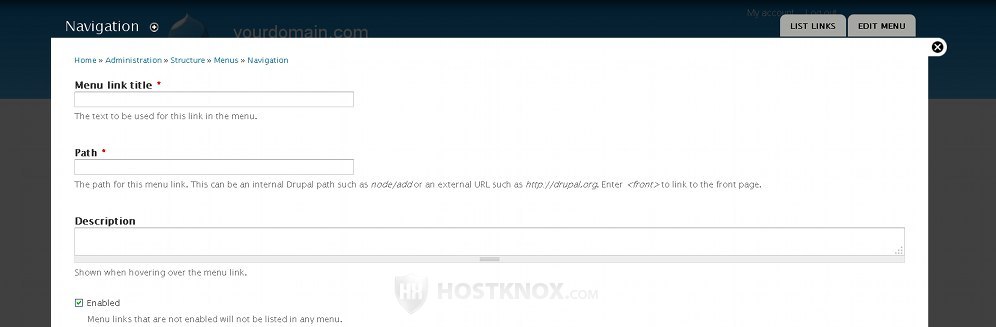
The description is optional; it's the text that will be shown when the mouse pointer is hovered over the link. If the link is an internal one, type the path relative to the base URL address in the field for Path. For example, if your Drupal is installed directly in the public_html directory on your Drupal hosting account, meaning the site is accessible at yourdomain.com, and you want to add a link to yourdomain.com/about-us, then you just have to type about-us in the text field. If the link is external, type the whole URL address (e.g. http://anotherdomain.com).
Further down the page there are a few more settings:
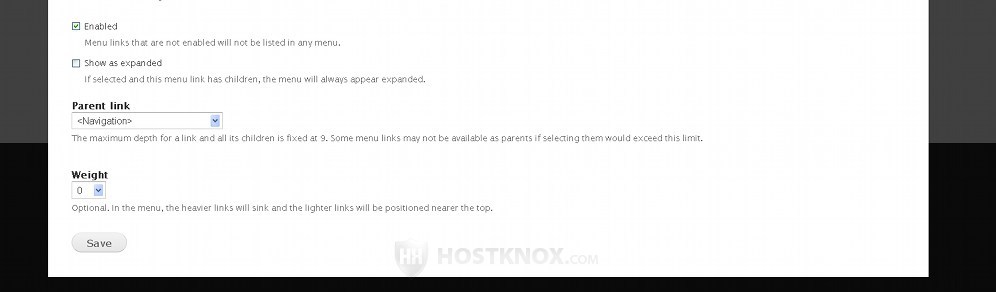
There are a couple of checkboxes. One is labeled Enabled and it's marked by default which means that once the link is added it will be displayed in the particular menu. The other one is Show as expanded and it's unmarked by default. This means that if you add sub-links to the one you're creating/editing, the sub-links will be shown in the menu on the frontend only when somebody clicks on the parent link. If you mark the checkbox, the sub-links (children links) will be shown all the time.
From the Parent link drop-down menu you can select the parent of the link you're creating/editing. It should be set to the menu (e.g. Navigation in our example) to which you chose to add the link. If you leave it like this the link will be a direct item in that menu. You can, however, make it a sub-link of another item/link within that menu, or you can even add it to another menu. In this way when you edit menus and links, you can easily move links from one menu to another.
From the Weight drop-down menu you can select the weight of the link. The weight determines the position of the link within the menu. Links with smaller weight are displayed above/before links with heavier weight. On the create/edit page for links you can't see the weight of other links so it's a bit more difficult to reorder all the links within that menu by using just this drop-down menu. You can, however, rearrange the order of the items within a menu at any time on the List Links page of that menu. As we already mentioned, you can do this using the four-arrow buttons or by changing the row weights.
After you're done with the settings click on the Save button.