Drupal Manage Themes Tutorial
How to manage themes in Drupal
Drupal comes prepackaged with a few themes. You can install as many additional themes as you want. You can find many different themes in the themes section of the official Drupal site. For more information on how to install themes check out the Drupal themes installation tutorial.
To manage your themes and their settings, log in to the admin panel of your Drupal and click on the Appearance tab in the top navigation bar. On the page that opens you'll see all the installed themes: both enabled and disabled. By default, there's one theme enabled for the frontend (the default one) and one for the admin panel. For each theme there are a few buttons with which you can perform various tasks. The tasks that can be performed depend on whether the theme is enabled or disabled. For example, an enabled theme can be set to be the default one, it can be disabled and its settings can be edited:
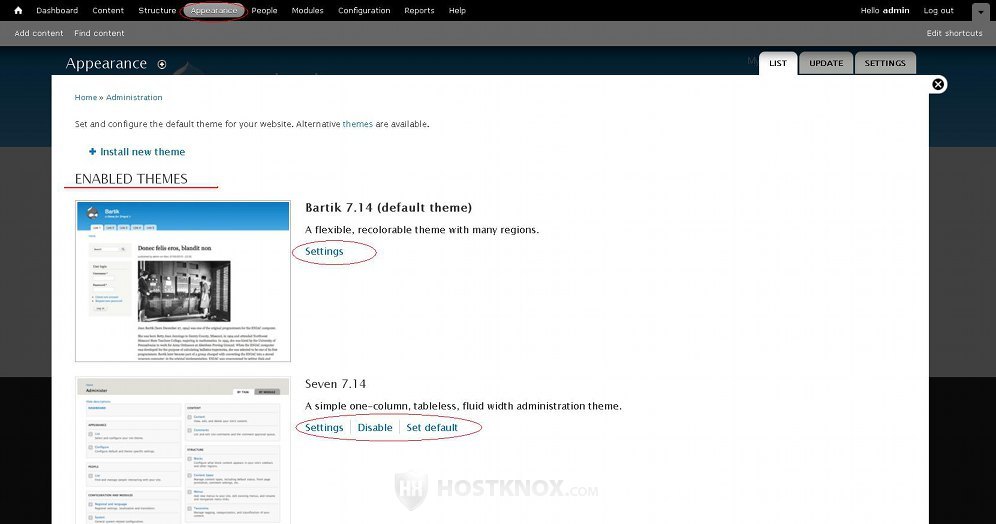
The default theme can be disabled only after another theme is set to be the default one in its place. There can be only one default theme, but many themes can be enabled. With the preconfigured Drupal settings and modules registered users cannot choose a theme; the default one is displayed to all users. However, there are third party modules, such as Switch Theme and Theme Key, that can be configured to allow users to select from the enabled themes a theme to be used with their account.
A disabled theme can be enabled, or it can be enabled and set to be the default one:
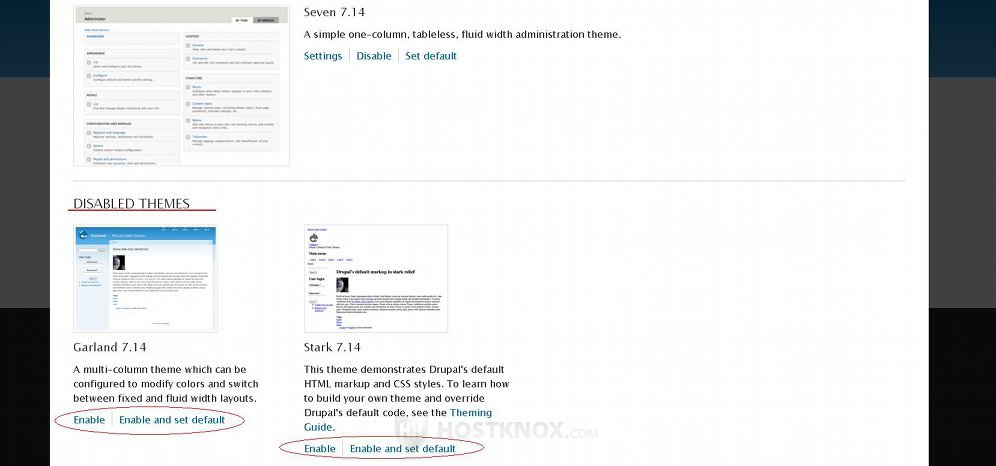
You can edit the settings of a theme only after you enable it.
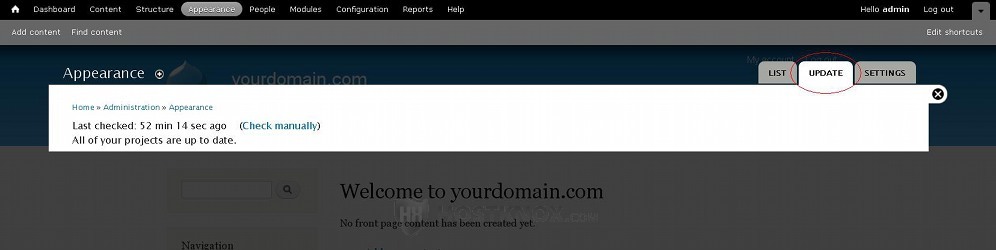
At the top right corner of the page there are a few sub-tabs. The List tab displays the installed themes; this is the page that is shown by default when you click on the Appearance tab in the toolbar. With the Update tab you can check for any updates for your themes:
You can change the settings of any of the enabled themes by clicking on the Settings tab. On the page that opens the global theme settings are displayed by default. You can edit the settings of a particular theme by clicking on its small button in the top right corner of the page:
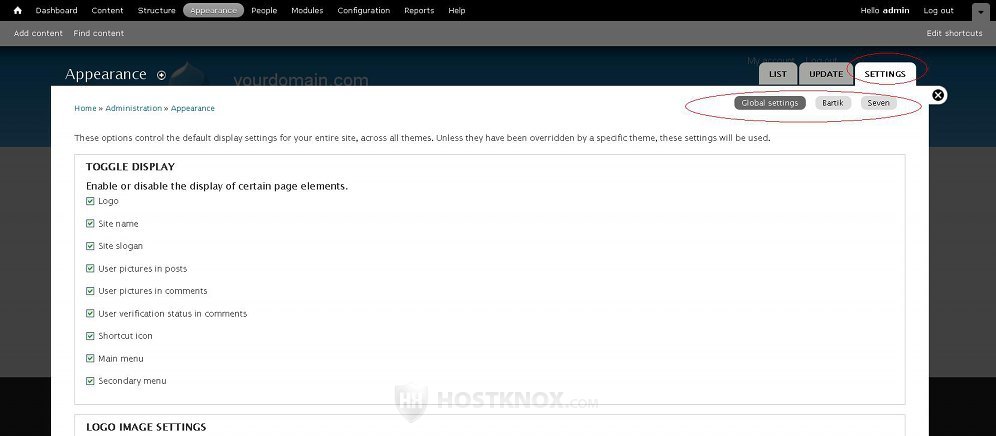
The global settings can be overridden by the settings of a particular theme. The same settings exist for each theme, and if you want to, you can edit these settings for each individual theme that you have enabled. The settings are divided into a few sections. From the Toggle Display section you can change which elements should or shouldn't be displayed: e.g. logo, site name, site slogan, main menu, etc. Simply unmark/mark the checkbox for the element that you want to hide/show.
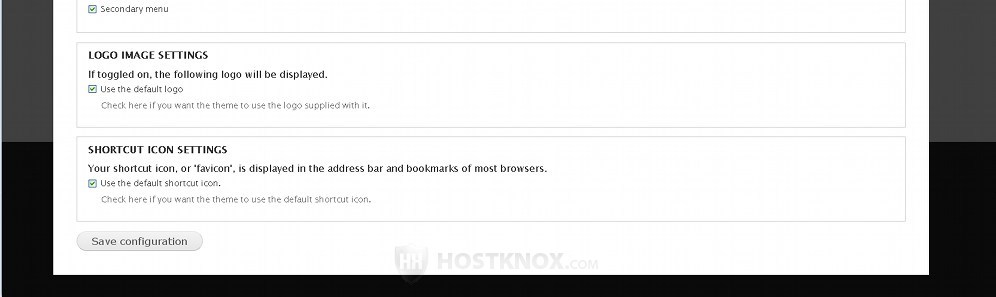
From the Logo Image Settings and the Shortcut Icon Settings you can change the default logo and favicon (the image displayed in front of the URL address in the address bar of the internet browser):
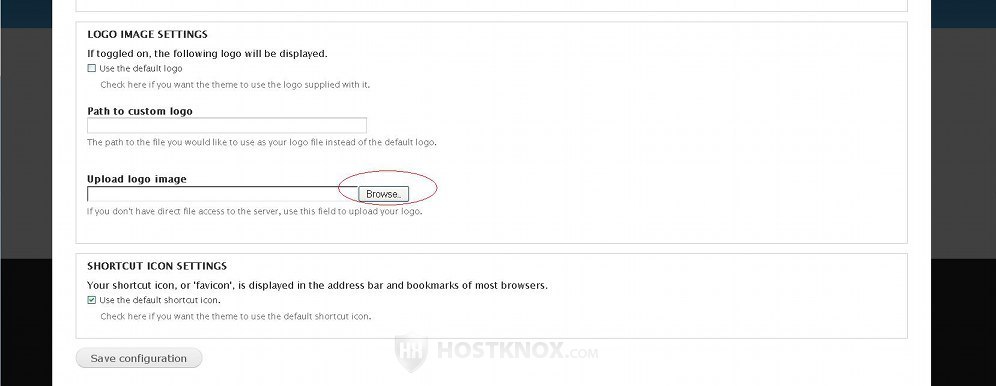
Usually themes come with their logo which is used by default. To upload your own logo, unmark the checkbox for Use the default logo. A couple of fields will appear. If you want to upload an image that's on your local computer, click on the Browse button that's next to the field labeled Upload logo image and locate the image:
Then click on the Save configuration button to upload and change the logo. The image will be uploaded automatically in root/sites/default/files on your hosting account. If, for example, your Drupal is installed directly in the public_html directory on your Drupal hosting account (meaning the site is accessible at yourdomain.com), then the path would be public_html/sites/default/files.
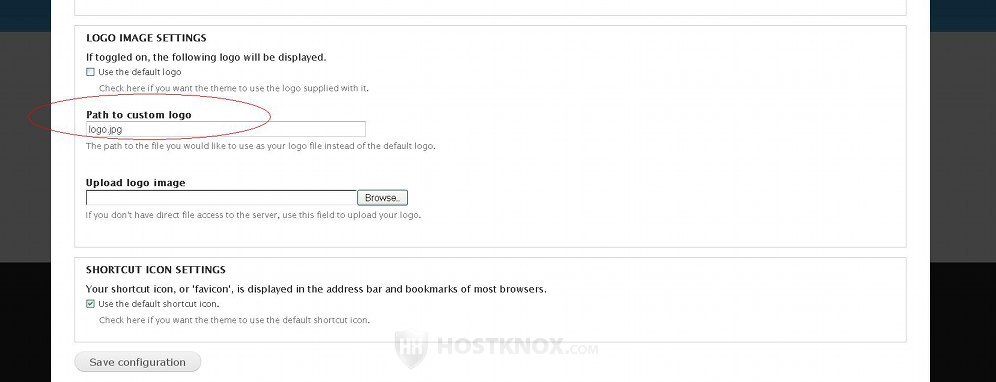
In case you have already uploaded an image on your account (e.g. via FTP or from the HostKnox control panel), then you can just specify the path in the field labeled Path to custom logo. If you have uploaded the image in the same location as the one used by the automatic uploader (root/sites/default/files), and the name of the image is for example logo.jpg, then just type the name of the image in the field for the path:
Actually, this will also work if the logo image is uploaded directly in the root Drupal directory.
However, if, for example, it's uploaded in a folder called images which is itself in the root directory on your account, then you would have to type images/logo.jpg in the field for Path to custom logo.
The shortcut icon/favicon is changed in exactly the same way. If you make any changes to the settings or the logo, don't forget to click on the Save configuration button at the bottom of the page.
For many of the themes the individual settings are the same as the global ones, but some themes have additional options. For example, the Bartik theme let's you change the background colors of the header, the footer, the sidebar blocks, the color of the title, text, links, etc.

You can do that either by using the color picker, or by specifying the Hex value of the color.