Drupal Optimization Tutorial
How to speed up Drupal
There are different things you can do to optimize the performance of your Drupal and speed up your site. In this tutorial we'll make some basic suggestions for speeding up your site. These methods can be applied by anybody; you don't need any technical knowledge. Drupal has some options for improving its performance that you can enable from the admin panel. We'll start with these and then we'll make some more suggestions.
Enable Page and Block Caching
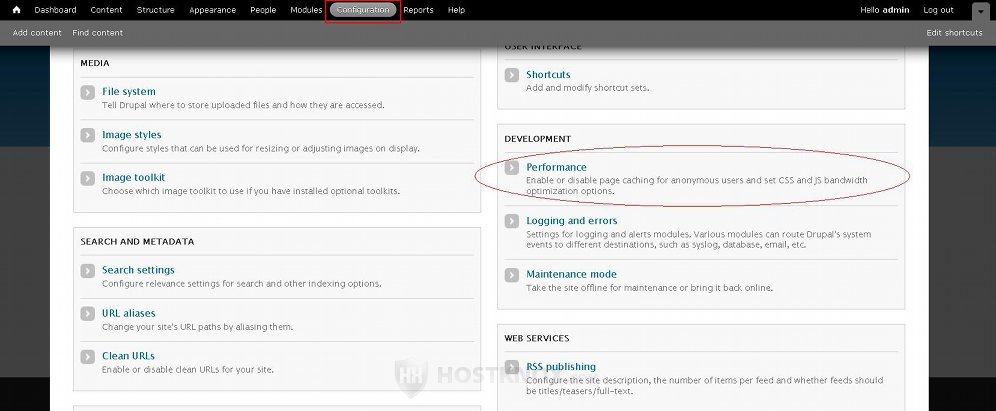
There are some elements (e.g. menu system, filter) that are cached by Drupal by default. This cache is enabled by default and cannot be disabled. From the admin panel you can enable the options for caching pages and blocks. To do this, log in to the admin panel of your Drupal, click on the Configuration tab and on the page that opens click on Performance (it's in the Development section):
On the next page there's a section labeled Caching. You can enable the caching of pages and blocks by marking the respective checkboxes:
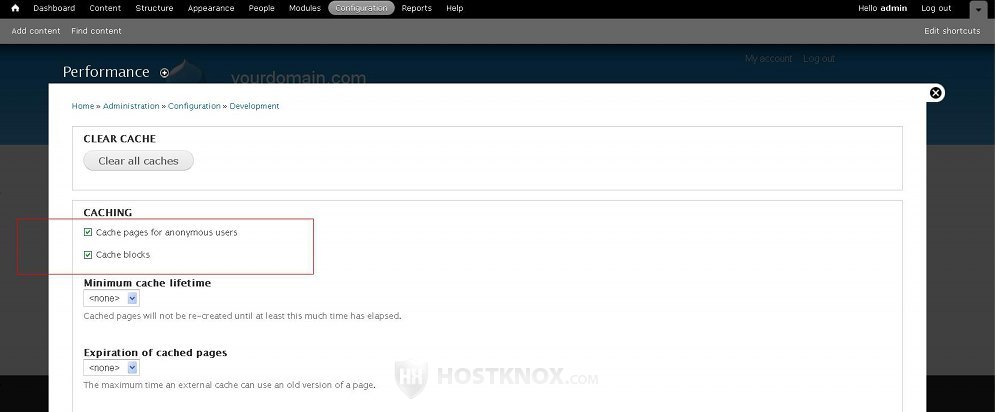
You can also set the minimum cache lifetime and maximum time that a cached page can be used by an external cache by using the respective drop-down menus. Don't forget to click on the Save configuration button at the bottom of the page.
The page cache is used only for anonymous/unregistered users, but after all usually most of the visitors on a site are unregistered users. When such a user visits a page on your site, it's cached in the MySQL database used by the application (in the table cache_page). When the same or another anonymous user visits the same page, the cached copy is used. This decreases the number of database requests to one per page and hence increases the speed. If the page is not cached, more database requests are needed before the page can be displayed. At the top of the Performance page in the admin panel there's a Clear all caches button which you can use to delete the cache.
If you leave the minimum cache lifetime to the default value of none, each time there's a change in the content of a content item (node) or there's a new comment the whole page cache will be cleared. Not only the page that was changed but all the cached pages will be cleared. So for better performance you may want to set a minimum cache lifetime. During that time anonymous users will be served cached pages, and so if meanwhile there's a change in one of these pages, the users will see the change after the minimum lifetime expires. Depending on how often content is changed on your site, you can decide what lifetime will work best for you.
Another thing worth mentioning is that if you have installed and enabled the CAPTCHA module, pages that contain CAPTCHA tasks (e.g login and registration forms) will not be cached. This is fine if CAPTCHA elements are present only on the registration and login forms, for example. However, if you have set the CAPTCHA options in such a way so that there's a CAPTCHA task in the user login block and on the comment form (and the comment form is on the same page as the content of the node), this will turn into a problem. The user login block is shown on every page and the comment form is displayed on the same page as the content of the content item by default. This means that practically no pages will be cached.
Combine and Compress CSS and JavaScript Files
From the admin panel of your Drupal you can also enable the options for aggregating CSS and JavaScript files. They are on the Performance page (Configuration tab>Performance) in the section Bandwidth Optimization; that's the same page on which you can enable the cache:
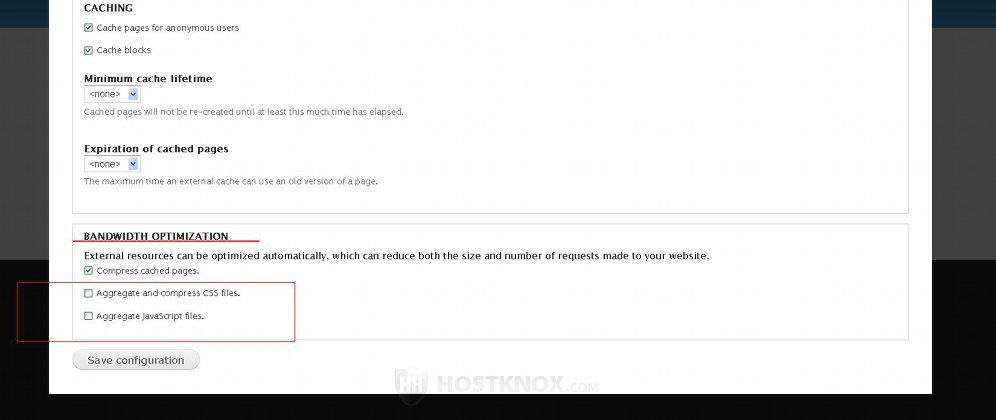
If the cache is enabled, you'll notice that another option for compressing the cached pages is added and enabled. With this setting enabled, cached pages are compressed before being stored in the database, and when there's a request for a cached page it's transferred compressed to the client's browser where it's uncompressed.
To combine and compress CSS and javascript files, simply mark the respective checkbox for each option. Then click on the Save configuration button. This will automatically create a css folder and a js folder on your Drupal hosting account. If, for example, your Drupal is installed directly in the public_html directory on your hosting account, the paths to the folders would be public_html/sites/default/files/css and public_html/sites/default/files/js respectively. They will be used for storing the combined and compressed CSS and javascript files. It's a good idea occasionally to empty these folders.
Enabling the caching options and the combine and compress options from the admin panel of your Drupal will significantly increase the speed of your site. This should be sufficient for small to medium sites.
Default .htaccess File
Drupal comes prepackaged with an .htaccess file that's in the root Drupal directory on your hosting account. That file contains different default rules. Some of them are for improving the caching and they involve mod_expires. There are also rules for correctly serving compressed CSS and javascript files; these rules involve mod_headers. Mod_expires and mod_headers are Apache modules. All HostKnox servers have mod_expires and mod_headers.
The the default mod_expires directives in the Drupal .htaccess file are for caching all files except PHP files for two weeks. Mod_headers is used to control a couple of HTTP headers connected with caching. These HTTP headers in turn inform the client's browser for how long should the specific pages and files be cached. This cache is very effective since it's on the side of the client and there's no need for data transfer between the server and the client.
mod_deflate
Another thing you can do to improve the performance of your Drupal is to turn on mod_deflate. This is an Apache module; it's installed on all HostKnox servers. It's used for compressing the transfer between the server and the client. You can enable mod_deflate by putting some rules in the .htaccess file that's in the root Drupal directory on your hosting account. You can edit the file from the Files section of the HostKnox control panel. Just click on the file to see its content, put the rules and save it. You can also download it with an FTP client (e.g. FileZilla), edit it with a text editor (e.g. Notepad), and then upload it back overwriting the old file. These are the directives that you need to put in the .htaccess file:
<IfModule mod_deflate.c>
    SetOutputFilter DEFLATE
    AddOutputFilterByType DEFLATE text/html text/plain text/xml text/css text/javascript
    AddOutputFilterByType DEFLATE application/xml application/xhtml+xml application/rss+xml
    AddOutputFilterByType DEFLATE application/javascript application/x-javascript
    AddOutputFilterByType DEFLATE opplication/x-httpd-php
    BrowserMatch ^Mozilla/4 gzip-only-text/html
    BrowserMatch ^Mozilla/4\.0[678] no-gzip
    BrowserMatch \bMSIE !no-gzip !gzip-only-text/html
    SetEnvIfNoCase Request_URI \.(?:gif|jpe?g|png|zip|gz)$ no-gzip dont-vary
</IfModule>
Put them on a new line in the .htaccess file.
Update
New Drupal releases have improvements in terms of performance (as well as other improvements). So when there's a new stable version you can consider updating your current one.
Modules
Don't install too many modules. More modules means more database requests, and this slows down your site. Install and enable only modules that you need. If there are some that you don't need any more, disable them.
Performance Modules
You can also install third party/contributed modules for improving the performance of your Drupal. You can find many such modules in the modules section of the official Drupal site. One example of a very good caching module is Boost. Like the core Drupal page caching, Boost provides caching for anonymous/unregistered users. However, it caches content as static HTML pages directly on your hosting account, whereas the core page caching caches pages in the MySQL database. By having pages cached as static content directly on your account, database and PHP requests are not needed for the page to be displayed, and thus many more requests per second can be served. The Boost module also provides you with various settings. For example, you can choose some pages not to be cached; you can configure different cache type settings, and set the minimum and maximum cache lifetime of each type (e.g. HTML, XML, javascript).
Optimize the MySQL Database
One thing you can do regularly is to optimize the MySQL database used by your Drupal application. You can do this with phpMyAdmin. From time to time you can also use the repair function to fix any damaged database tables. For more information on how to do these things read the tutorial on optimizing and repairing MySQL databases.
FastCGI
HostKnox accounts are configured to work with CGI by default. However, you have the option to switch to FastCGI. FastCGI is used to speed up PHP applications such as Drupal and other Content Management Systems (it also speeds up applications developed with other programming languages). You can switch from CGI to FastCGI from the HostKnox control panel. Go to the PHP Settings section, then click on the link Main Site, mark the button for FastCGI and click on the Change button. Generally, FastCGI is less stable than CGI but there shouldn't be any problems. You can always switch back to CGI at any time.
Images
Don't put too many images on your site. If your first priority is speed, you can also use a theme with fewer graphics and images.
Search Function
In Drupal the search function is disabled by default for anonymous/unregistered users, and it's enabled for registered users. Keep it disabled for anonymous users.