Drupal Content Types Tutorial
How to create and edit content types in Drupal
When you want to publish content items (nodes) on your Drupal site you have to choose a content type. The settings of the particular content type are applied to the nodes belonging to that content type. Of course, each content type has its own specific settings, a different number and types of fields, etc. If you install Drupal with the standard profile, a couple of preconfigured content types will be added by default: Article and Basic Page. In addition to these there are some core modules that come prepackaged with Drupal and are disabled by default (Blog, Book, Forum, Poll). When you enable these modules they will automatically add a corresponding content type.
You can edit any of the existing content types or you can create your own content types. In this tutorial we'll concentrate on the general settings. We'll explore the general settings that you have to configure when creating a content type. These settings are practically the same when editing a content type. Once the new content type is saved you can also manage its fields and how they are displayed on the frontend and on the submission form in the admin panel. We'll concentrate on that in the tutorial on managing content type fields in Drupal.
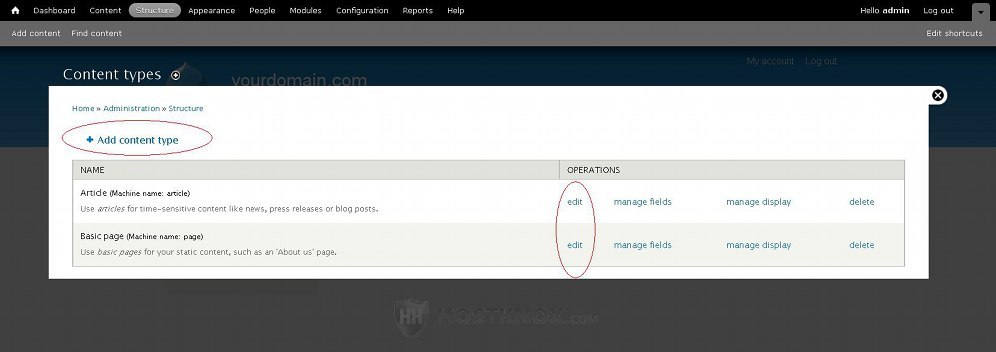
To create/edit a content type, log in to the admin panel of your Drupal, click on the Structure tab in the top navigation bar, and on the page that opens click on Content types. This will display a table with the existing content types. To edit any of them click on the edit button for the particular content type; to create a new one click on the Add content type button that's above the top left corner of the table:
Either action will display the general settings. Each time you create a new content type these settings are preconfigured in the same default way, with the exception of settings such as name, description, etc. The first setting is for the name of the content type. Just type the desired name in the field that's provided; a machine name will be automatically generated. You can see it right next to the text field where you have to type the human-readable name. If you want to edit the machine name, click on the small Edit button that's next to the machine name:
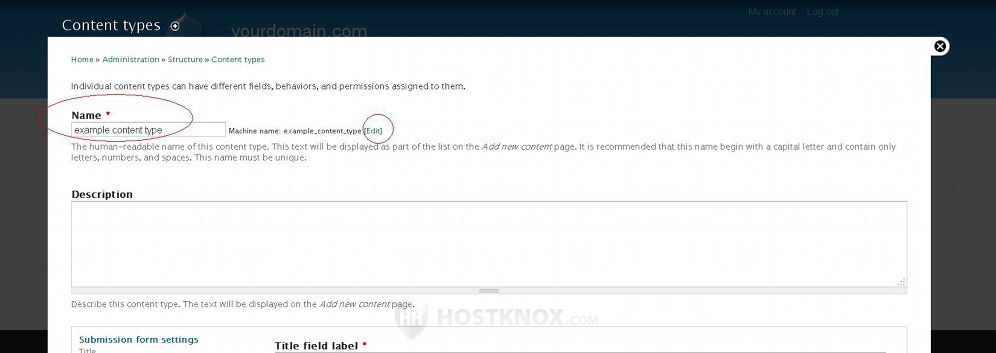
Under the setting for the name there's a text area labeled Description. In that text area you can optionally type a short description of the content type. This will be shown only in the admin panel on the page on which you can choose which content type to use when creating content items (nodes).
Further down the page there are several buttons on the left side. Each one displays various settings. As we mentioned, they are preconfigured but you can change them according to your needs. The button Submission form settings shows some options that are relevant when creating/editing a node. They are not connected with how the node is displayed on the frontend or what functions it offers to users/visitors.
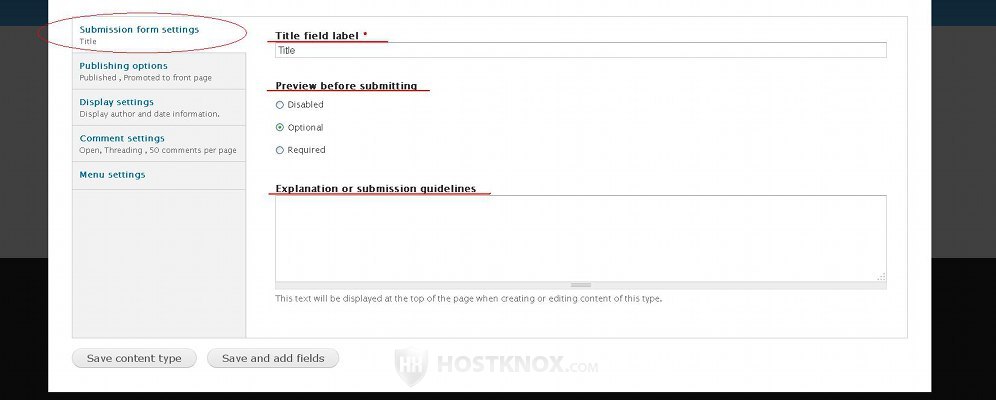
In the text field for Title field label you can specify how the title field should be labeled. By default, the label is just Title. This title label is shown on the edit page for the fields contained in the content type; the label is not displayed on the frontend. The Preview before submitting setting is set to Optional by default. This means that users who have the permissions to publish nodes from that content type can optionally preview the nodes before submitting them. If you want to, you can make the preview required or you can disable it altogether; just mark the corresponding button. In the text area for Explanation or submission guidelines, if needed, you can provide some useful notes about the content type. They will be displayed at the top of the page when you, or other users with the necessary permissions, create or edit a node from that content type.
The Publishing options button let's you configure whether the node should be automatically published and where it should be published:
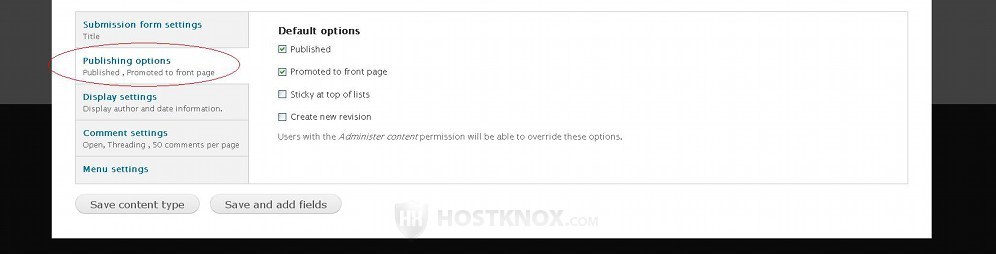
The checkboxes for Published and Promoted to front page are marked by default. This means that when a node from that content type is created it will be automatically published (accessible on your site), and it will be automatically put on the home page of your site. The checkbox for Sticky at top of lists is unmarked. When you publish nodes that are automatically put on the home page, newer nodes are put at the top, and older ones are moved to the bottom. With the Sticky at top of lists checkbox marked the node is anchored at the top of the page. This is probably more useful unmarked in the global settings of the content type, and if you need a particular node to be sticky, you can just mark this checkbox when creating/editing the particular node.
The checkbox for Create new revision is unmarked by default. This means that when somebody edits a node from that content type, they can optionally mark the revision checkbox for the particular node and add an explanation note of what they have changed. Everybody who has the permissions to create/edit nodes from that content type will be able to view these revision notes. If you mark this checkbox in the global settings, the same setting will be marked by default when creating/editing a node from that content type. If the person editing the node doesn't disable this option, in the revision information it will only be shown that the node has been edited. Of course, the user can also add a note explaining the revision, if they want to.
The Display settings button let's you choose whether the authoring information should be shown on the frontend:
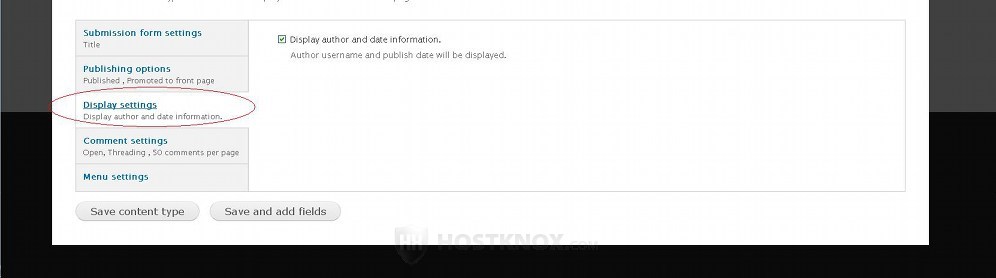
By default, the checkbox for Display author and date information is marked. This means that when a node is published the author and the submission date will be displayed to all visitors on the frontend of your site. If you don't want this information to be shown, just unmark the checkbox.
The Comment settings button allows you to configure all the options related to comments:
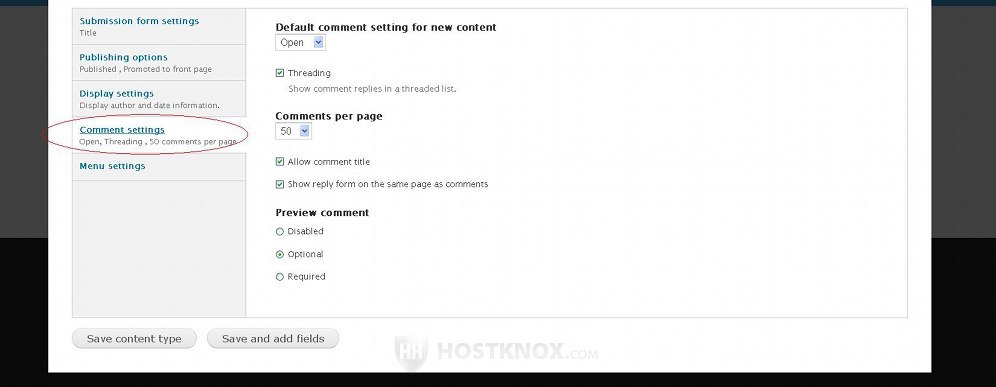
When you create a new content type it's open to comments by default. If you don't want people to be able to post comments for nodes from that content type, select Closed from the first drop-down menu that's displayed after you click on the Comment settings button. Keep in mind that in the event of editing an existing content type, changes to this option will apply only to future nodes from that content type and not to existing ones.
Right under this drop-down menu there's a checkbox labeled Threading and it's marked by default. This option is applied to replies to comments. When it's marked the replies to a comment are listed under the comment and are displayed slightly to the right, and thus it's visually easier to distinguish that they are related to the particular comment. If you unmark the checkbox, replies to comments will be listed in the same way as other comments without a left margin.
From the Comments per page drop-down menu you can select the number of comments per page. By default, it's set to fifty. The checkboxes under that drop-down are labeled Allow comment title and Show reply form on the same page as comments. They are self-explanatory. Both are marked by default. The last option is Preview comment and it's set to Optional. This means that when a user types a comment in the comment form, they can use the Preview button to see how the comment will look on the page when published. You have the choice to disable the preview or to make it required.
For some more information on comments you can check out the tutorial on how to manage comments in Drupal.
The Menu settings button let's you choose in which menus you'll be able to include links to the nodes from that content type:
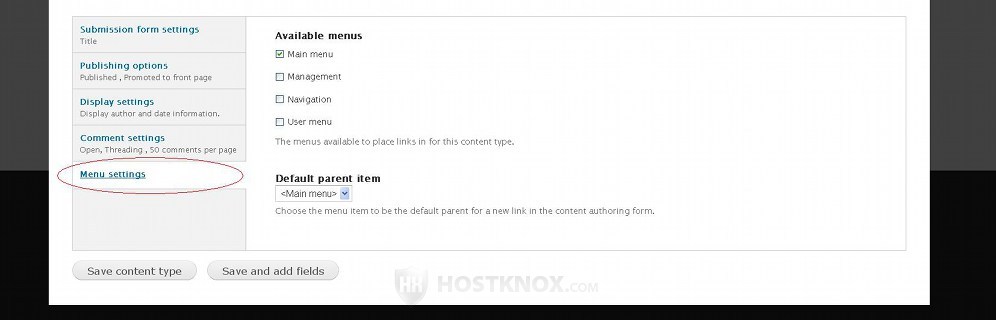
With the standard profile every Drupal installation comes with a few menus preconfigured: Main menu, Management, Navigation, and User menu. The Main menu displays links to pages that are shown on the frontend of your site. By default, it only contains a home link. The Management menu is for admin panel links (e.g. Content, Structure, Configuration, etc.). The default links that the Navigation menu displays are for adding content. You can see the navigation block in the left column of the page after you log in (with the default theme). These links can be used by users belonging to any user role with the necessary permissions to perform the specific actions (e.g. create/edit content). The User menu shows such links as my account and log out; links that are shown to registered users after they log in.
By default, only the checkbox for Main menu is marked which means that when you create/edit a node from that content type you'll be able to include a link to its page only in the main menu. Considering the default menus from which you can choose, this is the most suitable option when it comes to content types, since nodes are displayed on the frontend and it doesn't make much sense to have links to them in the toolbar of the admin panel. But, of course, you can mark the checkboxes for several menus. You may have, for example, a custom menu that's displayed to all visitors on the frontend.
Under the checkboxes for the available menus there's a Default parent item drop-down menu from which you can select, as the name suggests, the default parent menu to which the links to nodes from that content type will be added. The choices here depend on the available menus that you have selected. For example, if you mark the checkbox only for the main menu, from the drop-down menu you'll be able to choose for a default parent item the main menu or any of its submenus (e.g. home). Whatever you set to be the default parent item in these global settings, when you create/edit a particular node of that content type you can choose another parent item from the available ones.
After you configure the settings click either on the Save content type button or on the Save and add fields button:
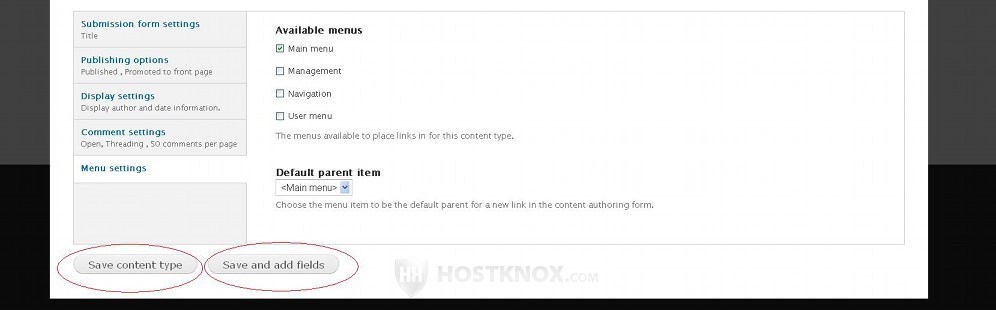
If you click on the Save content type button, the content type will be saved and the page with the settings will be closed. If you click on the other button, the content type will be saved and the field settings will be displayed. You can change the settings of the default fields, you can add new fields, you can change how they are displayed on the frontend and on the backend. Even if you click on the Save content type button, you can edit the content type's field options at any time after that.
In both cases the the content type will be saved with a couple of default fields: Title and Body. With these fields the published nodes from that content type will consist only of a title and a body of text. If you need to, you can add any other field (e.g. image, file, tags, etc). For more information on how to configure, manage and add fields check out the tutorial on managing and adding fields when creating and editing content types in Drupal.