Magento System Checkout Settings Tutorial
How to configure and manage the system checkout settings in Magento
In this tutorial we'll review the system checkout options that can be configured from the admin panel of Magento. These are the settings that are accessed from System menu>Configuration>Checkout button in the Sales section on the left:
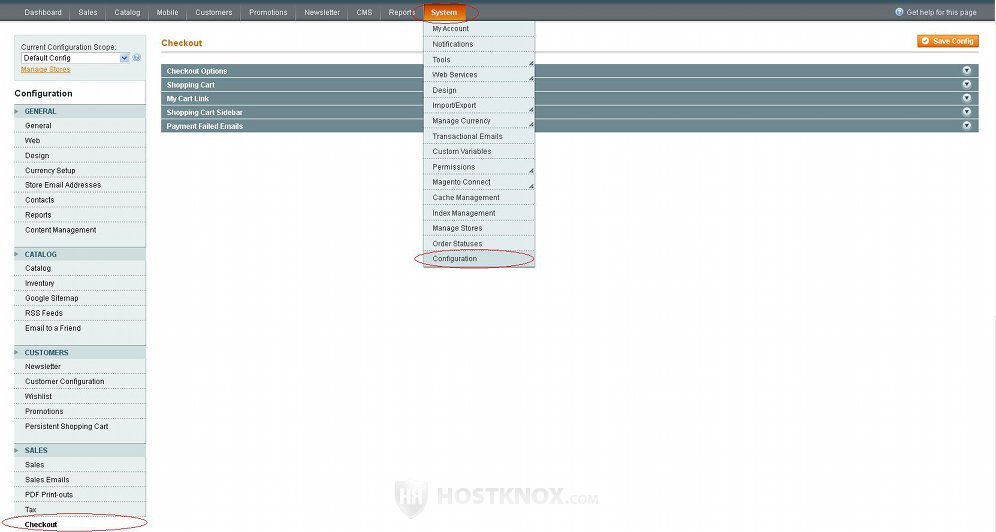
This will display a few panels with settings on the right. These panels are:
Click on each panel to expand it and configure its settings. We'll examine the settings in each of these panels.
Checkout Options
The Checkout Options block contains a few options related to the one page checkout, to guest checkout, and to enabling/disabling terms and conditions during the checkout:
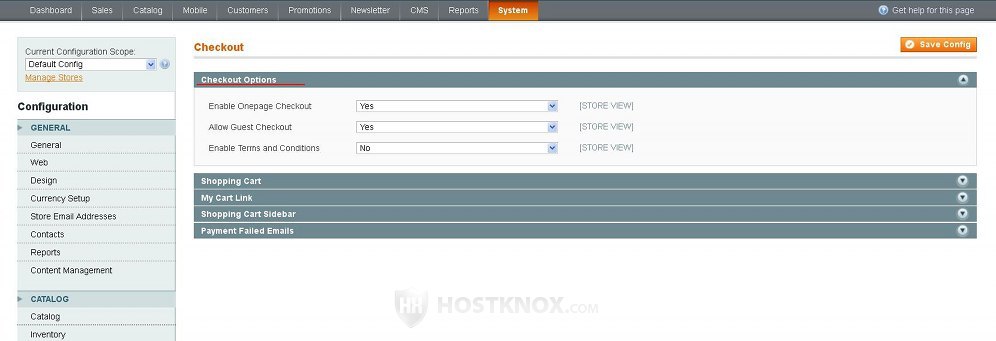
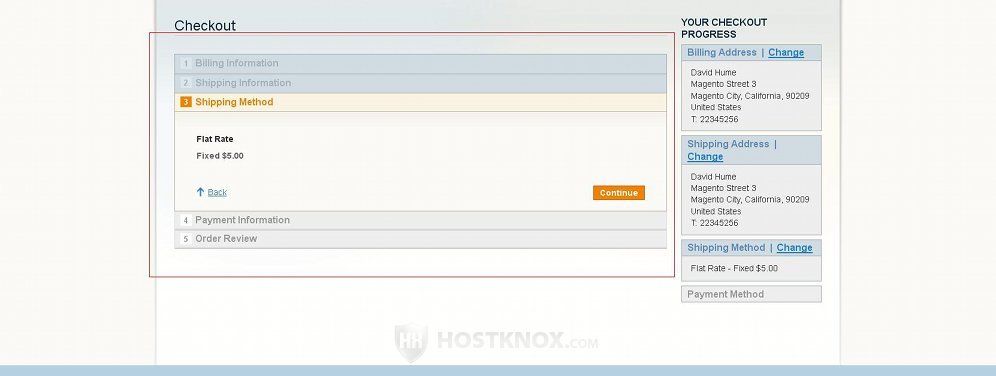
- Enable Onepage Checkout - by default this option is set to Yes. This means that the checkout process is completed on a single page on which the customer can add/edit billing and shipping addresses, choose a payment and shipping method, review the price information and place the order. Each of the steps in the checkout process is managed by an expandable panel on the same page. Once the customer fills in the necessary information and clicks on the Continue button the next panel automatically expands. The customer can go back to any of the panels to edit the entered information:
If the Enable Onepage Checkout option is set to No, each step of the checkout process is loaded as a separate page. Note, however, that disabling the one-page checkout will remove the Proceed to Checkout button from the shopping cart page, so that multipage checkout can only be used when checking out with multiple addresses (there's a link for checking out with multiple addresses on the shopping cart page). Checking out with multiple addresses can also be done with the one-page checkout.
Let's review the rest of the settings in the Checkout Options panel:
- Allow Guest Checkout - by default guests are allowed to place orders. If you want only registered users to be able to check out, set this option to No.
- Enable Terms and Conditions - by default this option is set to No. If you want to set up particular terms and conditions and you want customers to accept them when they checkout, set this option to Yes. The terms and conditions will be displayed at the Order Review step of the checkout process:
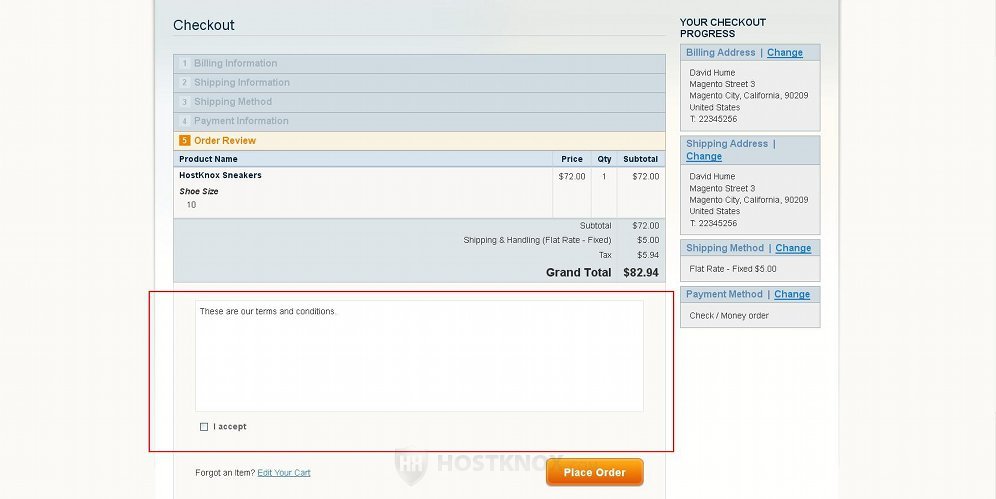
The customers have to indicate by marking the respective checkbox that they accept the terms before they can place the order. However, in order for the checkbox and the terms to be displayed you also have to add those terms and conditions. For more information on how to do that read the tutorial on managing Terms and Conditions in Magento.
Shopping Cart
The Shopping Cart block includes a few settings related to the shopping cart:
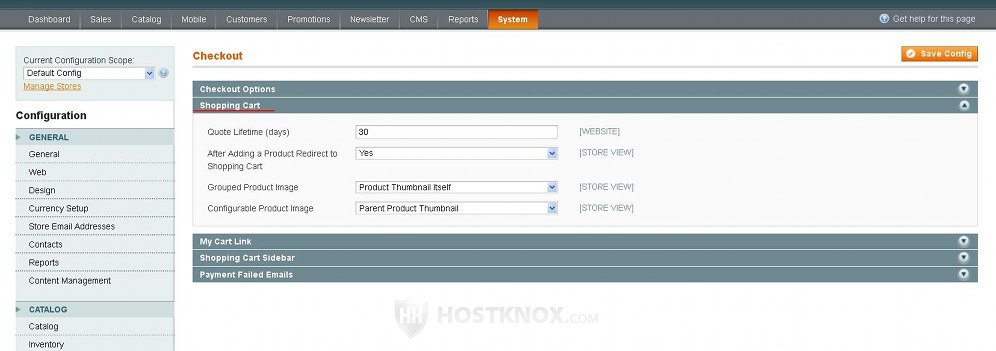
These settings are:
- Quote Lifetime (days) - this setting is used to determine for how long after a customer puts items in the cart but doesn't place the order should the items stay in the cart before being removed. The setting is set to 30 by default which means that if a customer puts some items in the cart and doesn't remove or buy them, they will be there for 30 days; so if the customer visits the site 20 days later the product(s) will still be in the cart. Note that this only works for logged in customers. So if a logged in customer doesn't place an order and abandons the cart, then comes back to the site within the period set by the Quote Lifetime setting and logs into their account, the product(s) will be in the cart.
Note, however, that in practice even if you reduce the lifetime of the cart, the abandoned products will still be in the cart after the lifetime expires.
For guests the products of an abandoned cart are preserved in the cart until the session cookie expires. By default, the session cookie lasts 3600 seconds (equivalent to one hour). You can change the session cookie lifetime from System menu>Configuration>Web button in the General section on the left>Session Cookie Management panel on the right. - After Adding a Product Redirect to Shopping Cart - by default, this is set to Yes which means that after a customer adds a product to the shopping cart, they are automatically redirected to the shopping cart page. If you want customers to be left on the page from which they added the product to the cart (e.g. category page or product details page), then set this option to No.
- Grouped Product Image - by default, this option is set to Product Thumbnail Itself. The other value that can be selected is Parent Product Thumbnail. With this option you can specify which image is to be displayed on the shopping cart page and in the shopping cart sidebar when a grouped product is added to the cart. By default, each product is displayed with its own image. If you want to, you can set the simple products associated with the grouped product to be shown on the cart page with the image of the grouped product.
For example, let's say that you leave this option to the default Product Thumbnail Itself value. You have a grouped product that has two associated simple products (a hat and a shirt). When adding/editing the grouped product you have uploaded an image (using the Images tab on the left side of the product add/edit form); this image is a blank white image. When adding/editing the hat simple product you've uploaded an image only of a hat, and when adding/editing the shirt simple product you've uploaded an image of the shirt. So when a customer adds the grouped product to the cart (with both simple products selected), each product is displayed in the cart with its own image. If, however, the Grouped Product Image option is set to Parent Product Thumbnail, then each of the products will be shown on the cart page with the image of the grouped product that in our example is a blank image. - Configurable Product Image - with this option you can specify whether a configurable product that's added to the cart should be displayed on the shopping cart page with the image of the parent configurable product or with the image of the associated simple product; as you know a configurable product consists of very similar simple products (e.g. the same model of a shirt offered in different colors). The logic is exactly the same as with the previous option.
My Cart Link
The panel My Cart Link has one option:
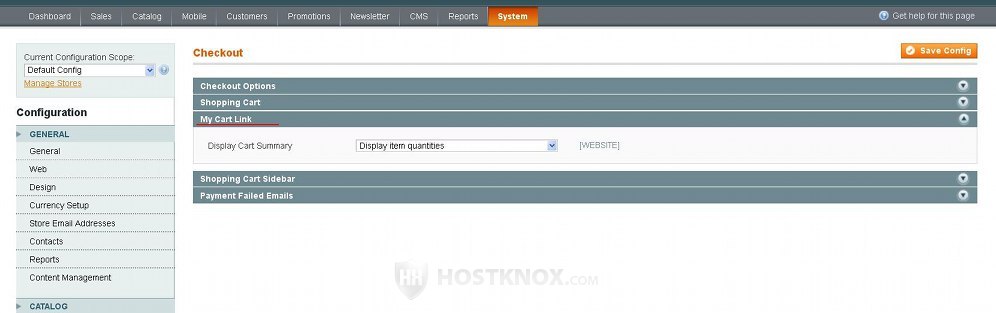
This option is Display Cart Summary and you can use it to specify whether the cart link and the cart sidebar on the frontend should show the number of different products that are in the cart or the total number of units in the cart:
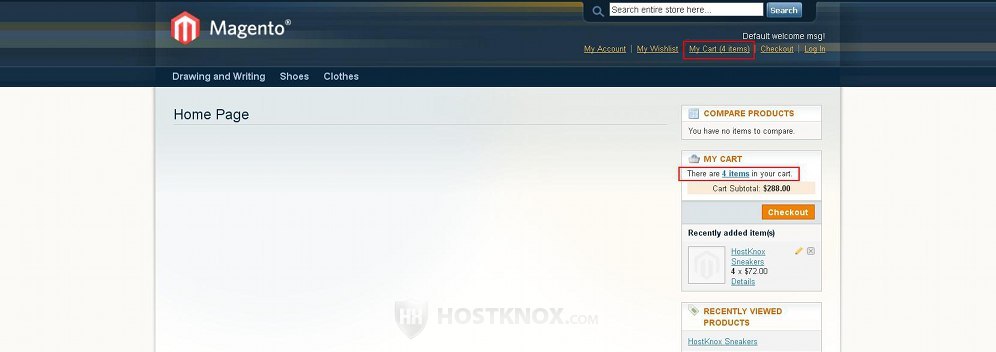
By default, the option is set to Display item quantities which means that the total number of units that are in the cart is displayed regardless of whether the units are from the same product. For example, if a customer adds four units of the same product in the cart, the number 4 will be shown in the cart link. If you change the setting to Display number of items in cart and you add 4 units of the same product in the cart, then the number 1 will be shown in the cart link and the cart sidebar indicating that there's only one product type in the cart.
Shopping Cart Sidebar
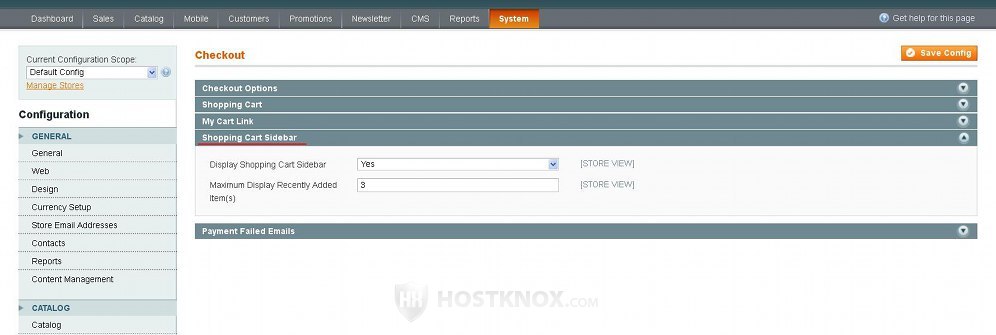
The options in the Shopping Cart Sidebar panel are:
- Display Shopping Cart Sidebar - this setting is used to hide and show the sidebar on the frontend of the store. By default, it's set to Yes and the shopping cart sidebar is displayed in one of the columns on the frontend. If you want to remove the cart sidebar, set it to No.
- Maximum Display Recently Added Item(s) - by default, the last three products added to the cart are displayed in the shopping cart sidebar (the name, quantity and thumbnail image of each product are shown in the sidebar). If you want the sidebar to shown more or fewer of the most recently added products, just type the particular number in the field for this option.
Payment Failed Emails
From the Payment Failed Emails panel you can configure settings related to emails that are sent when there's an unsuccessful payment transaction:
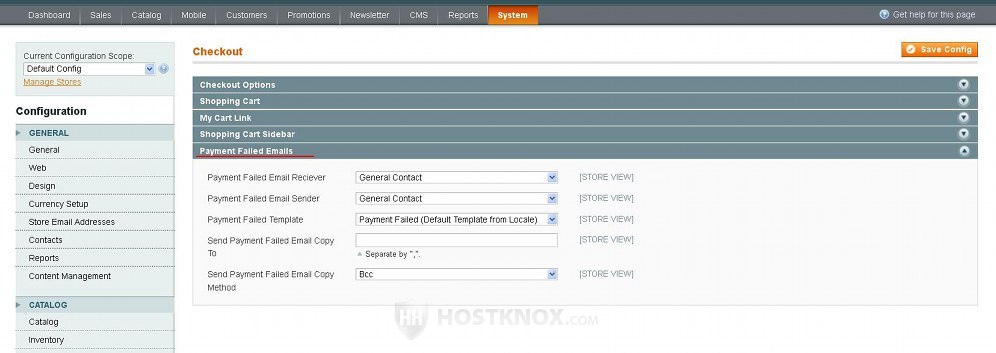
The settings are:
- Payment Failed Email Receiver - from this drop-down menu you can select the store email address to which payment failed emails should be sent. The store email addresses can be changed from System>Configuration>Store Email Addresses button in the General section on the left.
- Payment Failed Email Sender - you can use this drop-down menu to set the email address that should appear in the From field of emails sent when there's a failed payment. You can manage the actual store email addresses from System>Configuration>Store Email Addresses in the General section on the left. For more information on this check out the tutorial on managing store email addresses in Magento.
- Payment Failed Template - from this option you can change the email template that's used to display the message of payment failed emails. You can add and edit email templates from System>Transactional Emails. For more information read the tutorial on managing email templates in Magento.
- Send Payment Failed Email Copy To - if you want copies of the payment failed emails to be sent to some other email address(es), type that address in this field. If there's more than one, put a comma between the email addresses.
- Send Payment Failed Email Copy Method - in case you have specified additional email addresses to which payment failed emails should be sent, from this option you can choose whether the copies should be sent as separate emails or as blind carbon copies (Bcc).
If you make changes to any of the system checkout settings, don't forget to click on the Save Config button.