PrestaShop 1.5/1.6 Countries Tutorial
How to manage countries in PrestaShop 1.5-1.6
PrestaShop comes preconfigured with all the countries that currently exist in the world. By default, each country is configured to belong to one of the pre-set geographical zones (e.g. North America, Europe, etc.), it's also configured with the correct ISO code, call prefix, postcode/zip code format, etc.
If you want to, you can edit the settings of the countries. You can enable, disable and delete countries, and if necessary, you can add new countries.
In this tutorial we'll show you:
- how to add new countries
- how to edit countries
- how to enable and disable countries
- how to restrict country selection on the frontend to countries covered by carriers
In this tutorial we've used as a basic example PrestaShop 1.6. The screenshots are also from that PrestaShop version. Although the design of the admin panel is different than that of PrestaShop 1.5, countries are managed in the same way in both versions. If there are some differences we'll make notes about that in the tutorial.
Add New Countries
Since PrestaShop comes preconfigured with all the countries, you'll probably never have to add a new country (unless you delete a country and you want to add it again). Nevertheless, we'll go over this. Besides, the settings for adding a country are the same as when editing an existing country, and that's something that's much more likely for you to do. So in this section we'll also go over all the country options.
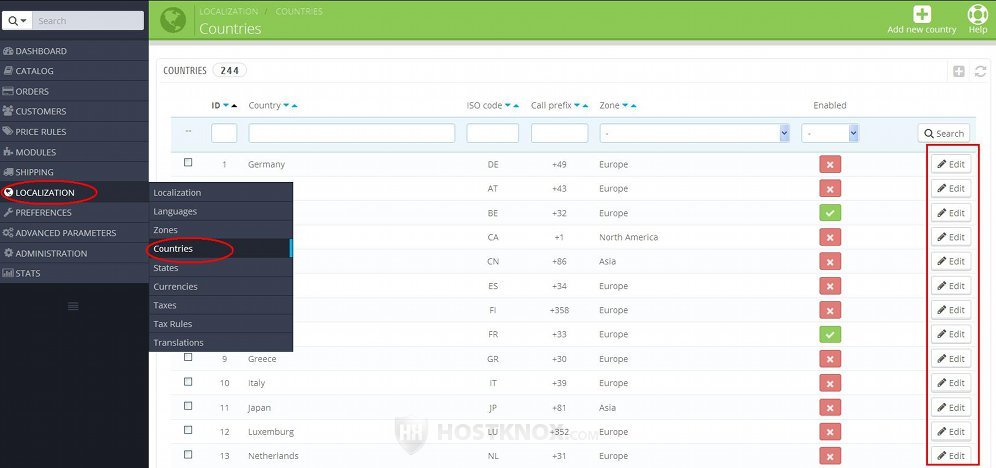
To add a new country, go to Localization menu>Countries sub-menu. On the page that opens there's a table with the existing countries. Before adding a country it might be a good idea to check whether the country is listed in the table, and if necessary edit its options, instead of adding a new one.
To add a new country, click on the button Add new country (in PrestaShop 1.5 it's labeled Add new):

This will open the form for adding/editing countries:
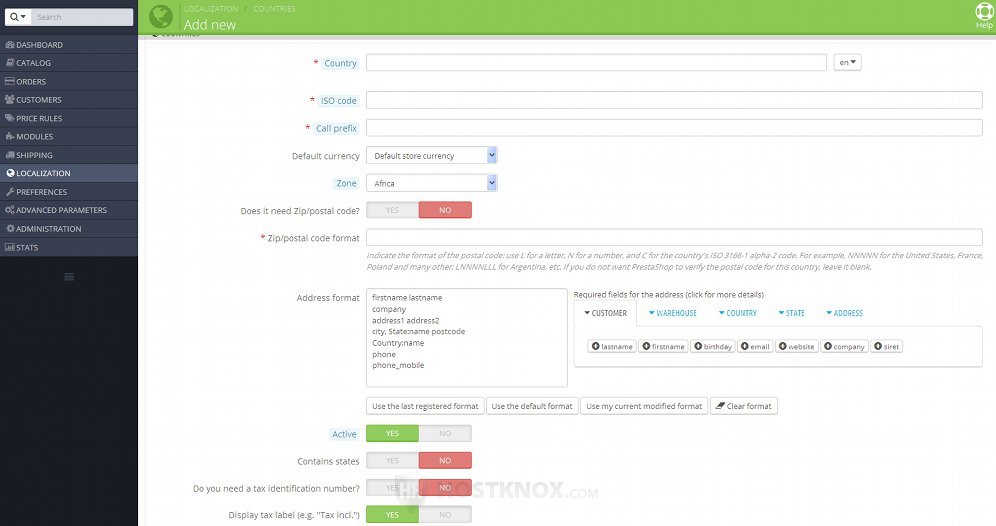
The available country options are the following:
- Country - type the name of the country as you want it to appear on the frontend and backend. If you have more than one language installed, you can type the name of the country in each language; use the option on the right side of the field to select the language.
- ISO code - this option is for the ISO code of the country. The countries that come preconfigured with PrestaShop have the correct ISO codes already set (e.g. US for the United States, FR for France, etc.). The exact ISO format that's used is ISO 3166-1 alpha-2. This is a two-letter code in uppercase. If you don't know the ISO code of the country you can check either on the official ISO page or on the Wikipedia page for that ISO format.
- Call prefix - this is for the international phone number prefix for the particular country (e.g. 1 for the U.S., 33 for France, etc.). If you don't know it you can search for it on the Internet; one place you can check is the Wikipedia page of the country calling codes.
- Default currency - from this option you can choose one of the installed currencies. It is set to the default store currency. The default store currency in turn is set from Localization menu>Localization sub-menu; for more information check the section on default language, currency, country and time zone in the tutorial on how to manage the localization settings.
Currencies can be added and managed from Localization menu>Currencies sub-menu. - Zone - from this drop-down menu select the geographical zone to which the country belongs. The geographical zones mostly correspond to the different continents. You can manage the zones from Localization menu>Zones sub-menu; for more information read the tutorial on how to manage geographical zones in PrestaShop 1.5-1.6.
- Does it need zip/postal code? - if you want customers to be required to provide a zip/postal code when registering an address, set this option to Yes. Of course, this will apply only if the address is in the particular country. If you don't want zip/postal codes to be required for addresses in that country, set this option to No.
- Zip/postal code format - with this option you can set a specific format for the zip/postal code of the country. In this way when customers register an address they will be required to provide a postal code that complies with the postal code format of the country. If they provide a code with a different format, they'll receive an error message informing them what format the postal code should be. For example, if you set the postal code to be five digits and the customers types the code 123456, they'll receive an error message that the format of the postal code should be 00000, meaning it should consists of five digits. This is a way to make sure that the postal code is valid for the selected country.
Some countries have postal codes that consist only of numbers, while others use a combination of numbers and letters. As it is explained in the text under the field for this option, N stands for number and L for letter. So, for example, if you put NNNNN in the field, then the postal codes that customers provide for this country should consist of five digits (e.g. 12345).
By default, the preconfigured countries that come with PrestaShop have their zip/postal code formats configured correctly. - Address format - this option determines how addresses from that particular country are displayed. By default, all countries use the same format. In the text area on the left you can see the current format. Each value in the text area represents the actual value that the customer provides. For example, firstname and lastname stand respectively for the first and last name of the customer. The order in which they are listed in the text area represents the order in which the values are shown in the actual addresses. If you want to change the order, just rearrange them.
On the right side of the text area there are a few tabs: Customer, Warehouse, Country, State, Address. When you click on a tab some buttons will become available.
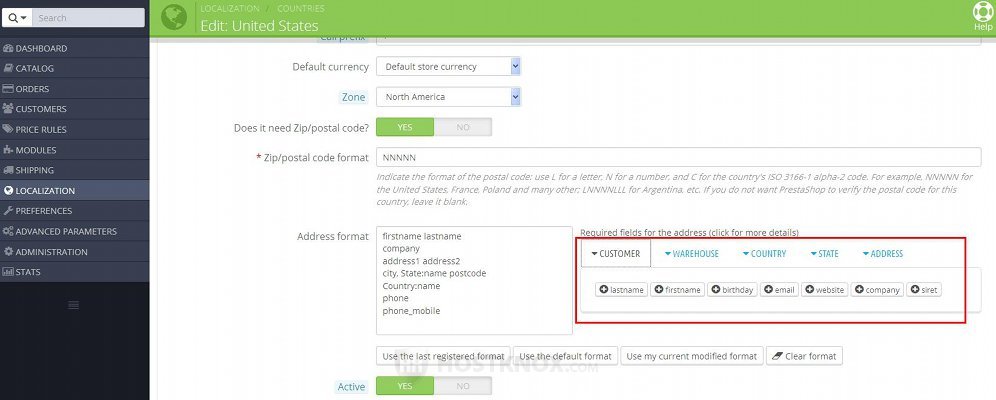
Clicking on a button will add the particular value/field to the address format; it will be listed in the text area on the right. The purpose of these buttons is to make it easier for you to edit the format, so that you don't have to type each value in the text area.
Under the text area with the address format there are a few buttons. You can use them to revert to the default format, to clear the format, etc.
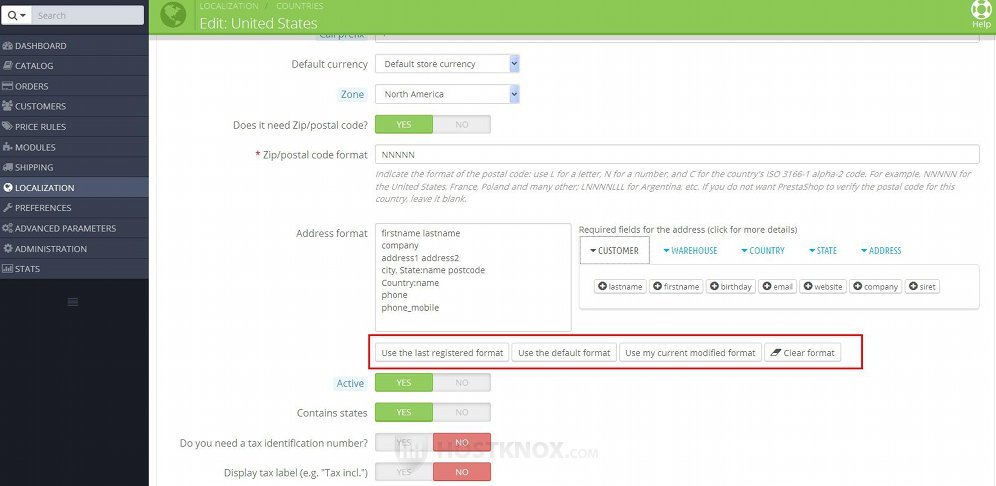
Now let's go back to the rest of the country options:
- Active - from this option you can enable and disable the country. When a country is active/enabled, customers will be able to select that country when they register an address. Otherwise, if the country is disabled, customers will not be able to select that country.
When you first install your PrestaShop it has only one country enabled. That's the default store country that you chose during the installation process. If you want to allow people to select other countries for their addresses, you have to activate the respective countries. - Contains states - with this option you can indicate whether the country has states, regions or whatever local administrative unit is used in the particular country. If you want to add states/regions for the particular country, you have to enable this option. You also have to create/add the states for the country from Localization menu>States sub-menu. When the country is selected on the address form, a field for selecting a state will appear.
All countries have some sort of administrative divisions but in many cases this might not be important in terms of how this affects the shipping services, fees, etc. (meaning that the taxes and fees are the same no matter to which region within the country the order is delivered). For most of the countries that come preconfigured with PrestaShop this option is disabled and states are not created for those countries. There are only several countries that come preconfigured with states (e.g. the U.S., Argentina and some others). - Do you need a tax identification number? - some countries use tax identification numbers (e.g. DNI, NIF, NIE). If this is the case with the country you're adding/editing, set this option to Yes. If the option is enabled, a field for the tax identification number will appear on the address form when the customer selects the particular country.
- Display tax label - with this option you can select whether the labels Tax incl. and Tax excl. should be shown in the shopping cart when the customer uses an address from the particular country.
After you're done with the options don't forget to click on the Save button.
Edit the Options of Countries
To edit the options of any of the existing countries, go to Localization menu>Countries sub-menu and in the table with the countries click on the Edit button for the country:
This will display the options of the country. They are the same as when adding a new country. For a detailed description of these settings check out the section in this tutorial on adding new countries.
Enable, Disable, Delete and Mass Edit Countries
When you install your PrestaShop the only country that's enabled is the default store country. This is the country that you choose for your store during the installation. When a customer registers an address they can choose only from the enabled countries. To activate and deactivate countries, go to Localization menu>Countries sub-menu. In the table that lists the countries there's a column labeled Enabled:
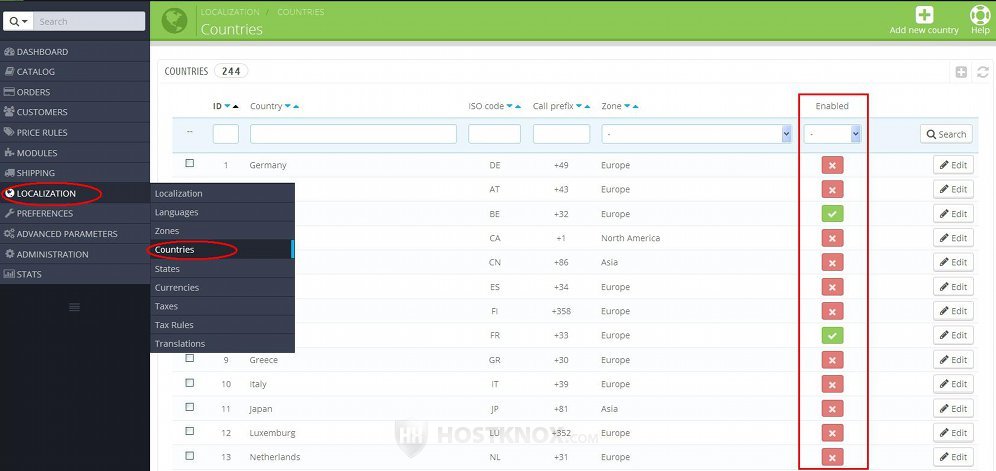
The enabled countries have green checkmarks and the disabled ones red X signs. To enable a country, click on its red X symbol and it will turn into a green checkmark; to disable a country click on its green checkmark and it will turn into a red X sign.
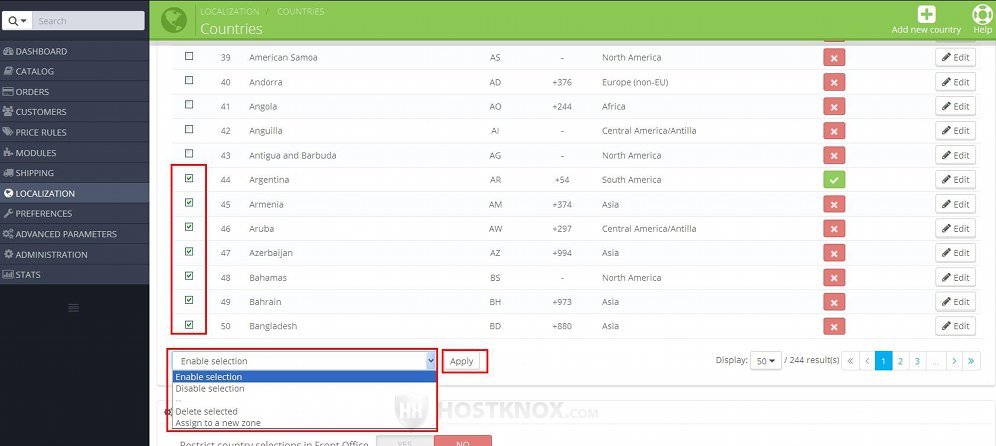
If you want to enable and disable many countries at the same time, you can do this with the drop-down menu that's below the table. From there you can also delete countries and assign countries to geographical zones. This is very useful if you have to edit many countries.
First mark the checkboxes in the table for each of the countries, then select the action from the drop-down menu under the table and click on the Apply button next to it:
There's also an option with which you can enable with a single click only the countries to which the carriers that you've added deliver orders. For more information check the next section of this tutorial.
Restrict Country Selection on the Frontend to Countries Covered by Carriers
When you go to Localization menu>Countries sub-menu at the bottom of the page there's an option with which you can restrict the selection of countries on the frontend to those to which the carriers that you've added are configured to deliver orders:
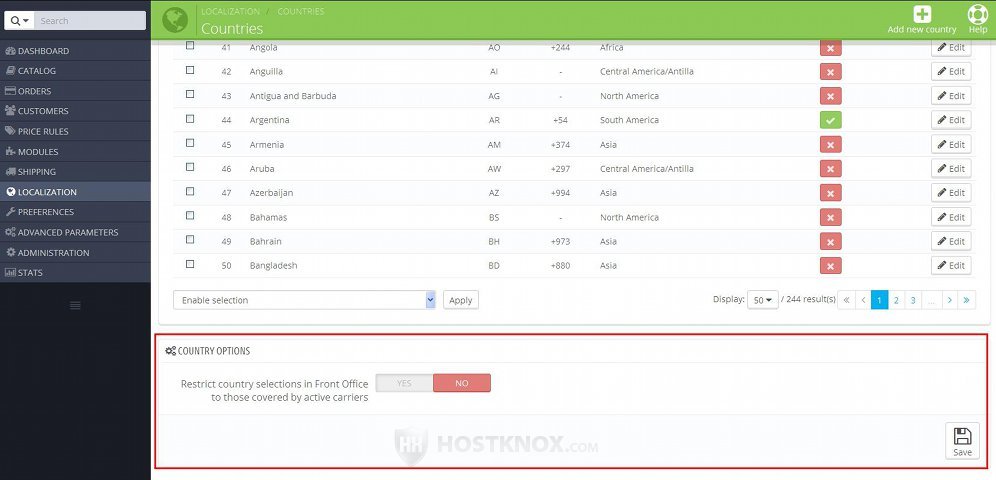
By default, it's set to No which means that when customers add addresses they can select from any of the enabled countries, regardless of whether the carriers that you've added are configured to delivery to all these countries. If you want customers to be able to select only from the countries covered by the carriers, set this option to Yes.