PrestaShop 1.5/1.6 Order Statuses Tutorial
How to manage order statuses in PrestaShop 1.5-1.6
Each order in PrestaShop has a status that marks its current progress. From the options of each order you can change its status. Customers can view the statuses of their orders from their account settings on the frontend of your site.
PrestaShop comes preconfigured with some order statuses. When you enable the modules for some payment methods, other statuses might be added automatically. You can add any status that you want, and you can also edit the options of existing statuses. From these options you can configure such things as whether or not the order should be considered validated when it's set to the particular status, whether customers should be automatically informed via email when orders are set to the status, whether invoices should be available to customers for orders which are in the particular status.
You can also edit the options of statuses for merchandise returns and add new merchandise return statuses.
In this tutorial we'll go over all these things. We'll show you:
- how to add and edit order statuses
- how to change the status of an order
- how to add and edit merchandise return statuses
- how customers can view the statuses of their orders and merchandise returns on the frontend
- links to tutorials on managing orders
In this tutorial we've used as a basic example PrestaShop 1.6. The screenshots are also from that PrestaShop version. Although the design of the admin panel is different than that of PrestaShop 1.5 the options for order statuses are practically the same in both versions. If there are some differences we'll make notes about that in the tutorial.
Add and Edit Order Statuses
To add new order statuses or edit the existing ones, go to Orders menu>Statuses sub-menu in the admin panel. On the page that opens there's a table with the existing statuses:
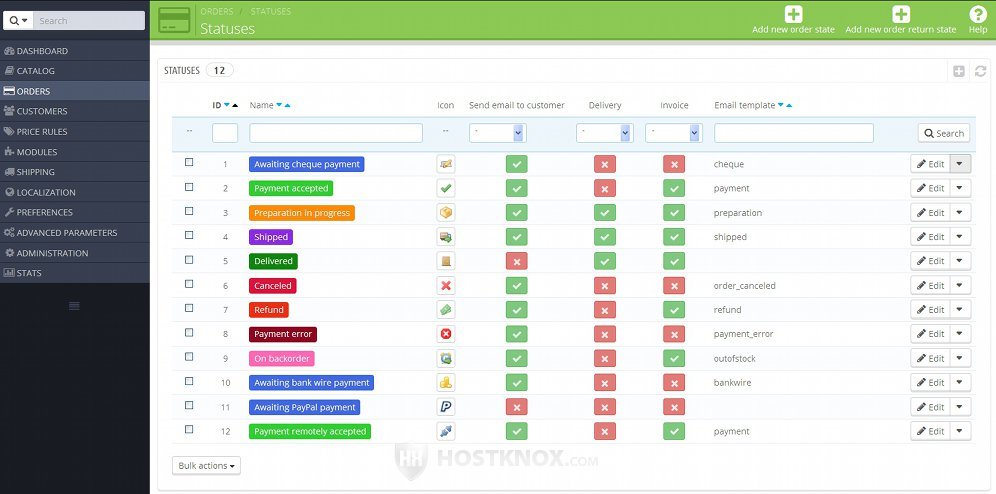
Each status has a color assigned to it. This will help you spot more easily the statuses of orders in the list with the placed orders. Each status also has an icon with which it's identified. The table also shows some other informations: whether an email is sent to the customer when the status of an order changes to the particular status, whether invoices and delivery slips can be downloaded for orders that are in the particular status.
If you want to delete a status, click on the arrow that's next to the Edit button for that status and from the drop-down menu that appears select Delete:
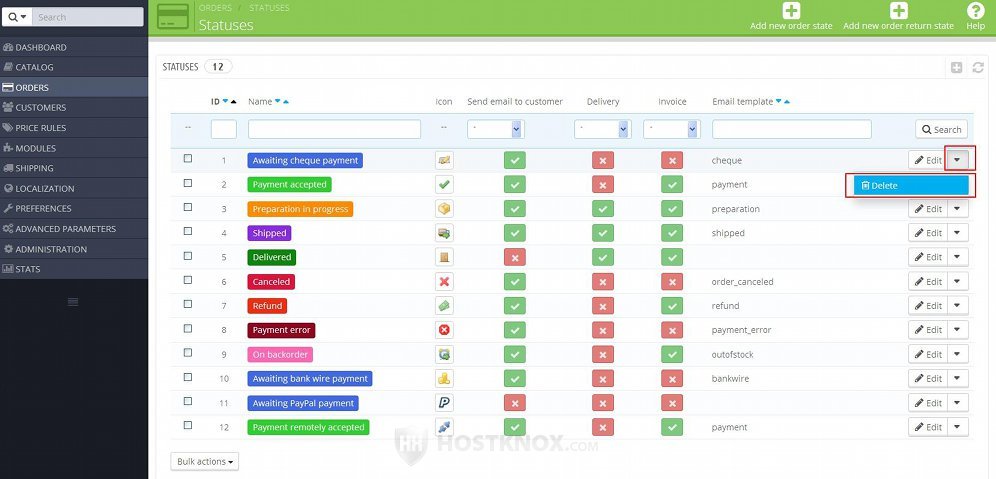
In PrestaShop 1.5 there's no such drop-down menu. The button for deleting a status is in the last table column, and it's an icon that looks like a trash can.
Be careful if you decide to delete a status because, depending on the status, this may disrupt the order process.
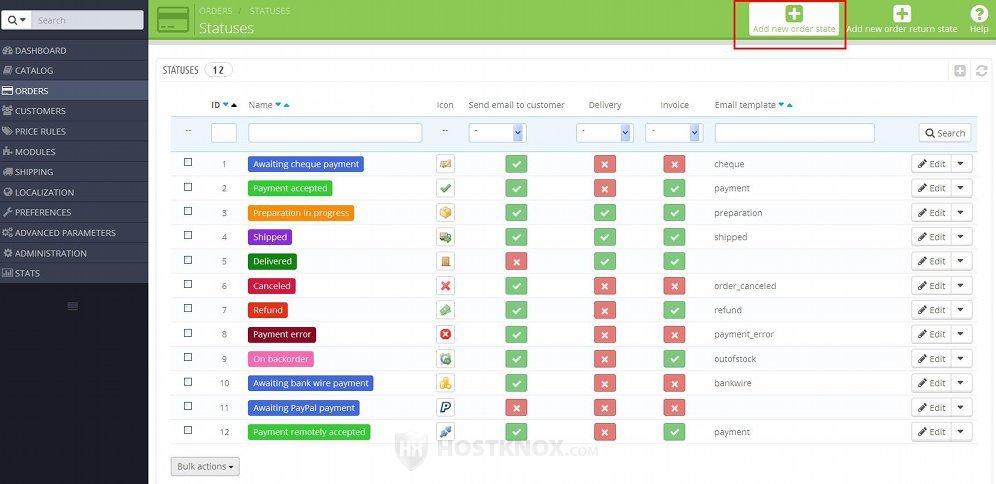
To add a new status, click on the button Add new order state (in PrestaShop 1.5 it's labeled Add new):
To edit an existing status, click on its Edit button in the table:
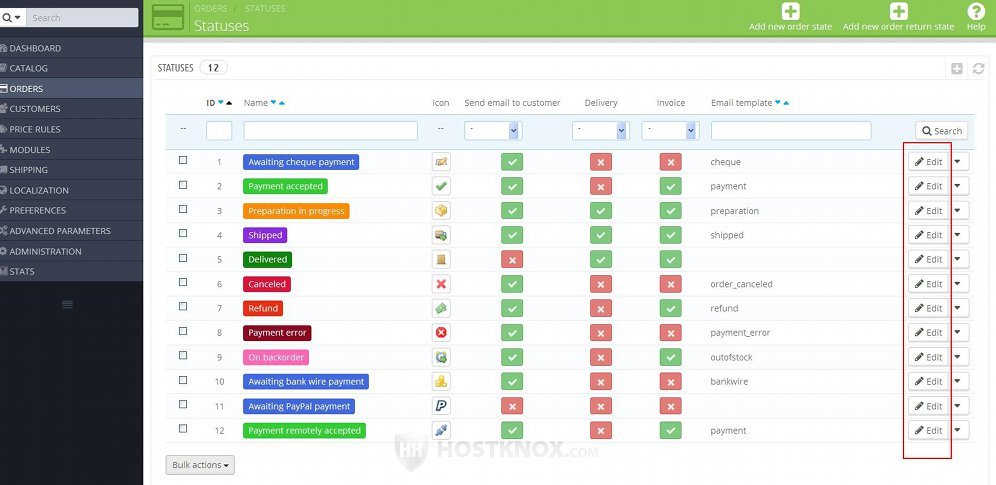
Whether you add a new status or you edit an existing one the form contains the same settings:
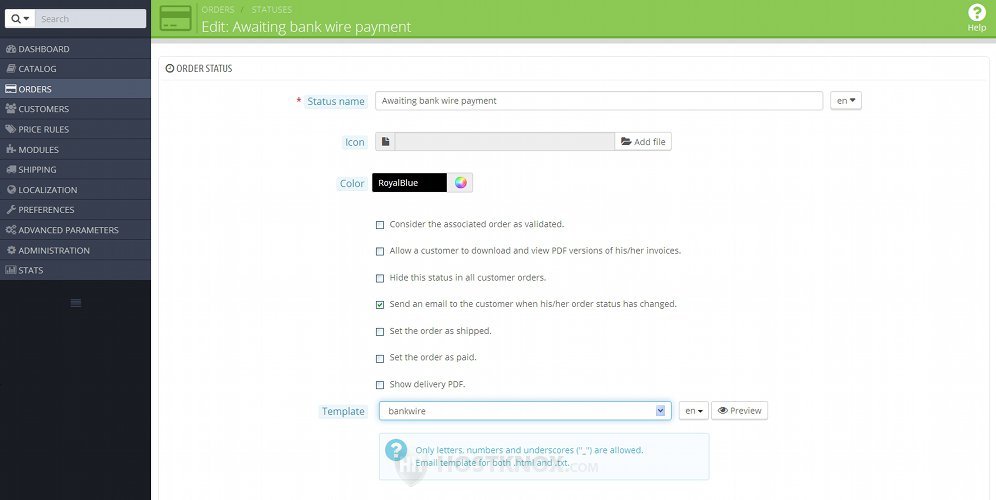
Our example screenshot is from the form for editing the status Awaiting bank wire payment. The form for adding/editing an order status contains the following options:
- Status name - type the name of the status as you want it to appear on the frontend and backend of the site. This is a required field. If you have more than one language installed, you can type a different name for each language version of the site. You can choose the language to which you want the name to apply from the option that's on the right side of the field.
- Icon - if you want to, with this option you can upload an icon for the order status. The icon is shown on the order details page in the admin panel. You may need to crop and/or scale the image before uploading it, so that it has dimensions (e.g. 16 x 16 pixels) with which it will be clearly visible. To upload an icon, click on the Add file button (in PrestaShop 1.5 it's labeled Browse) and use the window that pops out to locate the image on your local computer. The icon will be uploaded to your hosting account after you click on the Save button.
- Color - with this option you can assign a color to the status. To do this, click on the small color icon that's on the right side of the field and select the color from the window that pops out.
Under these options there are several checkboxes:
- Consider the associated order as validated - if after you change the status of an order to this status you want that order to be validated, mark this checkbox. When the order is validated this means that the order is treated as if the payment for that order has been accepted. So, for example, the status Awaiting payment has this option disabled, and the status Payment accepted and all the statuses that come after it in the order progress (e.g. Shipped, Delivered) have this option enabled. Note that changing this option will affect the orders that are placed after the change. Existing orders that have already been placed and are currently in that status will not be affected.
Usually, this option goes together with the option Set the order as paid. The option is a bit further down the same page. So, normally, when you enable the option Consider the associated order as validated you should also enable Set the order as paid. - Allow a customer to download and view PDF versions of his/her invoices - when this option is enabled customers will be allowed to download invoices for all their orders that are in the particular status. They can do this from the Order History section of their account on the frontend of your site. All their orders are listed there, and for each order that's in a status that allows the downloading of its invoice there will be a link for downloading the invoice.
Note that if the order is in an order status with which the order is not considered validated, the invoice will contain the amount that has to be paid but it will not indicated that the order is paid for. This will be indicated after the status of the order is changed to one in which the order is validated.
Another thing to remember is that this option actually affects the admin panel too. As you know, the invoice for an order can be downloaded in the admin panel from the Documents block on the order details page of that order. So, for example, if a status doesn't allow the downloading of an invoice, then on the order details pages of orders that are in that status there will be no links for downloading the invoice. In such a case it's possible to generate an invoice manually (or change the status of the order).
For some more details on invoices check the tutorial on how to manage invoices in PrestaShop. - Hide this status in all customer orders - if you don't want this status to be shown in the customer account settings on the frontend, enable this option. The orders that are in that status will be listed in the Order History section of the customer account settings, but the status of those orders will not be indicated. If the option for allowing customers to download invoices for orders in this status is enabled, the links for downloading invoices will be hidden too.
Note, however, that when this option is enabled and the one for sending an email to the customer is enabled too, then the customer will still receive an email and the email will show the status of the order. So if you hide the status, then you may also want to disable the option Send and email to the customer when his/her order status has changed. - Send an email to the customer when his/her order status has changed - with this option you can choose whether the customer should be notified via email when the status of the order changes to the particular status. If the option is enabled and you change the status of the order to that status, PrestaShop will automatically send an email to the customer's email address informing them about the change of status. If the option is disabled, no email will be sent. Most of the preconfigured statuses that come with PrestaShop are set to send an email (e.g. Awaiting payment, Payment accepted, Shipped, etc.); some are set not to send an email (e.g. Delivered).
- Set the order as shipped - if you want orders that are set to this status to be considered as shipped, enable this option. By default, the statuses Shipped and Delivered have this option enabled. When this option is enabled usually the option Show delivery PDF is enabled too.
- Set the order as paid - if you want the orders that are set to this status to be marked as paid, enable this option. Note, however, that when it comes to this the more important option is Consider the associated order as validated that's on the same page. Usually they go together; if you enable one, you should enable the other. If you enable only the option Set the order as paid and you leave the other one disabled, the orders will not be considered validated and the payment for the orders that are set to the particular status will not be put in your income (meaning the settings and statistics in the admin panel). If, on the other hand, you enable only the option Consider the associated order as validated, then the payment will be considered accepted and the amount for the order will be put in your income.
- Show delivery PDF - when this option is enabled and the status of an order changes to the particular status, then a link for downloading and viewing the delivery slip for the order will be available on the order details page in the admin panel. At the top of the order details page there's a button View delivery slip with which you can download the delivery slip in PDF format. Customers are not allowed to download delivery slips.
Below the checkboxes there's a drop-down menu with which you can select the email template to be used for the status:
- Template - this option is available only if the option Send an email to the customer when his/her order status has changed is enabled. The email template determines the content of the email message sent to the customer when the status of the order changes to this status. To see how the template looks, click on the Preview button that's on the right side of the field; in PrestaShop 1.5 the button is an icon that looks like an eye. If you have more than one language installed, you can select the language to which you want the template to apply from the respective option on the right side of the field.
Those of the preconfigured statuses that send an email to the customer are also associated with a default template that comes prepackaged with PrestaShop. You can edit the templates by modifying the translations. To do this, go to Localization menu>Translations sub-menu in the admin panel. On the page that opens select Email templates translations from the drop-down menu Type of translation. Select the theme and language from the respective drop-down menus and click on the Modify button (in PrestaShop 1.5 just click on the flag for the respective language). On the page that opens you'll find all the email templates.
If you make any changes on the form for adding/editing statuses don't forget to click on the Save button.
Change the Status of an Order
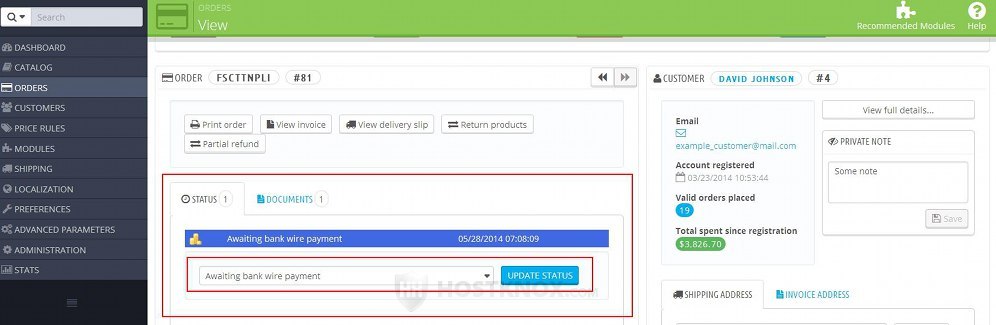
You can change the status of an order from the order details page in the admin panel. Go to Orders menu>Orders sub-menu and on the page that opens select the order from the table with the existing orders. On the order details page there's a block Status that shows the current status of the order. To change the status, select it from the drop-down menu and click on the button Update Status (in PrestaShop 1.5 it's labeled Add):
For a detailed description of all the options on the order details page check the tutorial on how to manage orders in PrestaShop.
Add and Edit Return Statuses
In PrestaShop there are also statuses for merchandise returns. They don't have that many options as order statuses since they are not used as much and are not as important as order statuses. To manage return statuses, go to Orders menu>Statuses sub-menu. Below the table with the order statuses there's another one that lists the statuses for merchandise returns. To edit an existing return status, click on its Edit button in the table (in PrestaShop 1.5 it's an icon that looks like a pencil); to add a new return status click on the button Add new order return state:
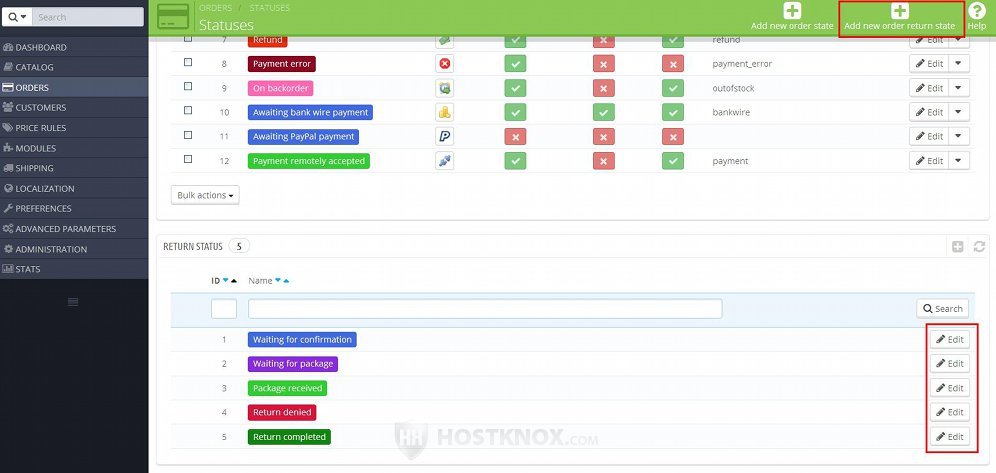
In PrestaShop 1.5 the button for adding a new return status is labeled Add new and it's located right above the table with the existing return statuses.
Whether you add a new return status or you edit an existing one the form is the same:
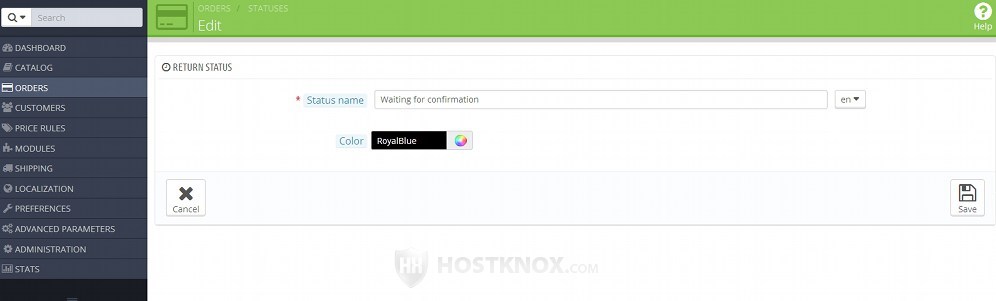
The options it contains are:
- Status name - type the name of the return status in this field. This is the name that will be shown on the frontend and backend of the site. If you have installed more than one language, you can translate the name in all the installed languages. You can select the language to which you want the name to apply from the option on the right side of the field.
- Color - to assign a color to the return status, click on the small color icon on the right side of the field and select the color from the window that pops out.
After you're ready with the options don't forget to click on the Save button.
You can change the statuses of merchandise returns from Orders menu>Merchandise Returns sub-menu. For more details check out the tutorial on how to manage merchandise returns in PrestaShop.
Order and Return Statuses on the Frontend
Customers can view the statuses of their orders from the Order History section of their account settings on the frontend of your store. After they log in they have to click on their name to open the account's homepage and there they have to select Order History:
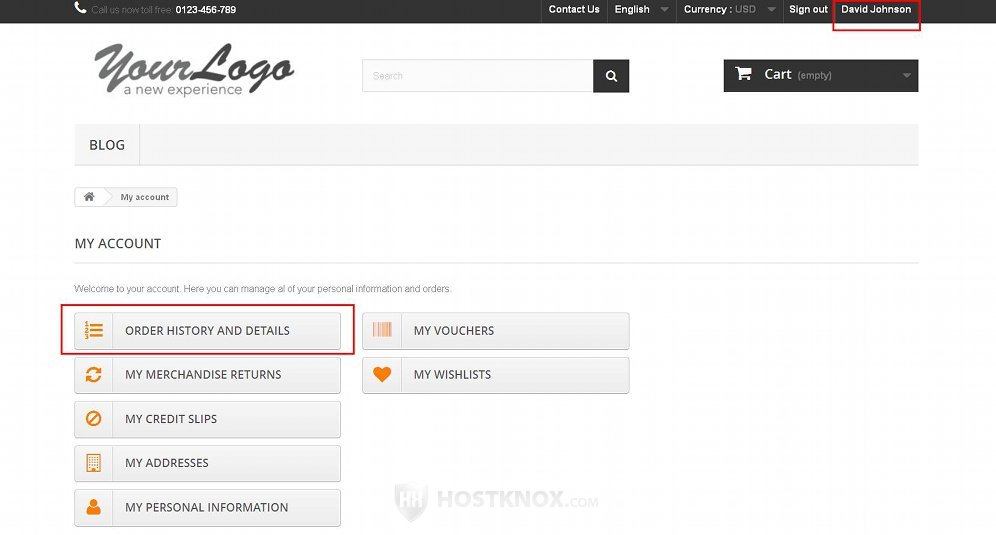
The exact layout depends on the theme. As an example we have used the default theme that comes prepackaged with PrestaShop 1.6.
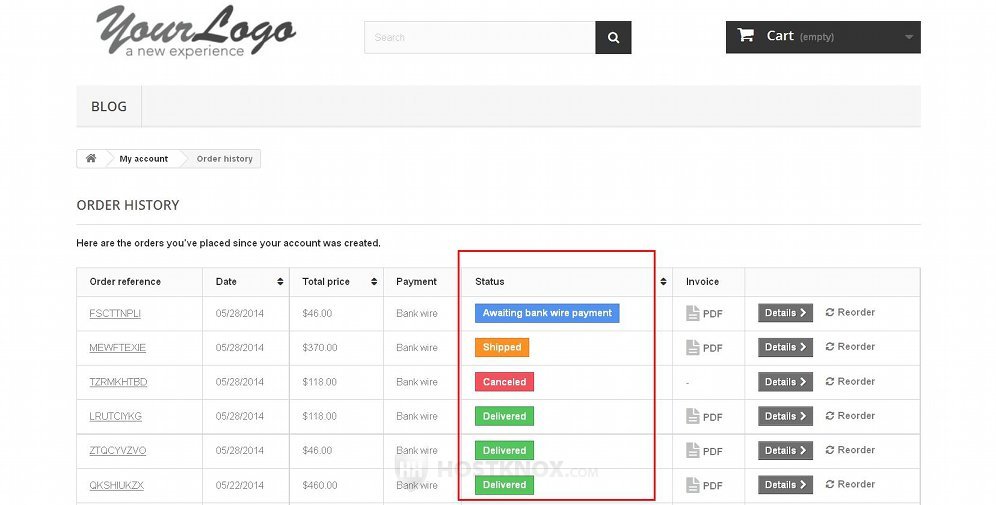
On the Order History page there's a table that lists all orders placed by the customer. The status is indicated for each order, provided you haven't configured from the options of the particular status for it to be hidden on the frontend:
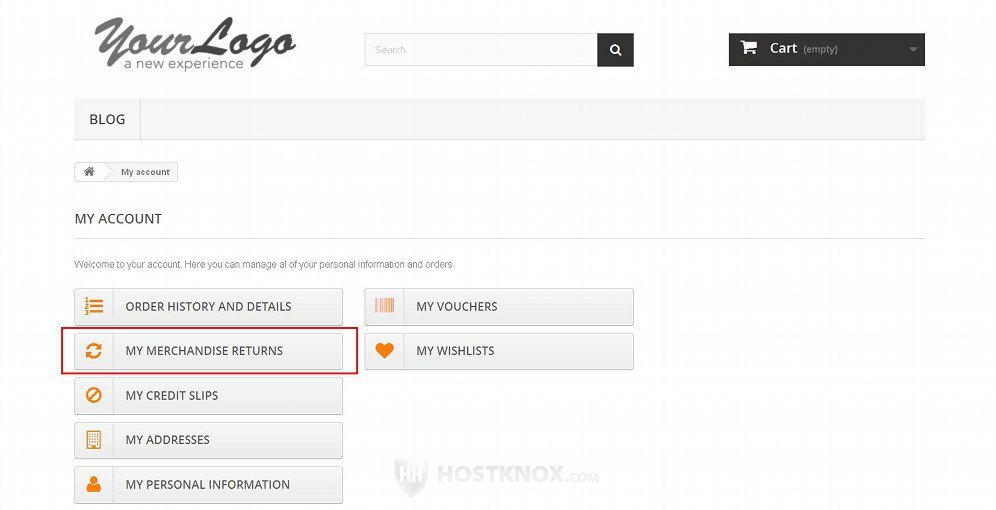
Customers can also view from their account settings the statuses of their merchandise returns (if any). To do this, they have to select the section My Merchandise Returns that's available on the account's homepage:
On the page that opens there's a table listing the merchandise returns, and the status of each return is indicated:
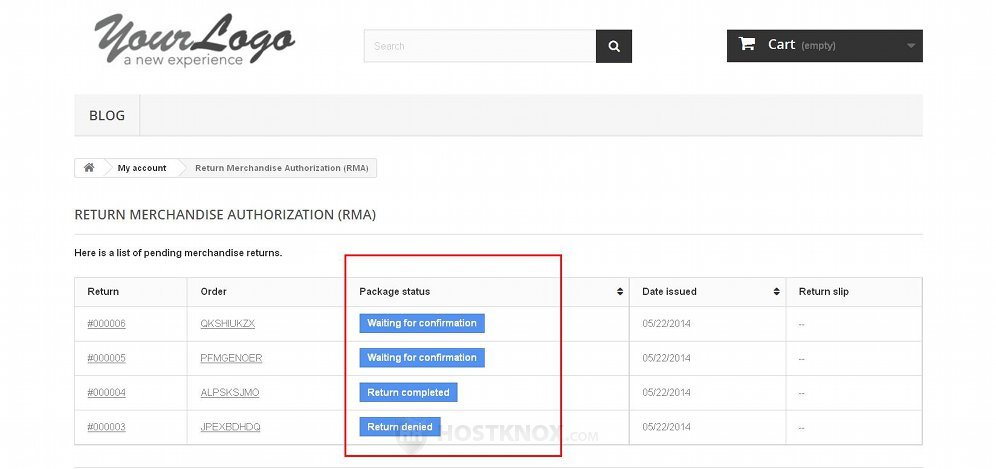
For more information on merchandise returns check out the tutorial on how to manage merchandise returns in PrestaShop.
Links to Tutorials on Managing Orders
You may find helpful our detailed tutorials covering all the aspects of managing your orders:
- how to manage orders in PrestaShop
- how to add orders manually from the admin panel in PrestaShop
- how to manage invoices in PrestaShop
- how to manage delivery slips in PrestaShop
- how to manage merchandise returns in PrestaShop
- how to manage credit slips in PrestaShop
- how to manage preconfigured order messages in PrestaShop