PrestaShop 1.5/1.6 Geolocation Preferences Tutorial
How to enable and manage Geolocation in PrestaShop 1.5-1.6
PrestaShop has a built-in feature called Geolocation. With it you can restrict the access to your store for customers from particular countries. You can choose whether the customers from the restricted countries should be allowed to see the catalog at all. You can also select whether the customers from the allowed countries can see the catalog and order products. Another thing you can do is to add IP addresses to a whitelist so that they can access the store regardless of whether they are from a restricted country. The country of the customer is determined from the IP address of the customer's computer.
To manage the Geolocation settings go to Preferences menu>Geolocation sub-menu in the admin panel:
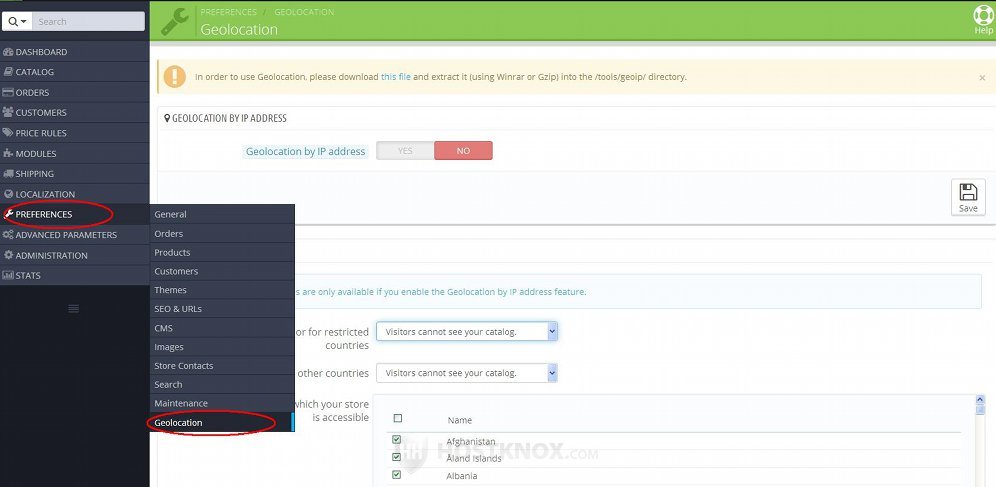
Note that in order to enable Geolocation you need to download a file which after that you have to upload to a specific folder on your PrestaShop hosting account. We'll come to this further down in the tutorial.
In this tutorial we'll show you:
- how to get and upload the geolocation database file
- how to enable and disable Geolocation
- how to restrict access to your shop and manage the behavior of Geolocation
- how to manage the whitelist of IP addresses
In this tutorial we've used as a basic example PrestaShop 1.6. The screenshots are also from that PrestaShop version. Although the design of the admin panel is different than that of PrestaShop 1.5, the options for Geolocation are the same in both versions. If there are some differences we'll make notes about that in the tutorial.
Geolocation File
To be able to enable and use Geolocation you have to get a file and upload it to your PrestaShop hosting account. That file is a database of cities and locations. When you go to Preferences menu>Geolocation sub-menu at the top of the page that opens you'll see a warning message informing you about that file. So first you need to get the file. In the message there's a link with which you can download it on your local computer:
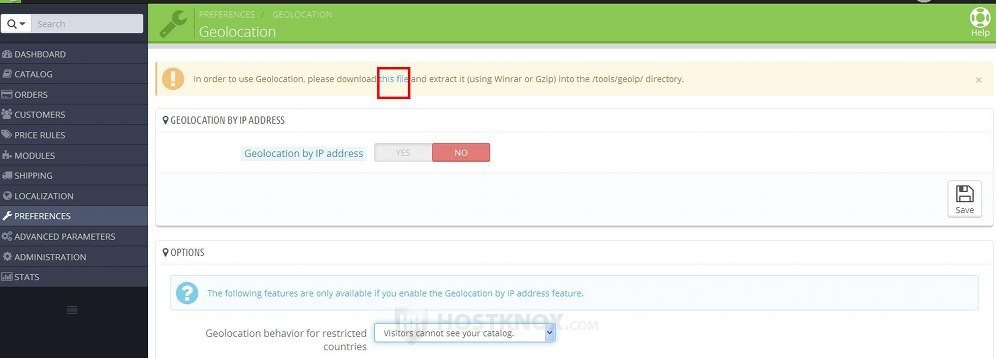
After you click on the link a window will pop out with which you can download the file on your local computer. It's a GZIP archive that contains a file.
You need to upload that file on your PrestaShop hosting account. You need to upload the file in /tools/geoip (this path is in relation to the root PrestaShop folder on your hosting account). If your PrestaShop is installed directly in the public_html directory on your hosting account, making the address of the homepage of your store yourdomain.com, then you have to upload the file in public_html/tools/geoip.
There are different ways you can do this. HostKnox clients can use options available in the Files section of the HostKnox control panel. First, upload the archive in the correct location and then unzip it. For more details check out the tutorial on how to manage files on your account with the HostKnox control panel.
Another way to do it is to unzip the archive that's on your local computer and then use an FTP client (e.g. FileZilla) to upload the file from the unzipped directory to the correct directory on your PrestaShop hosting account. If you need more information on how to set up and use FTP clients check out our FTP tutorials.
Enable and Disable Geolocation
Geolocation is disabled by default. To enable it, after you upload the file as explained in the previous section of this tutorial, go to Preferences menu>Geolocation sub-menu in the admin panel, and on the page that opens there's a panel Geolocation by IP Address. It contains an option with the same name:
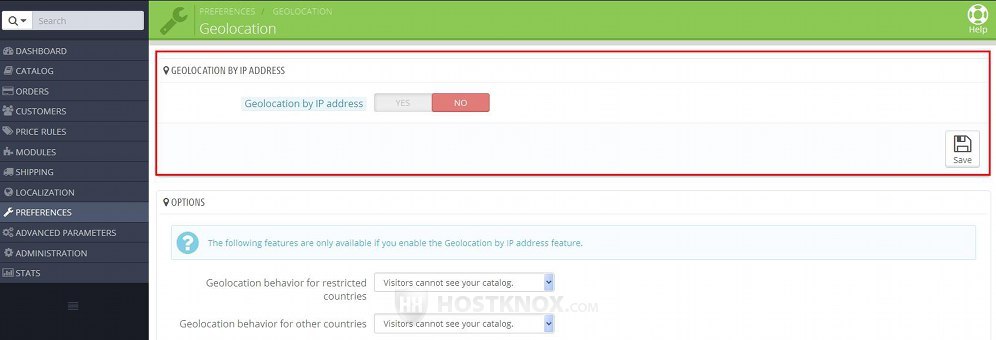
Set this option to Yes and click on the Save button.
Restrict Access and Manage the Behavior of Geolocation
By default, customers from all countries are allowed to access your store and order products.
To manage the options and behavior of Geolocation, after you go to Preferences menu>Geolocation sub-menu on the page that opens find the panel Options:
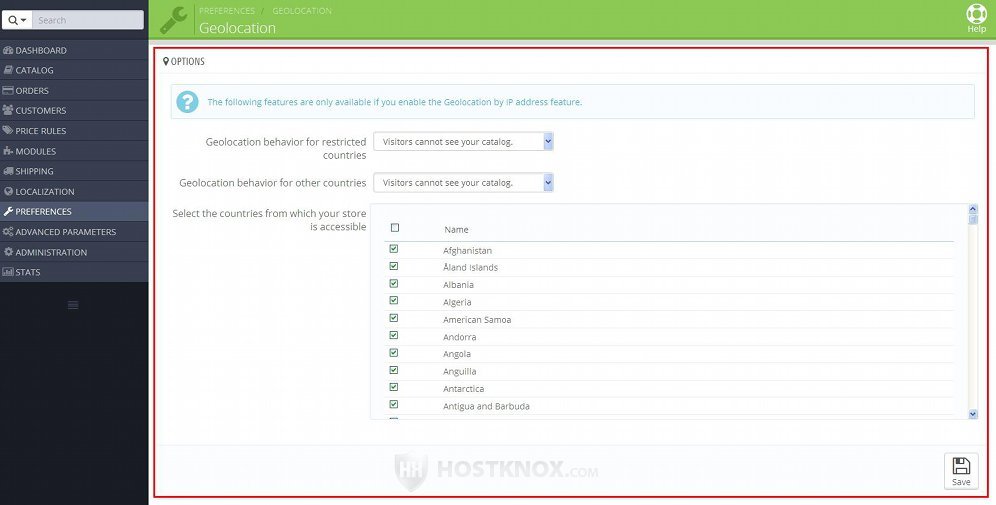
It contains the options:
- Geolocation behavior for restricted countries - from this option you can select the behavior for countries for which you have restricted access to your shop. It will apply only to those countries. You can let the customers from those countries see your catalog without being able to place orders, or you can hide the catalog for those customers altogether.
- Geolocation behavior for other countries - from this option you can set the behavior of Geolocation towards customers that are from countries that have access to your shop. One choice is to let them use all features of the store; another one is to let them see the catalog without giving them the option to place orders. A third choice is to hide the catalog.
- Select the countries from which your store is accessible - this is the actual country list from which you can select which countries should be restricted. For each country there's a checkbox. By default, they are all marked which means that all countries have access to your store. If you unmark the checkbox of a country, it will be restricted and customers from that country will have no access to your store (or at least not to all features). As we mentioned, the behavior towards customers from the restricted countries is set with the option Geolocation behavior for restricted countries.
If you have unmarked the checkboxes of some of the countries and you want to make sure that all the countries have access, just mark the checkbox that's at the top of the list. This will mark the checkboxes of all countries in the list.
If you make any changes to the options, don't forget to click on the Save button.
Whitelist of IP Addresses
Another panel with options that's available when you go to Preferences menu>Geolocation sub-menu is IP Address Whitelist:
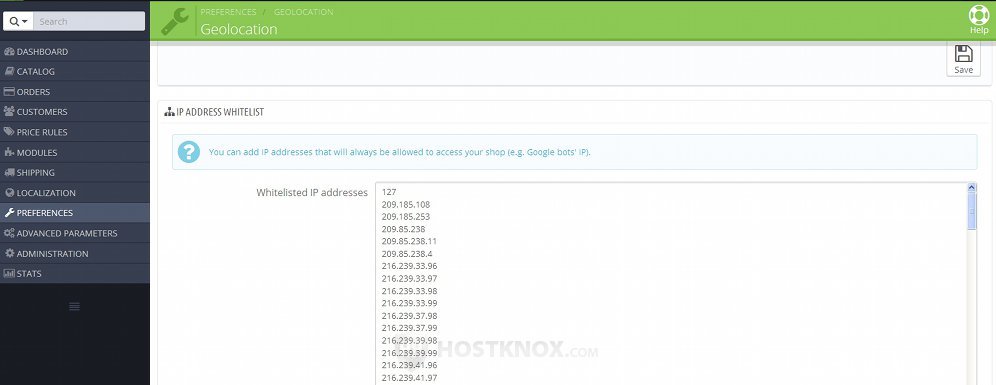
The IP addresses listed there will always be allowed to access your store, even if they are from a country for which you have restricted the access. This is useful if you have restricted the access for a country, but you want a particular customer(s) from that country to have access to your store.
Put one IP address per line. You can also add a range of IP addresses. For example, if you list the first number of an IP address, this will allow access for all IPs beginning with that number.
If you make changes, don't forget to click on the Save button.