PrestaShop 1.5/1.6 Search Preferences Tutorial
How to manage the search function in PrestaShop 1.5-1.6
PrestaShop has a built-in search function with which the visitors and customers on your site can search for products. In the admin panel of your PrestaShop there are some options with which you can modify some of the aspects related to the search function. To access these options, go to Preferences menu>Search sub-menu:
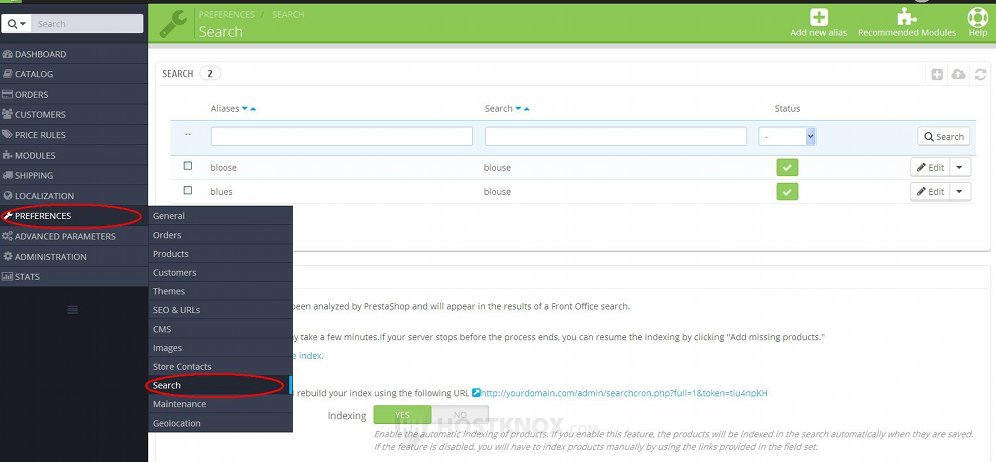
This will display a page with a few panels with different options for the search function.
In this tutorial we'll review these options. We'll show you:
- how to manage search aliases
- how to manage the indexing of products
- how to manage the options for search type, minimum word length and blacklisted words
- how to configure the weight and importance of the elements of searched products
In this tutorial we've used as a basic example PrestaShop 1.6. The screenshots are also from that PrestaShop version. Although the design of the admin panel is different than that of PrestaShop 1.5, the options for the search function are the same in both versions. If there are some differences we'll make notes about that in the tutorial.
Search Aliases
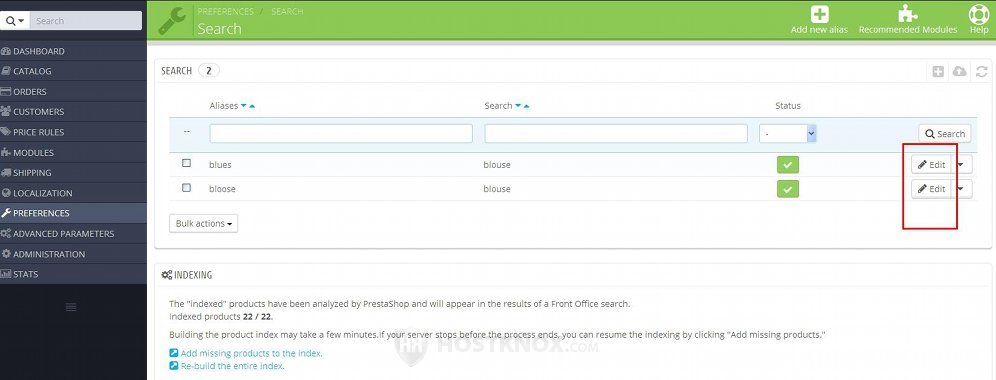
On the page that opens after you go to Preferences menu>Search sub-menu there's a table that lists aliases for searched words:
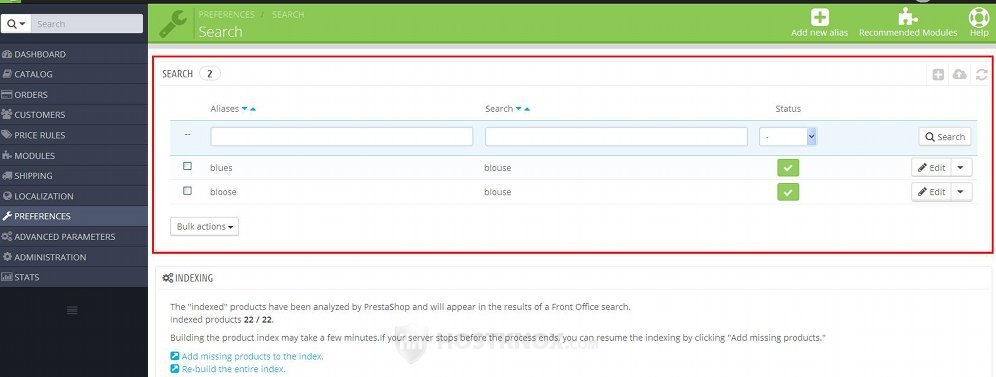
The main purpose of aliases is to associate misspelled words with the correct spelling of a word. If a customer uses the search function but misspells the word and the misspelled word is added as an alias for the correct word, then the search function will look for the correct word. Otherwise, if the misspelled word is not added as an alias, the search will return no results. For example, if the misspelled blues and bloose are added as aliases for blouse and a customer searches for blues or bloose, then the search function will actually look for matches for blouse.
To add an alias, click on the Add new alias button (in PrestaShop 1.5 it's labeled Add new):
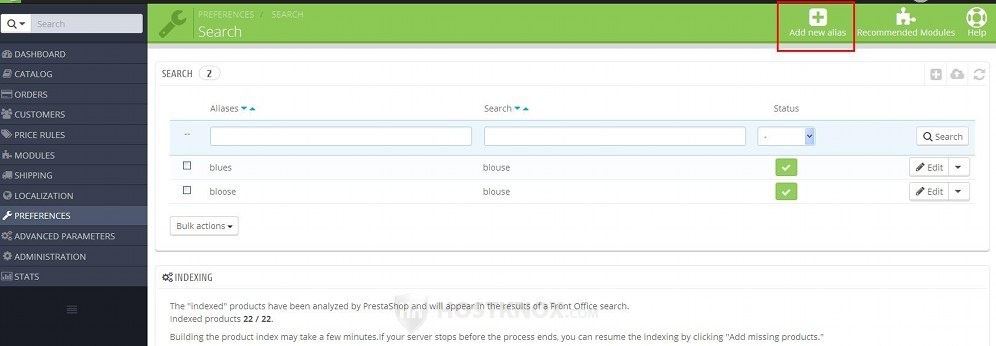
This will open the form for adding aliases:
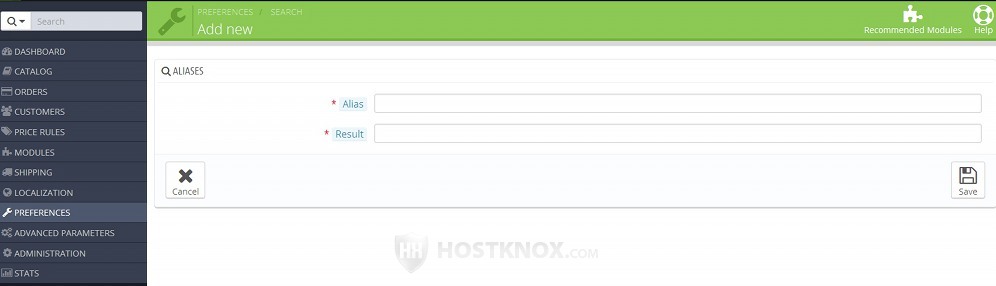
The available options are:
- Alias - in this field type the alias that you want to be associated with the particular word. If you want to add more than one alias for the same word, you don't have to add each one separately. Simply type one alias in the field, then put a comma, type the next one and so on.
- Result - in this field type the correct word. This is the word for which the search function will return results when a customer searches for an alias of the word.
After you're done with the options click on the Save button. You'll be brought back to the previous page and the alias(es) will be listed in the table. You can edit an alias, delete it or enable/disable it.
To edit an alias, click on its Edit button in the table (in PrestaShop 1.5 the button is a pencil icon):
The options that you can edit are the same as when adding an alias.
To enable or disable an alias, click on its symbol in the Status column in the table:
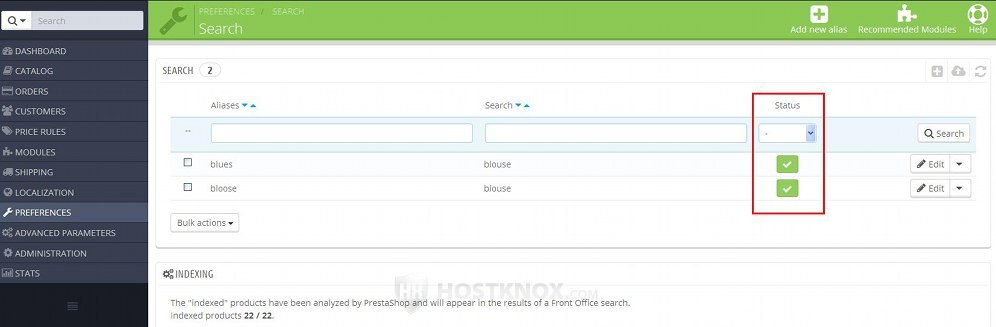
When you click on a symbol it will turn into the opposite one and the alias will be enabled/disabled. The green checkmark indicates that it's enabled and the red X symbol that it's disabled. A disabled alias is not active on the frontend, meaning that if a customer performs a search with the misspelled word, the search function will not look for the correct one.
You can also delete aliases. To do this, in the table that lists the aliases click on the arrow next to the Edit button for the alias and from the drop-down menu select Delete:
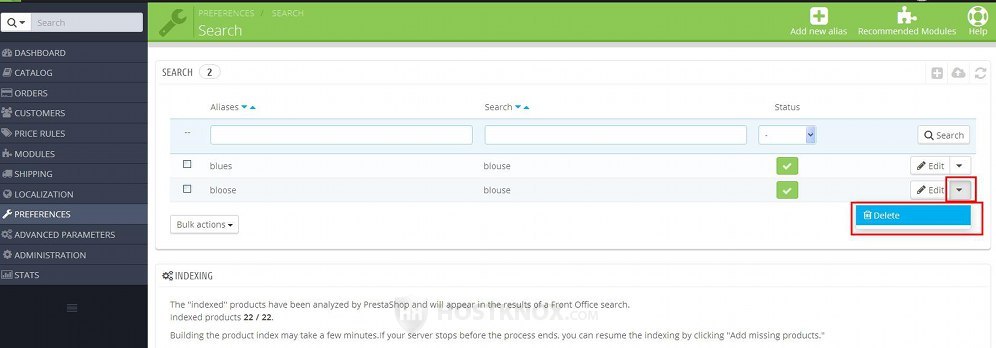
In PrestaShop 1.5 the button for deleting is a trash can icon that's next to the button for editing.
Note that the aliases don't necessarily have to be misspelled words. They can also be any correctly spelled words that you want to associate with another word. It's just more useful for administrators to add misspelled words as aliases, so that customers don't miss any products when they perform a search with a misspelled word.
So in order to take full advantage of the aliases it's good to know which words are misspelled more often and what's the exact spelling that the customers used. You can check this from the statistics available in the admin panel. Go to Stats menu>Stats sub-menu and on the page that opens click on the Shop search tab. This will show the words used by customers to perform searches on the frontend and how many times each word has been used.
Indexing
Another panel with options that's available on the page that opens when you go to Preferences menu>Search sub-menu is the one with settings related to the indexing of products:
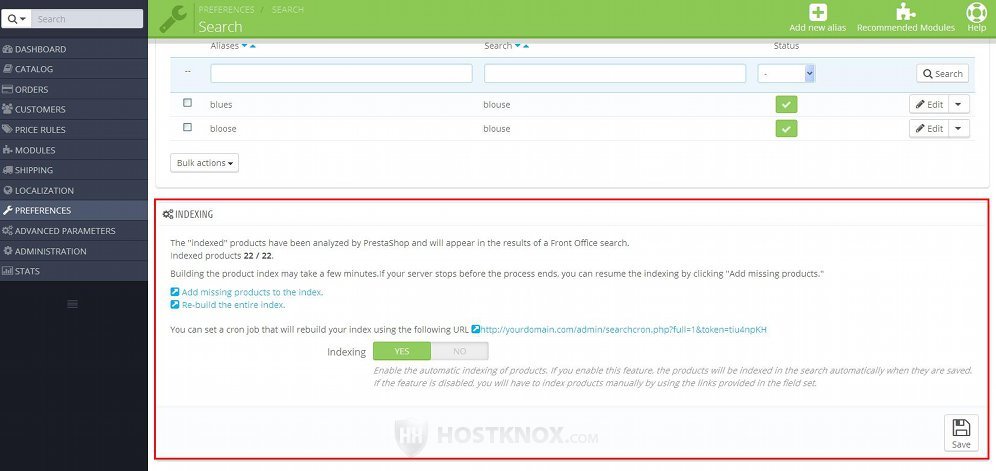
The panel contains one option and a couple of buttons:
- Indexing - this option is enabled by default. This means that each product that you add is automatically indexed and it will be displayed by the search function on result pages when a customer uses the search function on the frontend with a matching keyword.
- Add missing products to the index - if for some reason some of the products are not indexed you can add them by clicking on this link. Note that in the same panel you'll see the total number of products and the number of indexed products (e.g. 22/22).
- Re-build the entire index - if you want to re-index all products click on this link. If you have a big catalog this may take a while.
It's also possible to re-build the entire index automatically at certain intervals (e.g. once a day). You can do this with a cron job. In the panel you'll see a link (e.g. http://yourdomain.com/admin/searchcron.php?full=1&token=tiu4npKH). You have to set up a cron job that executes that link. The full cron job consists of the command curl followed by a space and the link. If we use our example link it will look like this: curl http://yourdomain.com/admin/searchcron.php?full=1&token=tiu4npKH. HostKnox clients can add cron jobs from the Cron Jobs section of the HostKnox control panel. For more information check the tutorial on how to manage cron jobs with the HostKnox control panel.
Options for Search Type, Minimum Word Length and Blacklisted Words
On the page with the search options there's a panel with options with which you can select whether you want to enable the Ajax search and the instant search, you can configure the minimum length of indexed words and you can blacklist words:
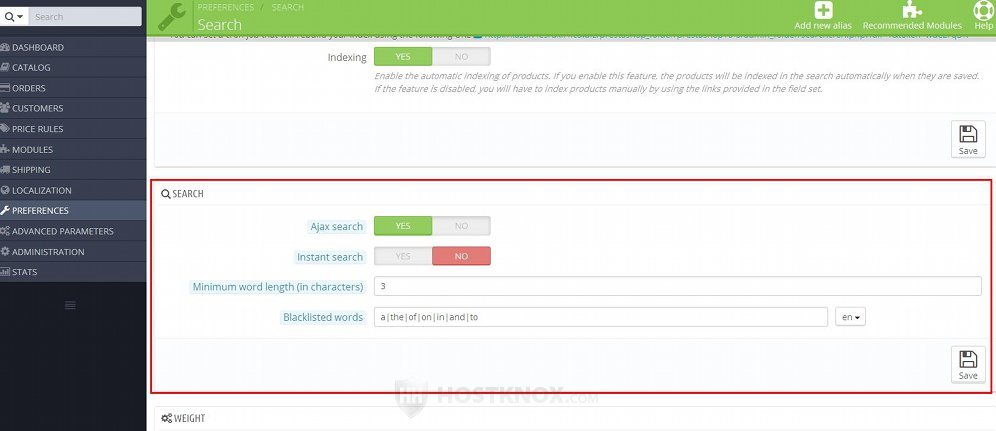
The exact options are:
- Ajax search - this option is enabled by default. In this case, while a customer types a word(s) in the search field on the frontend, automatically a drop-down menu will appear under the field listing the first ten products that match the word(s):
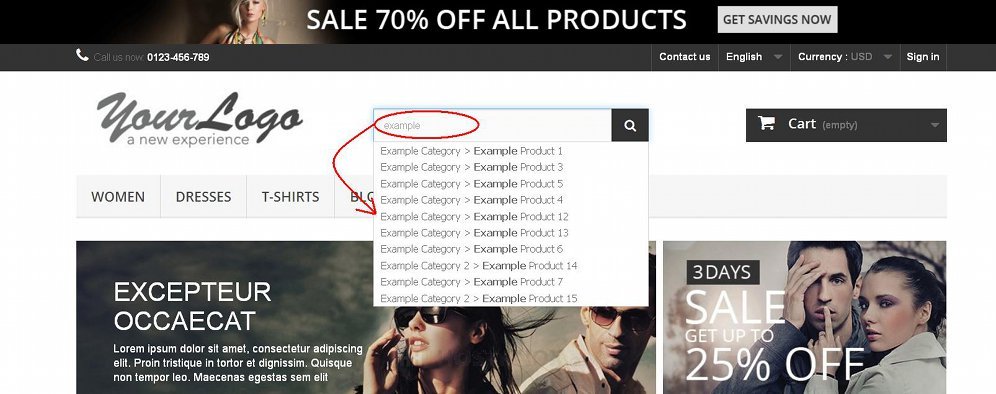
The customer can select one of these products from the drop-down menu, or they can just type whatever they want to type and press the Enter button on their keyboard to see displayed on the page all products matching the word(s). If you disable this option, the automatic drop-down menu under the search field will not be shown.
Now let's continue with the rest of the options:
- Instant search - this option is disabled by default. Note that if you enable it, it will work only when the Ajax search is enabled too. When the instant search is disabled, the customer has to initiate the search by either clicking on the button next to the search field, or by pressing the Enter button on their keyboard. This will then display on the page the matching products. When the instant search is enabled, the first ten matching products are automatically displayed on the page while the customer is still typing the word(s) in the search field.
- Minimum word length (in characters) - with this option you can specify the minimum length of a word with which a search can be performed. By default, it's set to three characters. So, for example, if a customer types a two-letter word and performs a search, no results will be returned.
- Blacklisted words - in this field you can list words for which you don't want the search function to give any results. It's mainly used for listing prepositions, conjunctions, etc., words that don't have any meaning. But you can list any word. For example, if the definite article the is listed in the field and a customer searches for the word the, there will be no results, despite the fact that it's probably contained in the descriptions of many products. If the customer searches for the phrase the example, then the search function will look for matches only for the word example.
When you type words in the field for the blacklisted words, separate them with the vertical line symbol |. If you add or remove words from the list, you may need to rebuild the index. We discussed how to do that in the previous section of this tutorial.
If you make any changes to the options don't forget to click on the Save button.
Search Weight
Another panel with options that's available when you go to Preferences menu>Search sub-menu is for the search weight of the different product elements:
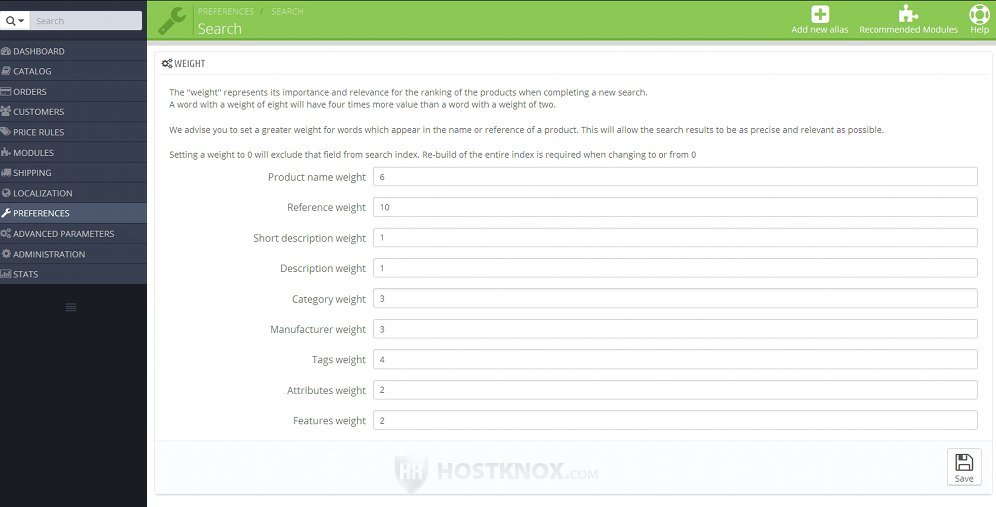
There's a field for the product name, short description, description, category, manufacturer, etc. Each element has its own weight specified with a number. The greater the number, the greater the weight. The weight determines what takes precedence when searches are performed.
For example, the name of a product has a weight of 6 and the short description has a weight of 1. This means that the name is considered more important. So, for example, let's say that a customer searches for the word example; one product has that word in its name and another one has it in its short description. This means that the product that contains the word in its name will be listed first on the page with the search results, and the one that contains the keyword in its short description will be listed second. If, on the other hand, you change the weight of the short description to 10, then the product that contains the keyword in its short description will be listed first and the one that has it in its name will be listed second.
If you make changes to any of these options don't forget to click on the Save button.
If you make changes to the weight of any element, you may need to re-build the index. You can do this with the button Re-build the entire index. The button is on the same page. For more details check the section on indexing in this tutorial.