PrestaShop 1.5/1.6 Employee Profiles and Permissions Tutorial
How to manage employee profiles and permissions in PrestaShop 1.5-1.6
In PrestaShop you can add employee accounts so that you can allow other people to access the admin panel and use and configure various options and features there. You can create such accounts for people that will help you in managing your store.
Each employee is assigned a profile (e.g. administrator, logistician, etc.), and each profile has a set of permissions that define what the people who are assigned to that profile can and can't do in the admin panel. PrestaShop comes preconfigured with a few profiles that you can edit. You can also add new profiles and manage their permissions. You can think of profiles as user roles; each employee has to be associated with one of the existing roles.
For information on how to create employee accounts check out the tutorial on how to manage employees in PrestaShop 1.5-1.6.
In this tutorial we'll concentrate on profiles and permissions. We'll show you:
In this tutorial we've used as a basic example PrestaShop 1.6. The screenshots are also from that PrestaShop version. Although the design of the admin panel is different than that of PrestaShop 1.5, the options for managing profiles and permissions are the same in both versions. If there are some differences we'll make notes about that in the tutorial.
Add and Manage Profiles
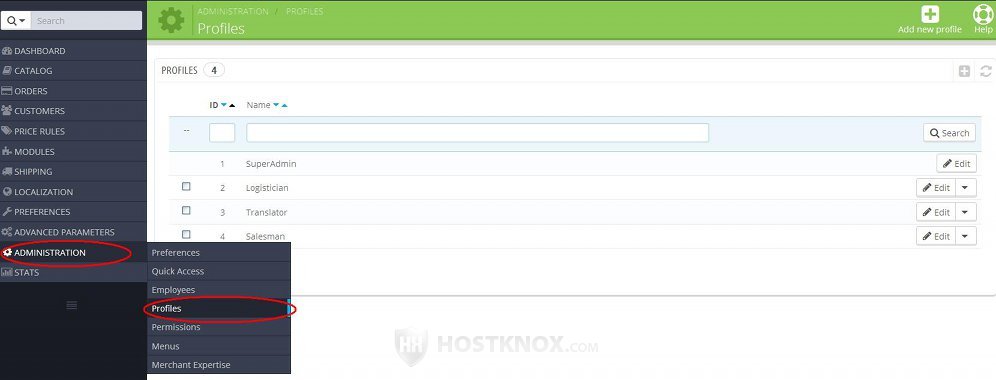
To add and manage profiles, go to Administration menu>Profiles sub-menu in the admin panel of your PrestaShop:
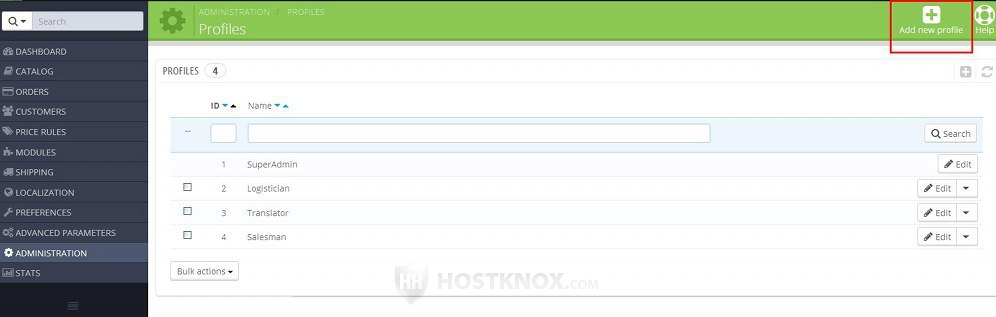
On the page that opens there's a table with the profiles that come prepackaged with PrestaShop. The exact profiles depend on the particular PrestaShop version.
To add a new profile click on the button Add new profile (in PrestaShop 1.5 it's labeled Add new):
This will open the form for adding profiles. It only contains a single option for the name of the profile:
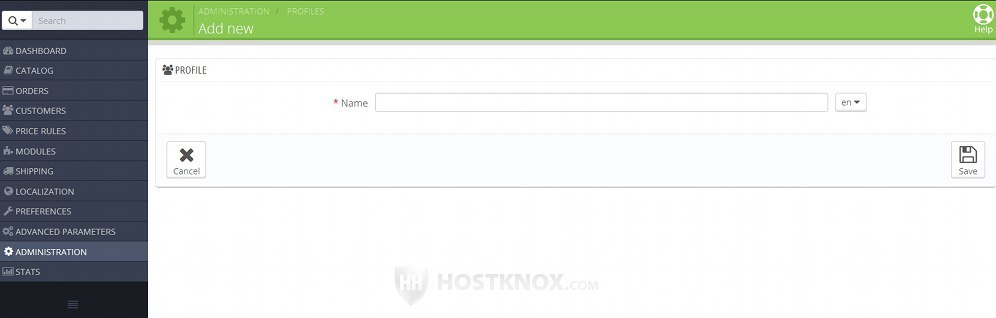
Type the name of the profile in the text field and click on the Save button. If you have installed other languages you can translate the name in each language. You can select the language from the option on the right side of the text field.
The actual permissions of each profile are configured from Administration menu>Permissions sub-menu. We'll discuss this in the next section of this tutorial.
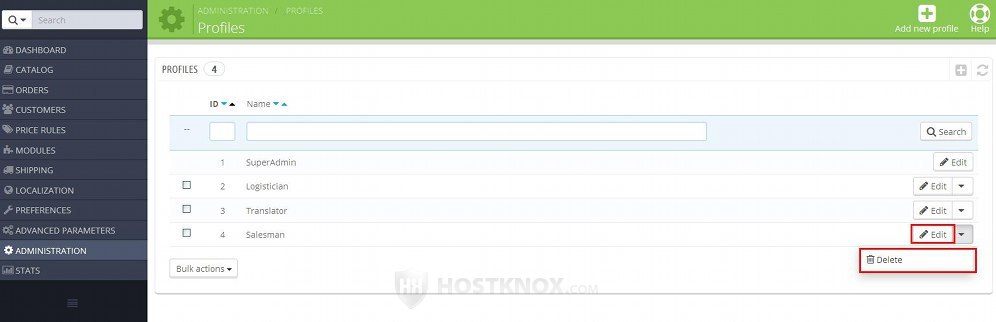
As we mentioned, when you go to Administration menu>Profiles sub-menu you'll see a table with the currently existing profiles. You can edit and delete them. To edit a profile click on its Edit button in the table; to delete it, click on the arrow next to the button for editing and from the drop-down menu select Delete:
In PrestaShop 1.5 the buttons for editing and deleting are icons that look respectively like a pencil and a trash can.
You can also delete more than one profile at the same time. To do this, in the first column of the table mark the checkboxes of the profiles that you want to delete and from the Bulk actions drop-down menu under the table select the action.
Profile Permissions
To configure and change the permissions of the profiles, go to Administration menu>Permissions sub-menu in the admin panel of your PrestaShop:
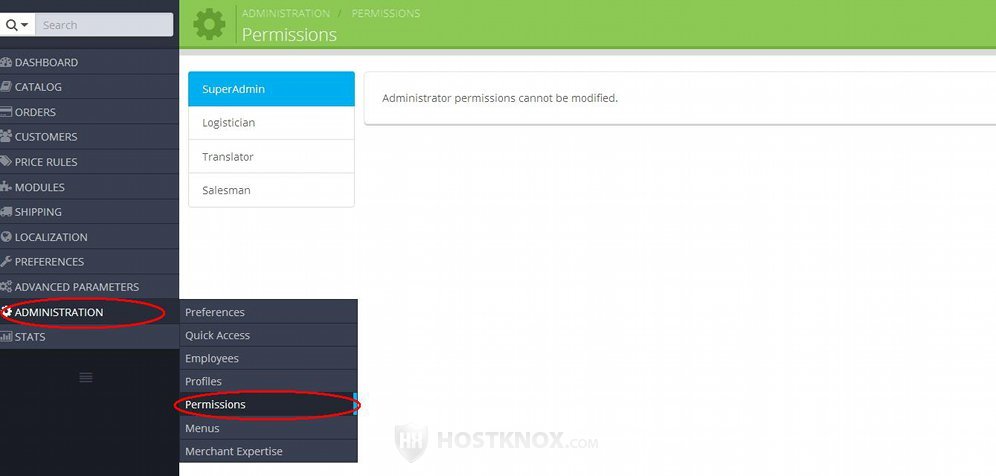
On the left side of the page that opens you'll see listed the existing profiles. To see and modify the permissions of a profile click on the tab for that profile. The permissions will be displayed on its right side:

They are grouped in two panels. One lists the menus and sub-menus of the admin panel and the other one the installed modules.
For each module there's a checkbox View and another one Configure. When the one for viewing is marked the employees will see the module in the module list, and when the one for configuring is marked they will be allowed to configure its options. For each menu there are a few checkboxes. Each checkbox represents a particular action: View, Add, Edit, Delete. If the checkbox is marked, employees belonging to that profile will be able to perform that action in the particular menu.
Let's say, for example, that you mark the checkboxes View and Edit for Products and you unmark the checkboxes Add and Delete:
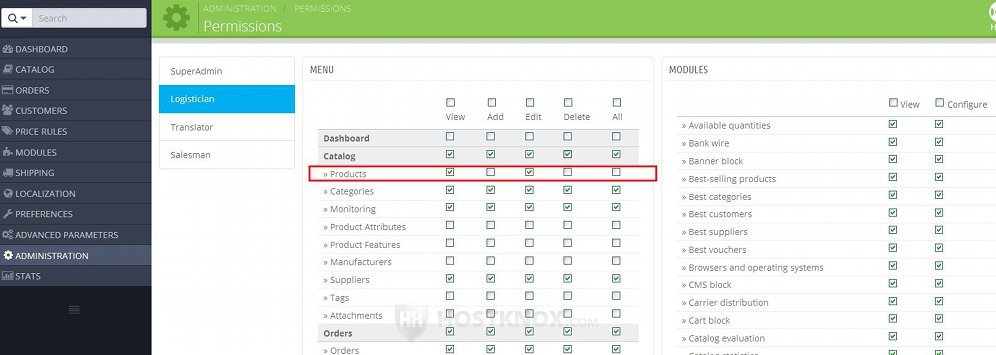
This would mean that employees belonging to the profile that you're editing will be able to access the section with the products in the admin panel, to view the product list and edit the existing products, but they will not be allowed to add new products and delete products.
In the row for each menu there's also a checkbox All. When you mark it, all the checkboxes in the row will be marked.
To make it easier for you to configure the permissions, at the top of each column there's a checkbox:
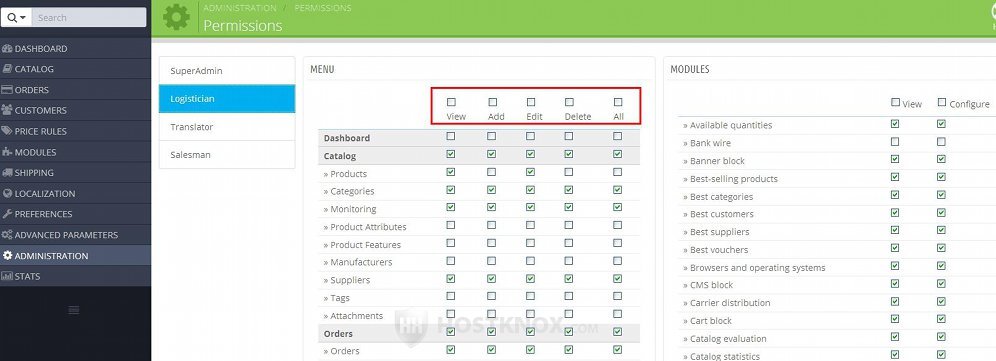
When you mark/unmark one of these top checkboxes, all the checkboxes in the column will be marked/unmarked. For example, if you mark the top checkbox View, the View checkbox of each menu will be marked.