PrestaShop 1.5/1.6 Product Features Tutorial
How to add and manage product features in PrestaShop 1.5-1.6
Features are used to characterize products. A feature can be anything that gives more information and details about the product. For example, it can be related to the dimensions of the product (e.g. height, width, etc.), the material from which the product is made (e.g. cotton, wool), some technical specification (e.g. battery life-time). They are optional and can be specified per product when adding/editing that product. Note that attributes are also used to characterize products. The difference is that attributes are used to create product combinations while features are not. If you add a feature to a product, the feature applies to all the combinations of that product. Features are used when customers compare products. The features are in fact what's compared. If a product includes features, these features and their values are shown on the product page on the frontend.
You can create as many features as you want, and when you add/edit a product you can choose which features to add to that product. To be more precise, you add values for some (or all) of the available features and these values are shown on the product page on the frontend. Features can be created and manage from Catalog menu>Product Features sub-menu. You can then add features to a product from the form for adding/editing products; there's a separate tab labeled Features. In this tutorial we'll go over all these things.
We'll show you:
- how to create and manage features and feature values
- how to add features to a product
- links to other tutorials and articles on managing products
For basic information on how to add and edit products check the tutorial on how to add and manage products in PrestaShop.
In this tutorial we've used as a basic example PrestaShop 1.6. The screenshots are also from that PrestaShop version. Although the design of the admin panel is different than that of PrestaShop 1.5 the options related to adding and managing product features are practically the same in both versions. If there are some differences we'll make notes about that in the tutorial.
Create and Manage Product Features and Feature Values
To create and manage product features and feature values, log into the admin panel and go to Catalog menu>Product Features sub-menu (in PrestaShop 1.5 the sub-menu is labeled just Features):
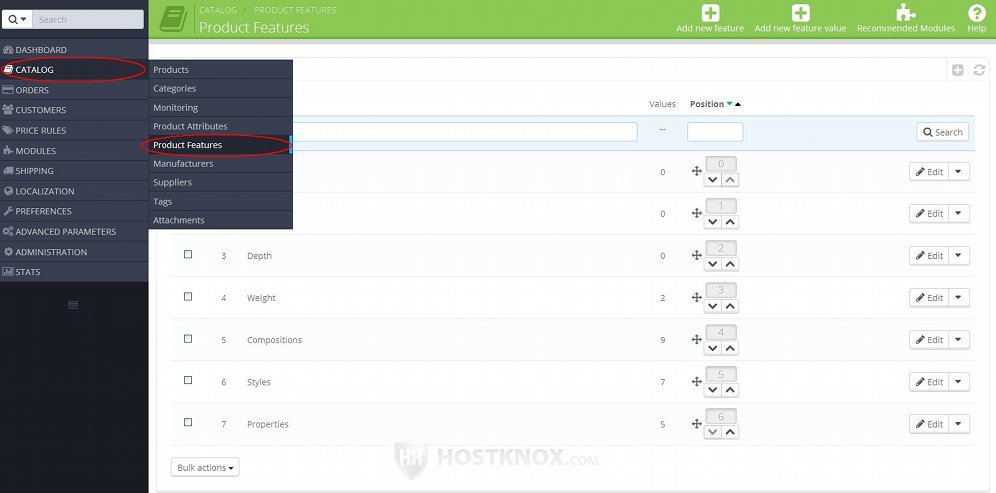
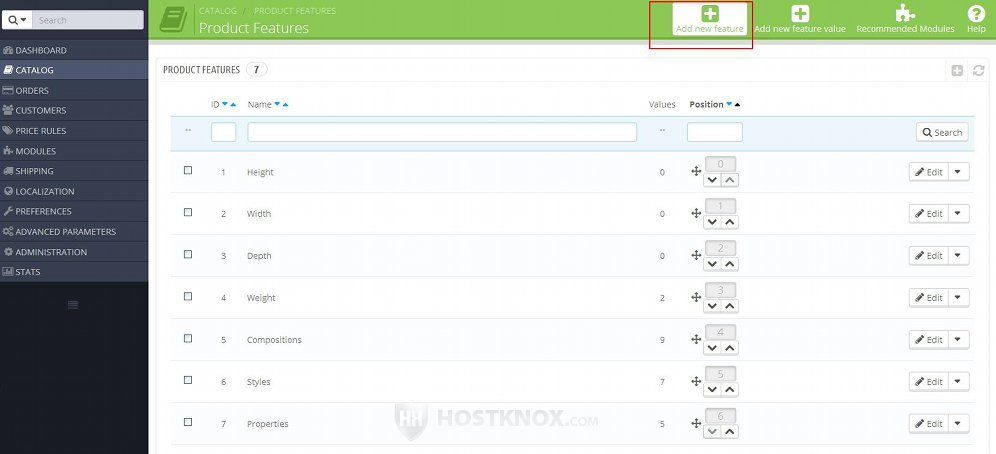
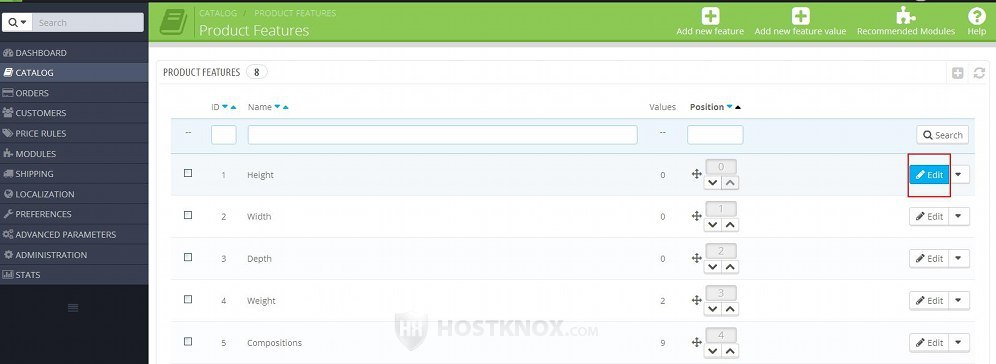
On the page that opens there's a table with the existing product features. These are the features for which you can choose values when you add/edit products. PrestaShop comes preconfigured with some example features.
To create a new product feature, click on the button Add new feature that's in the top right corner of the page:
This will open the form for adding product features (it's the same as the form for editing):
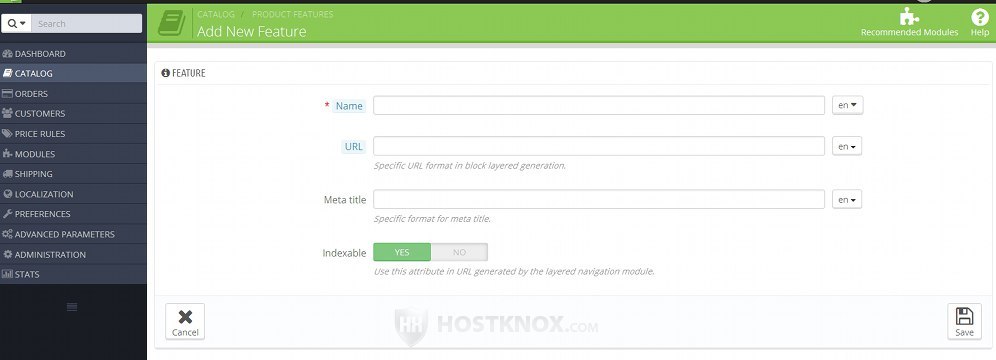
The only thing that you're required to do to be able to save the feature is to type a name for it in the Name field. If you have other languages, you can specify a different name in each language. To do this select the language from the option that's on the right side of the field.
The rest of the settings are optional. If you want to, in the field for URL you can specify the part in the URL address that corresponds to the feature. By default, features and their values are shown in the Layered Navigation block on the frontend so that customers can use them to filter the products based on the particular feature value. When they click in the block on a feature value, there's a corresponding URL address which includes the name of the feature and the value. If you don't type a specific name in the URL fields of the feature and the value, the names of the feature and the value are used by default. So, for example, if the name of the feature is Compositions and of the value Cotton and friendly URLs are enabled, then the corresponding URL will have the form yourdomain.com/product-name#compositions-cotton. If, for instance, you put fabric in the URL field of the Compositions feature, then the URL will become yourdomain.com/product-name#fabric-cotton. To change the URL part of the feature value you need to edit the particular value and configure it's URL setting.
Note that the options URL, Meta title and Indexable are available only if the Layered Navigation module is installed and enabled. In PrestaShop 1.6 it's enabled by default. It comes prepackaged with PrestaShop 1.5 but it's not installed.
After you're done with the settings click on the Save button. This will create the feature and will bring you back to the page that lists the existing features.
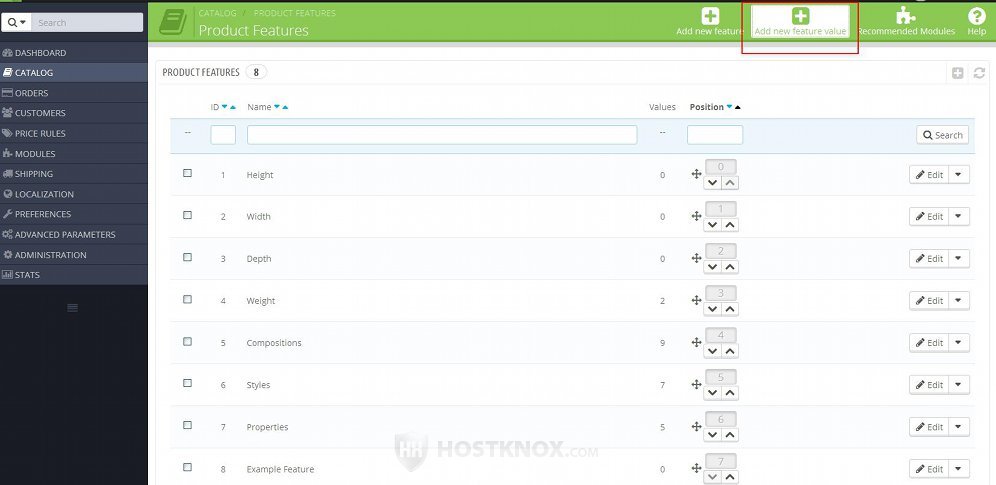
You can optionally add values to the feature. To do this click on the button Add new feature value that's above the table with the features:
This will open the form for adding feature values (the same as the one for editing values):

From the Feature drop-down menu select the feature (e.g. Fabric) to which you want the value to belong and type the value (e.g. Cotton) in the Value field. The rest of the options are not required (they are not available in PrestaShop 1.5). The same things apply to the URL option as when adding a feature. In this case, however, it's the part of the URL that corresponds to the value (e.g. cotton in yourdomain.com/product-name#fabric-cotton). For some more information check the description of the feature URL option a few paragraphs up in this tutorial. The options URL and Meta title are available if the Layered Navigation module is installed and enabled. After you're done with the options click on the button Save then add another value if you want to add more values, or on the Save button to add the value and go back.
You don't have to add any values to a feature. When you add features to a product you can choose from the values that you have added (if any) for each feature, or you can type a custom value on the spot. Whether it's better to add values depends on the particular feature. With some it's more convenient to specify custom values each time, while with others it might be better to have preconfigured values. For example, if the feature is Height, it doesn't really make much sense to specify preconfigured values. You can type the exact height of each product when you configure its features. If the feature is, for example, Fabric, it may be convenient to add values such as Cotton, Wool, etc. from which you can choose when configuring the features of products. Even if there are preconfigured values you can still type a custom one.
You can edit and delete any of the features that you have added. As we mentioned, when you go to Catalog menu>Product Features sub-menu there's a table that lists the existing features. To edit the options of a feature, click on its Edit button in the table:
To delete a feature click on the arrow next to its edit button and from the drop-down menu select Delete. This will delete the feature together with its values (if there are any). In the same drop-down menu there's also a View button; it will display a list of the values associated with the feature.

You can also view the the values of a feature by clicking on its name in the table. This shows a table with the values. You can edit and delete them using the respective buttons.
In PrestaShop 1.5 in the table with the existing features the buttons for editing and deleting are not labeled. They are in the last column of the table and look respectively like a pencil and a trash can. To view the values of a feature there you have to click on the plus symbol in the last column of the table. This will expand a panel that lists the values associated with the particular feature.
Add Features to Products
You can add features to a product from the form for adding/editing products. After you go to Catalog menu>Products sub-menu and you open the form for the particular product, click on the Features tab on the left:

This will display a table with all the features created from Catalog menu>Product Features sub-menu.
Note that if you're adding a new product the options displayed by the Features tab of the product form can only be configured after you save the product.
The first column of the table shows the name of each feature. If you have added any values to a feature from Catalog menu>Product Features sub-menu, then you can choose from one of these predefined values using the drop-down menus in the second column:
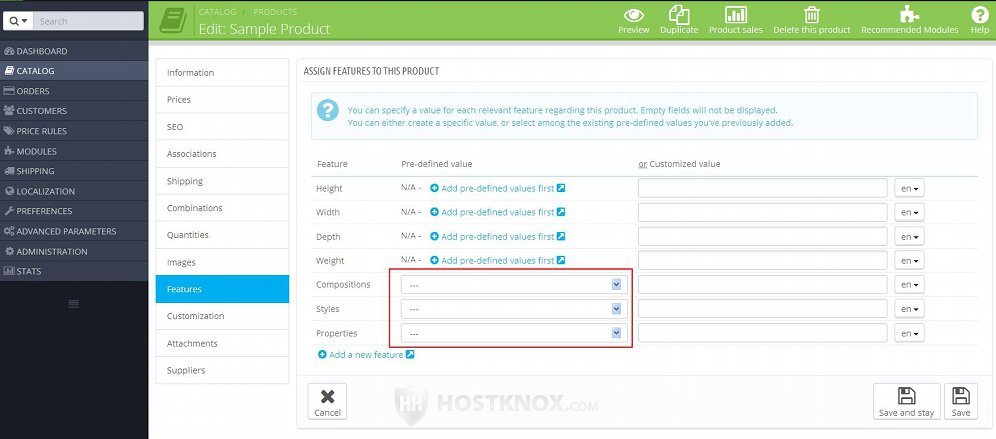
On our example screenshot three of the features have predefined values and so for them there are drop-down menus from which these values can be selected.
The third column in the table is for custom values. For each feature there's a blank text field in which you can type a value:
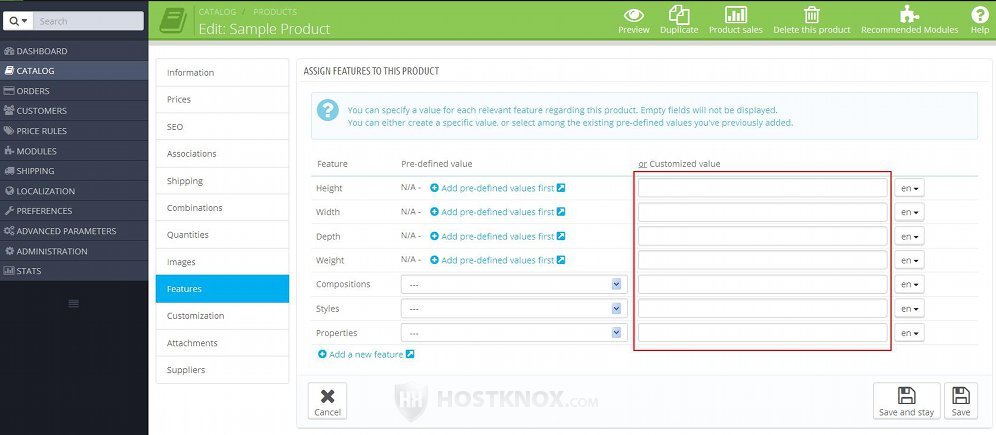
If you have installed more than one language, you can specify a translated value in each language. To do this, select the language from the option on the right side of the text field. Even if a feature has predefined values you can still type a custom value.
Only those features for which you select a predefined value or you type a custom one will be shown on the product page on the frontend. The others will not be visible.
After you're done with the features click on the Save and stay or on the Save button.
Links to Tutorials and Articles on Managing Products
You may find useful the other detailed tutorials that we have related to managing products:
- how to add and edit products in PrestaShop
- how to add and manage product combinations in PrestaShop
- how to add and manage product customizations in PrestaShop
- how to add and manage product attachments in PrestaShop
- how to create product packs in PrestaShop
- how to add virtual products in PrestaShop
- how to add and manage product attributes in PrestaShop
- how to add and manage product manufacturers in PrestaShop
- how to add and manage product suppliers in PrestaShop
- how to add and manage product tags in PrestaShop
- how to configure and manage the options for the general product preferences in PrestaShop
In our knowledgebase there are some separate articles on various things related to managing products:
- how to change the number of products shown on category pages in PrestaShop
- how to disable the product comparison function in PrestaShop
- how to hide stock quantities from being displayed on the frontend in PrestaShop
- how to increase the allowed length of product names in PrestaShop
- how to remove the "Add to cart" button from category pages for products with attributes in PrestaShop
- how to remove the "New" text indicating newly added products in PrestaShop
- how to remove the "Sort by" menu from product category pages in PrestaShop
- how to use phpMyAdmin to move products from one category to another in PrestaShop