PrestaShop 1.5/1.6 Installation Tutorial
How to install PrestaShop 1.5/1.6
In this tutorial we'll show you how to install PrestaShop 1.5 and PrestaShop 1.6 on your hosting account.
Free Script Installation from HostKnox - get a PrestaShop hosting plan and have our PrestaShop specialists take care of installing PrestaShop for you at no additional cost.
All HostKnox clients can request a free installation by submitting a ticket.
PrestaShop 1.5 and 1.6 are pretty much installed in the same way as older PrestaShop versions.
You need to do the following basic things:
- create a database for the application
- download an installation package for the latest PrestaShop 1.5 or 1.6
- upload the installation package on your hosting account
- install the application
- delete the install folder from the root PrestaShop directory on your hosting account
- make sure that the admin folder in the root PrestaShop directory on your hosting account is renamed
In this tutorial we've used as a basic example PrestaShop 1.6. The screenshots are also from that PrestaShop version. If there are some difference between versions 1.5 and 1.6 we'll make notes about that in the tutorial.
Now we'll go over these steps in more details.
Create a database
Although it's possible to install different applications or several instances of the same application in one database it's recommended that you keep each application in a separate database. You can add new databases and manage your existing ones from the Databases section of the HostKnox control panel. To add a new database click on the Add Database button that's in the black area on the right. On the following page type the name of the database and create a database user by specifying a username and password in the respective fields. Then click on the Add Database button that's under the options.
For some more details check out the tutorial on how to manage databases with the HostKnox control panel, and more specifically the section on how to add databases.
Download PrestaShop
You need to download on your local computer the latest PrestaShop 1.5 or PrestaShop 1.6, depending on which one you decide to use. You can find it in the download section of the official PrestaShop site.
Upload the PrestaShop installation package on your account
After you have the PrestaShop installation package on your local computer you have to upload it on your hosting account. The installation package that you downloaded is a ZIP archive. There are a few ways you can upload the application on your hosting account.
One way to do this is to extract the archive that's on your local computer and then upload the unpacked content on your hosting account with an FTP client (e.g. FileZilla). If you unzip the archive on your local computer, the unpacked folder will be labeled with the number of the version (e.g. prestashop_1.6.0.5). Inside that folder there will be a single HTML file and a subfolder labeled prestashop. In that prestashop folder are all the files and folders of the application that you have to upload on your hosting account. You have to upload them in the public_html folder on your hosting account (or in a subfolder of public_html). That's the root web-accessible folder. If you upload the whole unpacked prestashop folder directly in the public_html directory, the application will be accessible at yourdomain.com/prestashop. If you upload the files and folders that are inside the prestashop folder without the parent prestashop folder itself, the application will be accessible at yourdomain.com.
Note that uploading many files and folders (even small in size) takes a lot of time. A much quicker alternative is to upload the ZIP archive from your local computer to your hosting account and then unpack it there. You can upload the archive either with an FTP client or from the Files section of the HostKnox control panel. Then you can unpack it on the hosting account with the file manager of the HostKnox control panel.
If you unpack it directly on the account, a folder labeled prestashop will be created with all the files and folders of the application. So, if you upload the archive directly in the public_html folder on the hosting account and you unzip it, the application will be accessible at yourdomain.com/prestashop. If you want it to be accessible at yourdomain.com, you have to move the files and folders from public_html/prestashop to the root public_html folder. You can move, copy/paste, rename and unpack files and folders from the Files section of the HostKnox control panel. For more details on how to do these things check out the tutorial on how to manage files and folders with the Files Manager of the HostKnox control panel. Of course, these actions can also be performed via SSH, but this is for more advanced users.
Install PrestaShop
After you have a database and you upload the application on your hosting account you can start the actual installation process. To do this you have to open with your web-browser the URL address corresponding to the location of the application on your hosting account. So if you uploaded it directly in the public_html folder on your account, you have to open the URL yourdomain.com.
On the first page that opens you can choose the language for the installation. Select the language and click on Next:
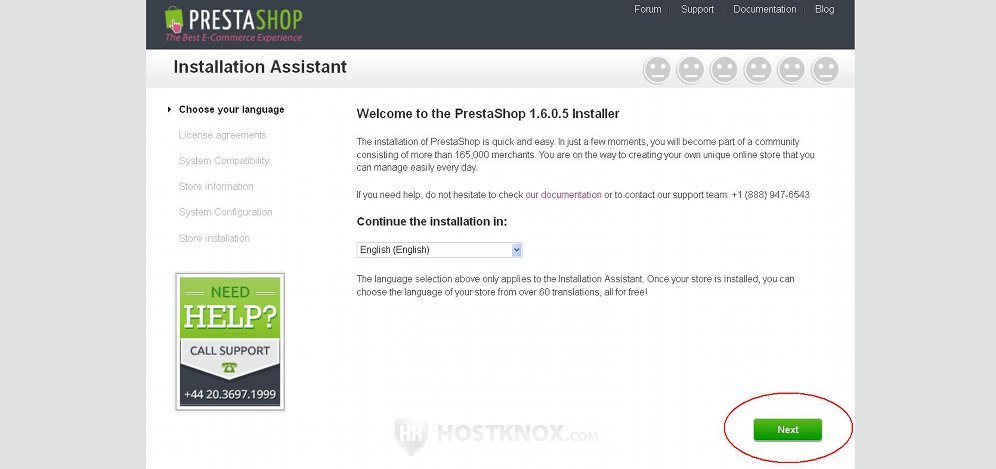
Note that this will be the language used only during the installation. Once the installation is complete you can install different language packs so that you can have the frontend and backend translated in those languages.
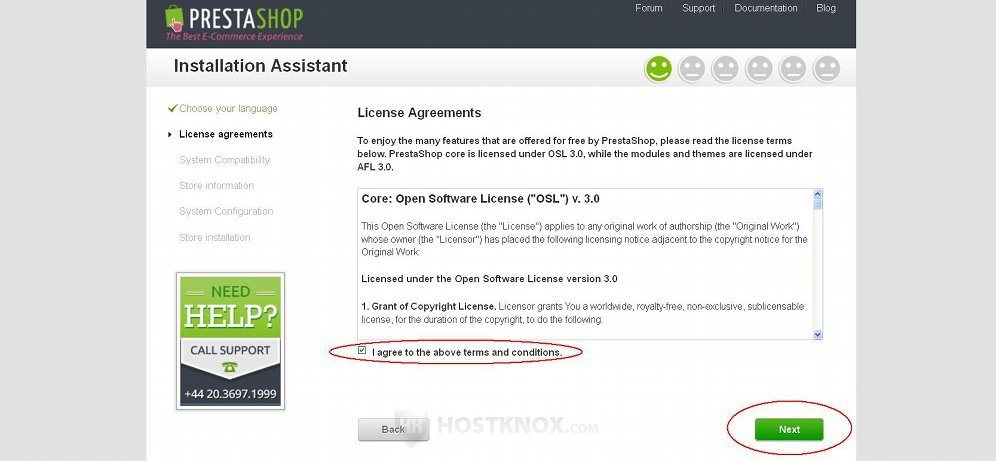
On the next page you have to accept the license agreement. Just mark the checkbox and click on Next:
On the following page you have to specify the shop name, country and admin account information:
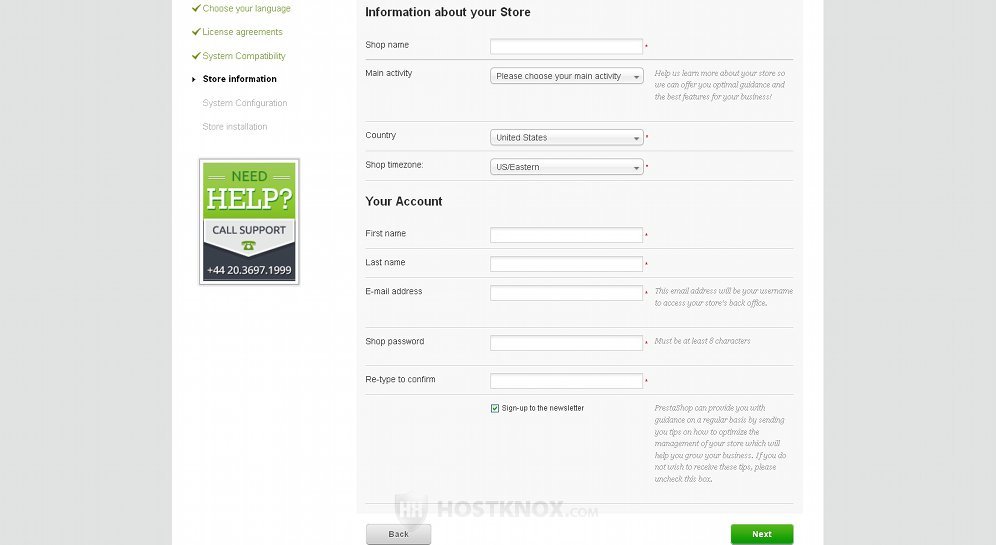
Type a name for your shop in the field for Shop name and select the country of your shop from the Country drop-down menu. The option for the main activity is not required and you don't have to select anything. Then in the section Your Account type the first and last name of the administrator, specify an email address and a password. These are the email address and password for the administrator user that's about to be created. You can use them to access the admin panel after the installation is complete. Click on the Next button to continue.
The following page is for the database information:
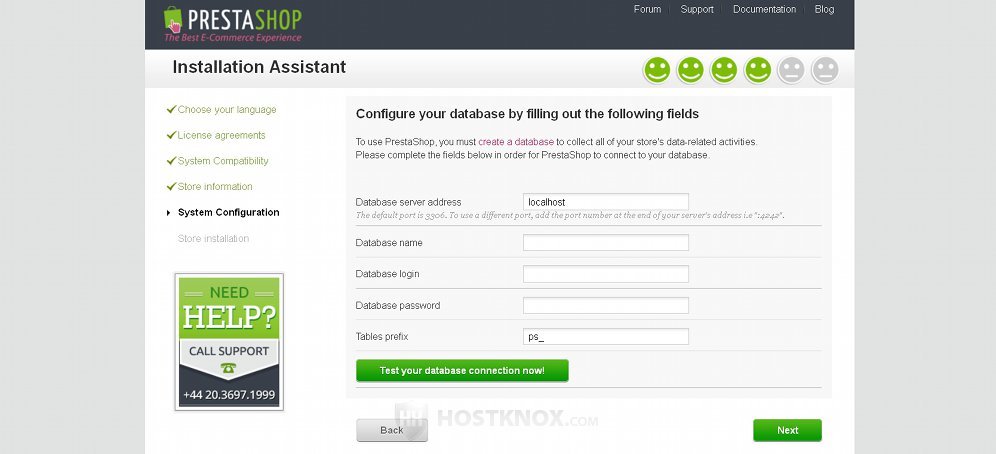
It contains the following options:
- Database server address - for most hosting providers, including HostKnox, the database server address is localhost. So make sure that this option is set to localhost.
- Database name - in this field type the full name of the database that you created for the PrestaShop application.
- Database login - in this field you have to type the username of the database user that you created for the particular database. Alternatively, you can use the username of the master database user. When you add databases from the Databases section of the HostKnox control panel you can add a user that has access only to that database. You can also add users to a database after the database is created. When you install an application it's recommended that you provide the login credentials of a user that has access only to the particular database and not the login credentials of the master database user. For more information on managing databases check the tutorial on how to manage databases with the HostKnox control panel.
- Database password - type the password of the database user whose username you put in the previous option.
- Table prefix - by default, this is set to ps_. You don't have to change it unless in the database in which you're going to install PrestaShop there's another PrestaShop instance with the same table prefix. For security reasons you may want to change the prefix to something different than the default ps_ prefix. As we already mentioned, it's also recommended that you keep each application on its own in a separate database.
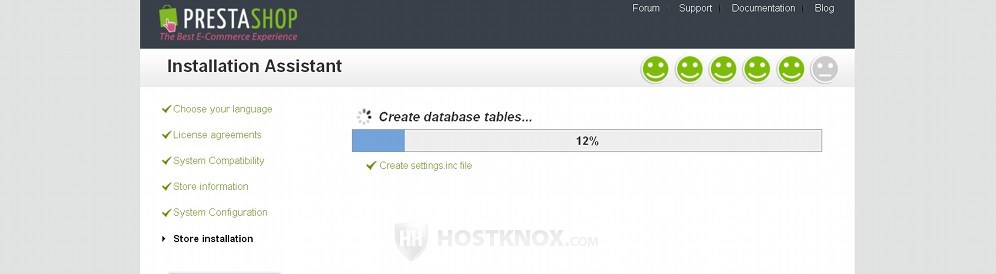
After you're done with the options click on the Next button. This will start the installation. A bar showing you the progress will appear:
After it's done a page with buttons that link to your site's frontend and backend will appear:
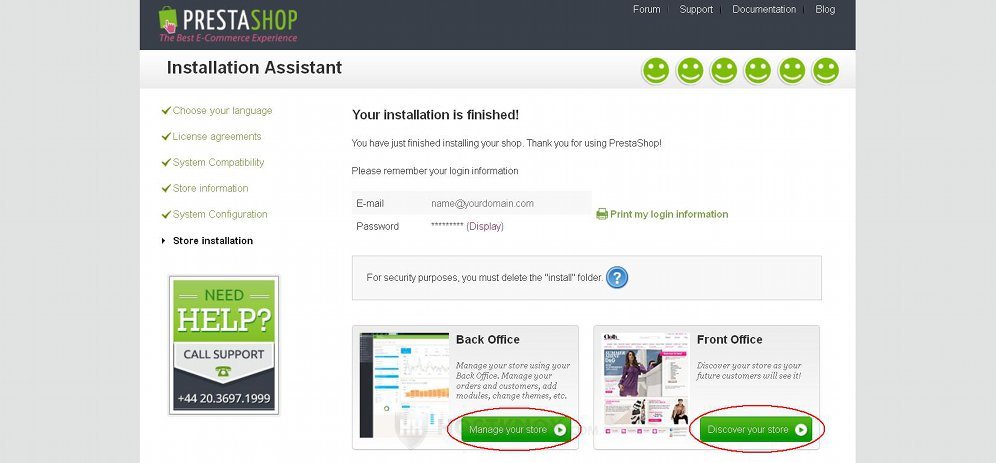
To be able to access your backend/admin panel you have to do a couple of other things. You need to go to the root PrestaShop directory on your hosting account and there you have to delete the install folder; and you have to check the name of the renamed admin folder, so that you know what URL to use to access the admin panel.
Delete install folder
After the installation is complete you have to delete the install folder. Otherwise, you won't be able to access the back office of your shop. The install folder is located in the root PrestaShop directory on your hosting account. So if you installed PrestaShop directly in the public_html directory on your account (meaning the frontend of the shop is accessible at yourdomain.com), then the path to the install folder will be public_html/install. You can delete it with an FTP client or from the Files section of the HostKnox control panel.
PrestaShop admin folder
With older PrestaShop versions you have to rename the admin folder that's in the root PrestaShop directory on your hosting account before you can access the back office. With PrestaShop 1.5 and newer versions this folder is renamed automatically the first time you access the back office. If your PrestaShop is installed directly in the public_html directory on your hosting account, the URL of the admin panel will be yourdomain.com/admin.
When you open the URL for the first time the folder will be automatically renamed to admin plus some number (e.g. admin3946). You can check the new name in the URL bar of the web browser. You can also check the new name of the folder by accessing the root PrestaShop directory on your hosting account. You can do this from the Files section of the HostKnox control panel, by using an FTP client, or via SSH. So, for example, if you installed PrestaShop directly in the public_html directory on your account (meaning the frontend is accessible at yourdomain.com), then the path to the folder on the account will be public_html/admin. So if the new name of the folder is admin3946, then you can access the admin panel using the URL yourdomain.com/admin3946. You can rename the admin folder to something different if you want to.