PrestaShop Security Tutorial
How to improve the PrestaShop security
In this tutorial we'll make some suggestions on how to secure PrestaShop. We'll start with some more general tips that can be applied to other web applications as well, and then we'll go over security settings that are integrated into PrestaShop and can be configured from the admin panel.
Block Access to Admin Directory
By default, when you install PrestaShop you're required to rename the admin directory with a name of your choice. This is in itself a security measure and you should choose a name that is not easy to guess. Once you have the admin directory renamed you can block access to it for all IP addresses except yours. In this way only you will have access to the admin directory and this will improve the security of your store's backend. Of course, you can also give access to other IP addresses in case you want to let other people access the backend.
You can restrict access to the admin directory by putting an .htaccess file with a rule in it in the admin directory. To learn how to do it check out the article on how to block access to directories on your account.
Admin Password
Choose a complex administrator password. Use a random combination of upper and lower case letters, numbers and symbols; it should be at least 8-10 characters long.
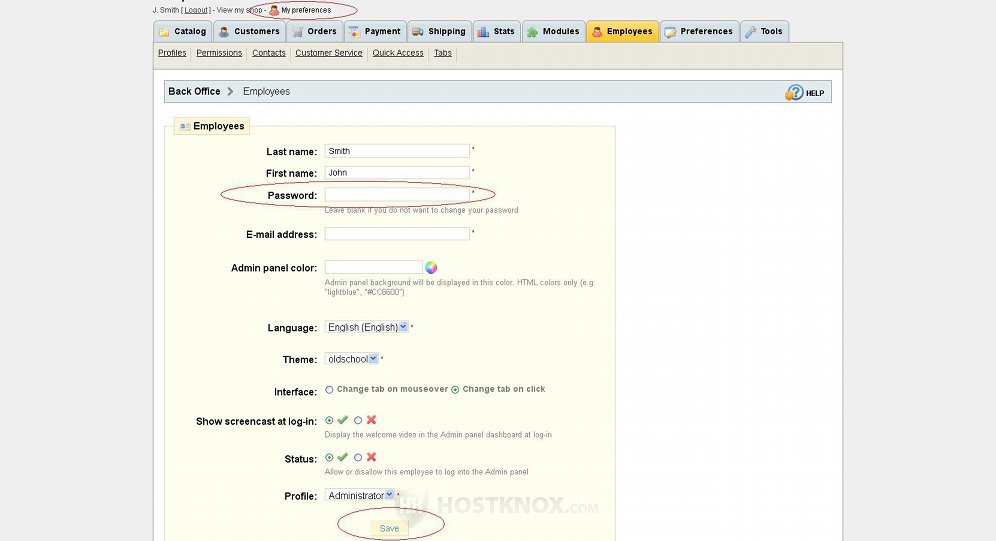
You can change your password from the backend of your store. After you log in click on the My preferences button that's next to your name, just above the tabs. On the page that opens type your new password in the field for Password, and click on the Save button:
If you have some doubts that someone is trying to use your administrator account, you should change the password. The same should be done after you recover your site from a security issue.
Backup
You should back up regularly your PrestaShop files and the database used by the application. It's very important to do this, so you can restore you site if something goes wrong. It's also a good idea to keep backups from different dates (e.g. from two weeks ago, from a week ago, etc.). You can back up the files by downloading them with an FTP client, and you can back up the database using phpMyAdmin. For more information read the tutorial on how to back up your site.
You can also back up the database from the backend of your PrestaShop store (Tools tab>DB Backup sub-tab). For more information check out the article on backing up the database from the backend of your PrestaShop.
Update
Another general advice is to update PrestaShop when there's a new stable version. It might be a bit difficult to update a shop to which you have made a lot of changes and modifications, especially if the shop is a big one, but updates have various improvements, including in terms of security.
Database
You should install PrestaShop in a separate database. If you have other web-based applications, it's recommended to install each in a different database. You should also use a different username and password for each database. From the Databases section of the HostKnox control panel you can create as many databases as you want, and you can assign a user to each.
When you install PrestaShop you can also change the default ps_ database table prefix to something else (e.g. tpwmk_).
File Permissions
Make sure that the files and directories on your PrestaShop hosting account have the correct permissions. The appropriate permissions for directories are 755 (rwxr-xr-x) and for files 644 (rw-rr--).
What's most important in this case when it comes to security is the last digit in the permissions. It represents the permissions for all the visitors. You should never have world-writable permissions such as 777 or 666. For some more in-depth information on permissions and how to change them read the tutorial on file permissions.
The Files section of the HostKnox control panel also offers a tool that you can use to fix incorrect permissions. Just click on the button Fix Incorrect Permissions that's on the right side of the screen, and it will fix the world-writable bit, if any.
Add-ons
Generally, third party software provides additional security risks. Sometimes sites are hacked through insecure third party software. So you should install only add-ons and modules that you need and are useful for your store. If there are any modules that you don't use and need any more, you should uninstall them.
Disable Dangerous PHP Functions
There are some PHP functions that you don't need for your store and that can pose security risks. They can be disabled by putting a rule in the php.ini file for your account. This is what the rule looks like (with some sample functions):
disable_functions = proc_open,phpinfo,show_source,system,shell_exec,passthru,exec,popen
Block Access to Template Files
You can protect the template files of your PrestaShop by forbidding access to them. You can do this by putting the following rule in an .htaccess:
<Files *.tpl>
order deny,allow
deny from all
</Files>
You can use the .htaccess file that's in the root PrestaShop directory on your hosting account. For example, if your PrestaShop is installed in a folder called prestashop in the root public_html directory of your account, the path to the file would be public_html/prestashop/.htaccess. You can use the Files section of the HostKnox control panel to edit the file. Just insert the rule on a new line in the file, at the end of it, for example.
If you have generated an .htaccess file from the backend of your store (Tools tab>Generators sub-tab), there should be such a file in the root PrestaShop directory on your hosting account. Otherwise, you can either generate an .htaccess file from the backend of your store, or you can create the file from the Files section of the HostKnox control panel (there's a Create File button on the right).
Keep in mind that if you regenerate the .htaccess file from the backend of your PrestaShop some time after you have added the above mentioned rule, it will be overwritten and you'll have to add it again.
SSL Encryption
SSL is a protocol that encrypts the data transfer between the server and the client. In PrestaShop it helps to protect sensitive data such as the login details and the order processing. In order to use SSL with your PrestaShop you need a private SSL certificate. HostKnox clients can purchase a private SSL certificate from the HostKnox client area.
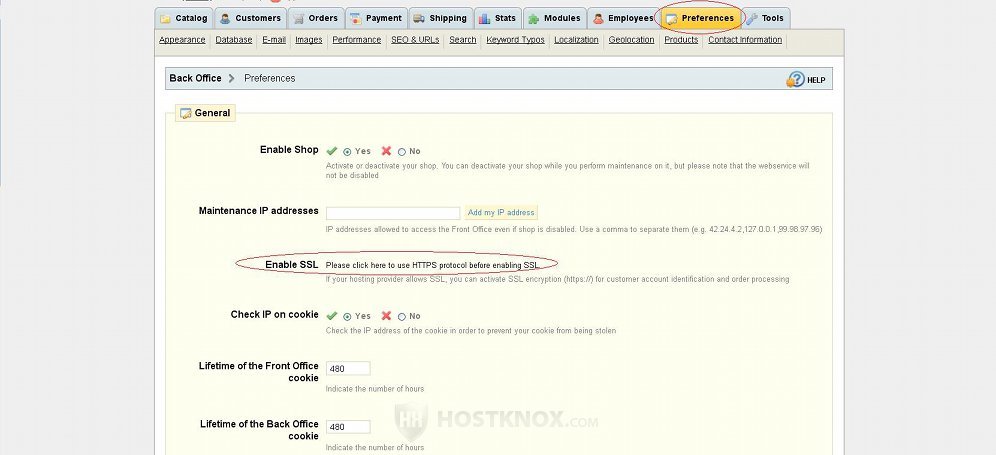
Once you have an SSL certificate you have to enable the use of SSL. To do this log in to the backend of your PrestaShop, click on the Preferences tab, find the Enable SSL option and click on the link provided there:
Check IP on Cookie
A cookie is used by the site (server) to store information on the client side (the local computer of the user). This information is used for various things: to identify the user's session, shopping cart content, etc.
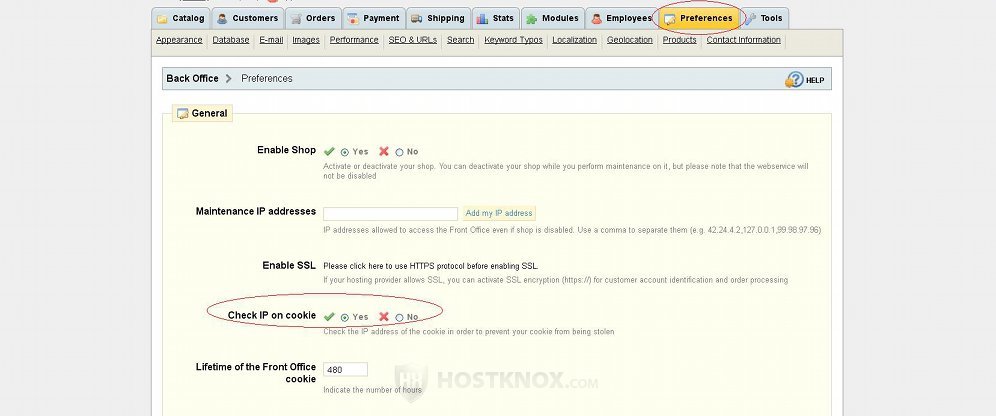
The Check IP on Cookie feature is integrated into PrestaShop. You can enable and disable this setting from the backend of your store. It's enabled by default. In this way the IP address of the user is checked with that in the cookie. This is done to make sure that the cookie is not stolen/hijacked. Make sure that the setting is enabled. Log in to the backend of your store, click on the Preferences tab and check that the option Check IP on cookie is set to Yes:
Enable Security Tokens
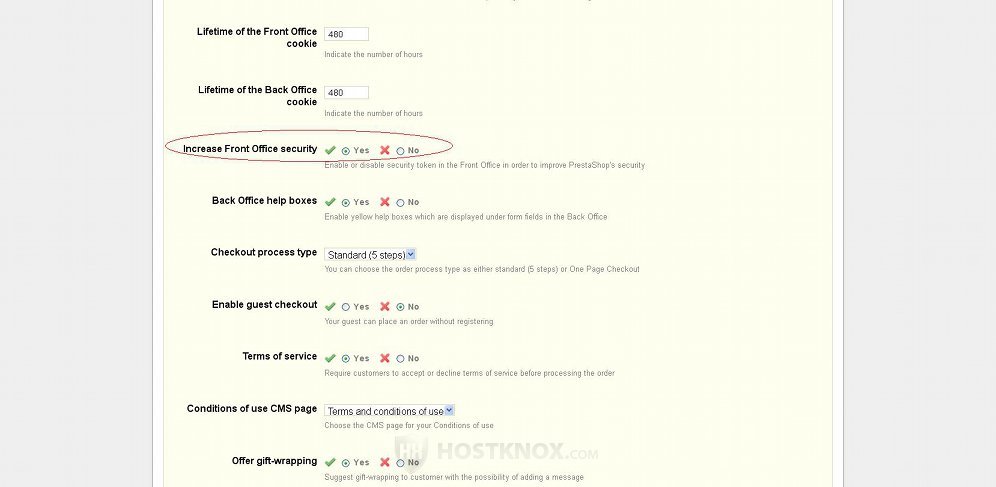
Another feature of PrestaShop that improves its security is the use of security tokens. This option is also enabled by default, and it's recommended to keep it enabled. To check that it's enabled, go to the Preferences tab of your store's admin panel and make sure that the option Increase Front Office security is set to Yes:
Ciphering Algorithm
In PrestaShop ciphering is used to secure account details. From the backend of your PrestaShop you can choose between two different ciphering algorithms. One is Rijndael with mcrypt and the other is the custom BlowFish class. To change the ciphering algorithm, click on the admin panel's Preferences tab, then on the Performance sub-tab, and scroll down to the section Ciphering. By default, the algorithm is set to Rijndael with mcrypt:
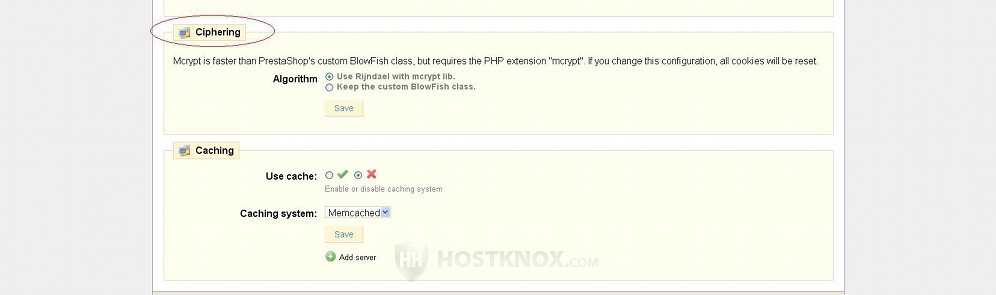
There are different opinions on which one is more secure. However, it's doubtful that switching between the two algorithms will have any impact both on the security and performance of your store, but it's good to have some choice and to know about this feature. Keep in mind that switching the algorithm will clear all cookies, meaning that all logged in users will be logged out.
Geolocation by IP Address
This is an option that might be more useful for other purposes than to be used as a security measure per se. For example, if you want customers only from certain countries to be able to visit your store and buy from it. Nevertheless, if you want to restrict the access to your store for users from certain countries, you can do it by using this PrestaShop feature. Visitors are identified as accessing the store from a particular country based on the IP address of their computer.
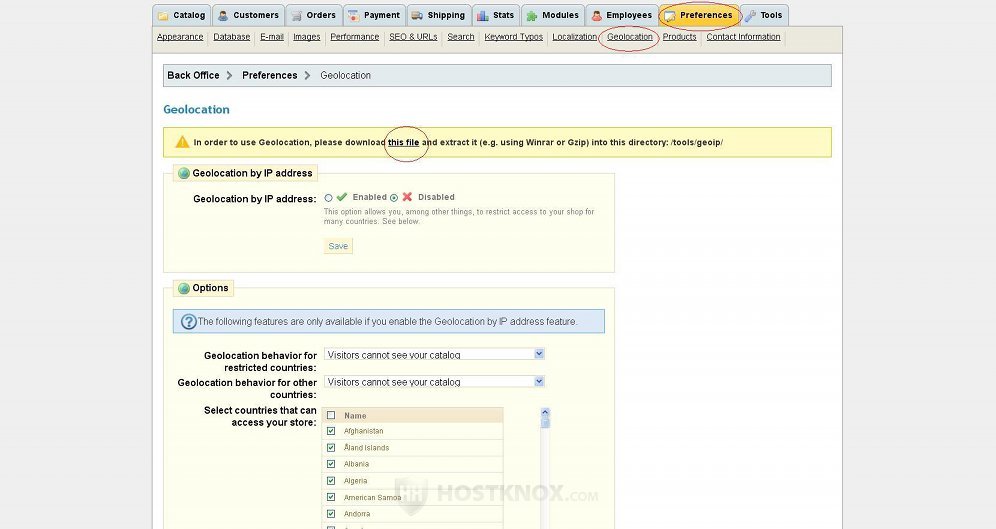
To configure this feature, log in to the backend of your PrestaShop, click on the Preferences tab and then on the Geolocation sub-tab. Before you can enable the setting you have to download an archive using the link provided at the top of the page:
After you download the archive to your local computer you have to unzip it and upload its content to the folder for the geolocation tool on your hosting account. For example, if your PrestaShop is installed in a folder called prestashop in the root public_html directory on your hosting account, the path where you have to upload the content of the archive would be public_html/prestashop/tools/geoip.
After that go back to the Geolocation sub-tab of your PrestaShop, set the option Geolocation by IP address to Enabled and click on the Save button. On the same page there's a list with all the different countries. The checkbox in front of each country is marked which means that all have access. To restrict the access for visitors from a particular country just unmark the checkbox for that country.
From the drop-down menu Geolocation behavior for restricted countries you can select what the visitors from these countries are allowed to do. You can either allow them to see the catalog without being able to place any orders, or you can completely restrict their access to the catalog. Don't forget to click on the Save button if you make any changes.